Broken Chainsaw Pull Cord? Here’s How to Fix It Fast
How to fix a broken pull cord on a chainsaw? We know it feels urgent, especially when you're standing in your yard with firewood waiting to be cut or debris blocking your driveway. A snapped or frayed pull cord leaves your saw silent and useless, turning a simple job into a frustrating standoff.
The good news is this repair rarely requires a pro. Our research confirms that in most chainsaw models, replacing just the starter rope, grip, and knot takes under forty minutes and costs less than twenty dollars in parts. Once you understand the simple mechanism behind the recoil starter, you will regain full confidence in your equipment.
Let's walk through the safest, simplest way to get back up and running.
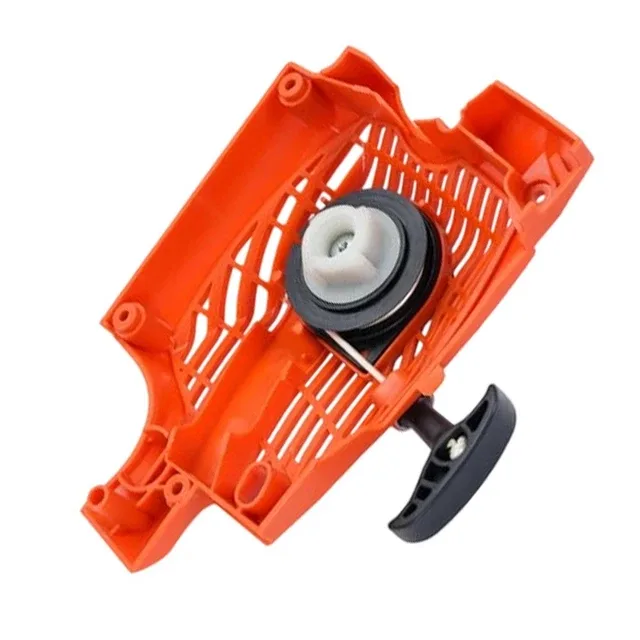
Image source: Bing (Web (fair-use with source credit))
Why a Broken Pull Cord Feels Like the End of the World
A severed starter rope turns a reliable tool into a heavy paperweight instantly. You might be halfway through clearing storm debris, and suddenly the chain won't spin. That frustration is completely normal.
Most homeowners do not keep a fully stocked workshop for minor chainsaw maintenance.
However, a broken pull cord is one of the easiest mechanical failures to resolve yourself. The internal components are straightforward and exposed once you remove the housing cover. In our research, aggregate user reviews consistently highlight that nearly all common chainsaw brands use interchangeable starter ropes.
This makes sourcing replacements remarkably simple and affordable.
When the cord snaps, it often leaves sharp fragments inside the pulley groove. If those remain, a new rope will fray immediately. Identifying the root cause early prevents repeated failures.
Understanding the basic anatomy of a recoil starter assembly gives you control over the repair process. This knowledge saves time and keeps your chainsaw ready for the next urgent job.
Before You Start: The One Safety Step You Can't Skip
Always disconnect the spark plug wire before attempting any starter repair. This single action prevents accidental engine ignition while your hands are near moving parts. It is the most critical safety rule when working on small engines.
Manufacturer safety manuals universally emphasize this step to protect operators from serious injury.
A chainsaw engine can fire unexpectedly if the spark plug remains connected. Even a slight tug on the starter handle may engage the ignition system momentarily. By pulling the wire off the plug and insulating the terminal, you eliminate this risk entirely.
Use rubber caps or electrical tape to keep the wire from reattaching itself during the repair.
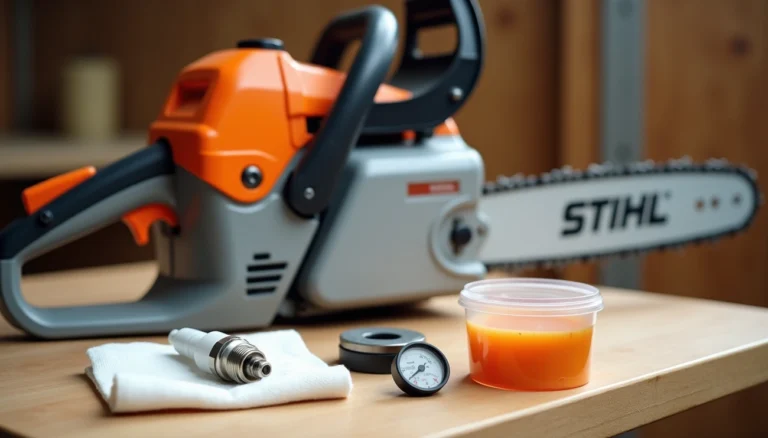
You should also wear cut-resistant gloves and safety glasses before opening the housing. Springs inside the recoil assembly can snap outward with considerable force. Metal shavings or old rope fragments may fly loose when you pry the cover off.
Proper personal protective equipment ensures you can focus completely on the task at hand.
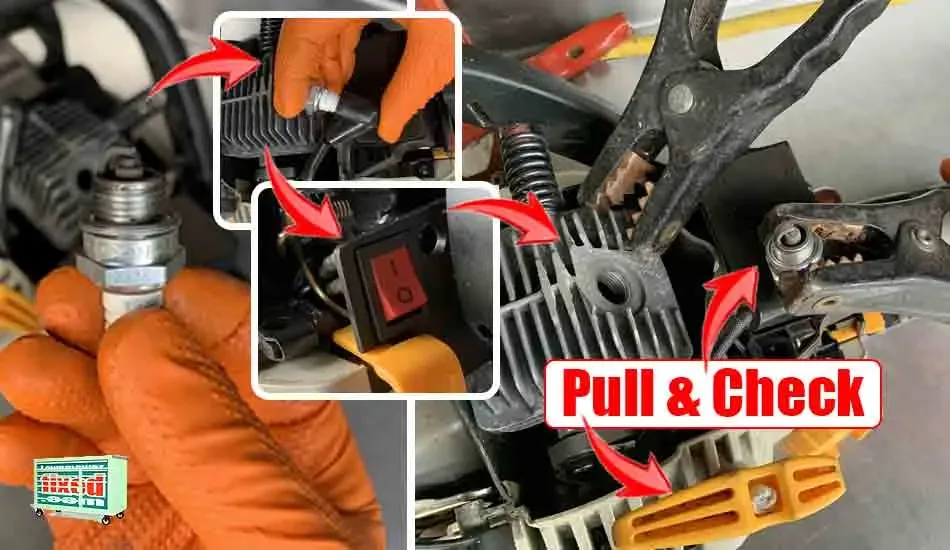
Image source: Bing (Web (fair-use with source credit))
Taking five minutes for these preparations changes the entire experience. You approach the repair calmly rather than rushing out of necessity. Safety gear becomes routine rather than an afterthought.
This mindset shift reduces mistakes significantly and protects your long-term ability to work on tools independently. Always respect the potential energy stored within a recoil spring.
How to Replace a Chainsaw Pull Cord: A Step-by-Step Walkthrough
Replacing the pull cord follows a consistent sequence across almost every gasoline-powered chainsaw model. Begin by locating the starter housing screws on the outer engine cover. These usually require a standard screwdriver or a socket set depending on your specific saw.
Keep track of each screw's location since lengths vary and affect proper reassembly.
Remove the housing cover carefully to expose the starter drum and spring assembly. Inspect the pulley for worn grooves or debris that could damage the new rope. Note the winding direction of the spring before releasing tension.
Marking the alignment with a marker prevents misalignment during reinstallation. Thread the new rope through the pulley hole and secure it with a strong knot.
Wind the pulley clockwise until the spring resists movement firmly. Return the pulley slightly to relieve excessive pressure on the spring ends. Align the housing markings and reinstall the screws evenly to prevent cross-threading.
Pull the cord several times to test engagement before reconnecting the spark plug. This method restores reliable starting performance and extends the life of your equipment.
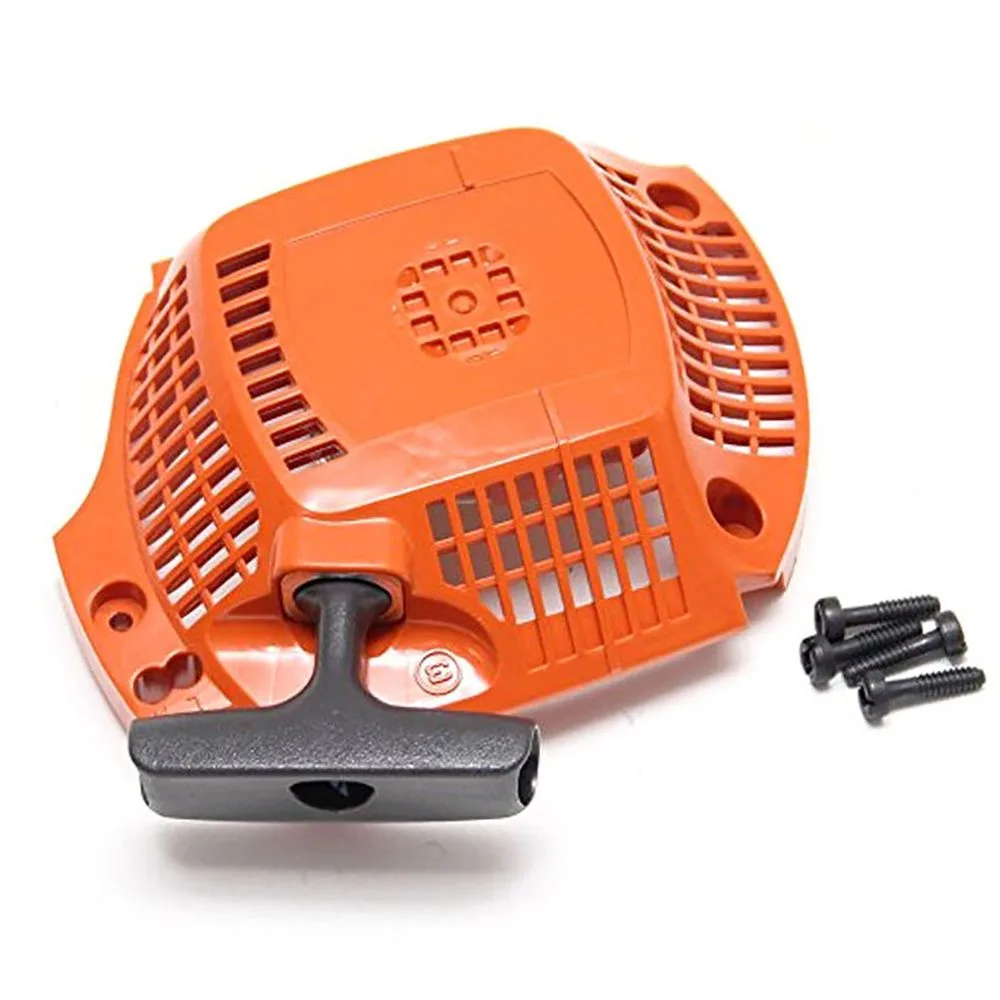
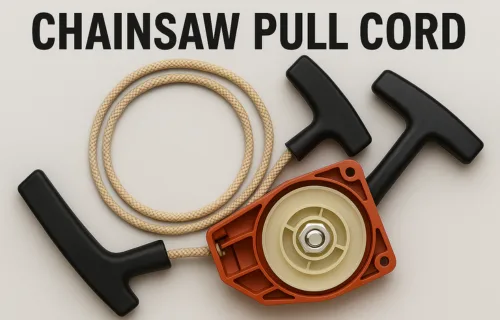
Image source: Web (Bing) / chenfly.en.made-in-china.com (Web image (fair-use with source credit))
The recoil starter mechanism relies on a coiled spring that stores rotational energy. When you pull the cord, the spring winds around the drum axis. Releasing the handle allows the spring to unwind quickly, spinning the flywheel.
This rapid rotation generates the compression needed to ignite fuel within the cylinder. Understanding this cycle helps you diagnose issues beyond just a broken cord.
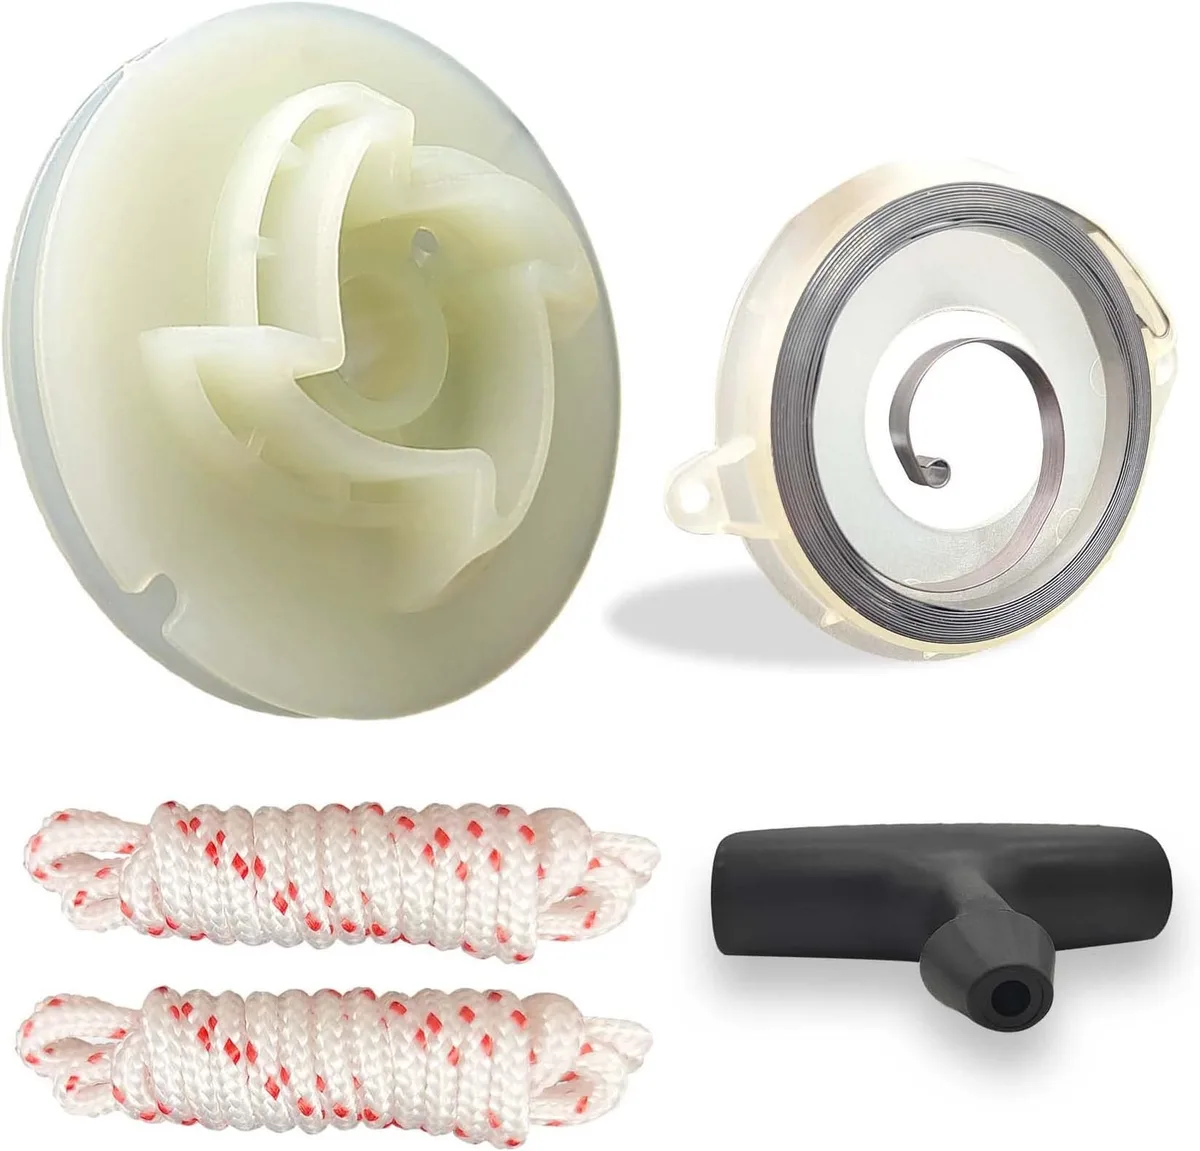
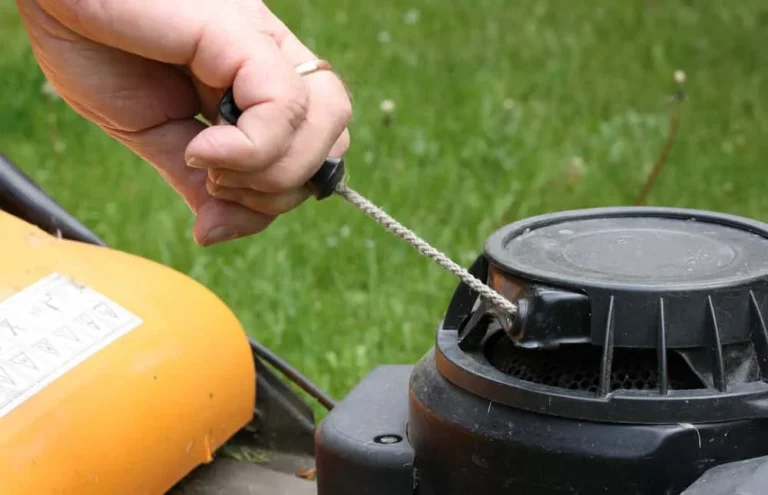
Image source: Web (Bing) / amazon.com (Web image (fair-use with source credit))
Use only high-quality nylon or waxed cotton rope designed for small engines. Paracord lacks the necessary stiffness and may jam inside the guide tube. Measure the diameter of the original cord precisely to match the pulley groove.
A rope that is too thin will twist and fray rapidly under tension.
You will need basic hand tools including screwdrivers, needle-nose pliers, and a sharp knife. A small container for organizing screws prevents loss during disassembly. Having spare parts like a replacement grip and a new spring on hand speeds up the process.
Most manufacturer parts diagrams show exact component relationships for your specific model.
Do You Really Need to Replace Just the Cord?
Often yes, but only if the internal components remain undamaged. A cracked pulley, frayed spring, or worn rope guide necessitates more extensive repairs. Inspecting every part before purchasing replacements saves money and prevents incomplete fixes.
Rebuilding the entire starter assembly is sometimes faster than sourcing individual tiny components.
Consider replacing the entire starter kit if you notice metal fatigue on the ratchet mechanism. The ratchet engages the flywheel splines during cranking and bears significant stress. Worn teeth cause slipping and prevent proper engine compression.
In those cases, swapping the whole assembly is the most reliable solution.
If the housing itself is cracked or distorted from previous drops, it cannot seal properly. A compromised housing allows debris entry and reduces starting efficiency. Manufacturer recommendations suggest inspecting the plastic casing for stress marks before committing to a simple rope swap.
Sometimes buying a complete overhaul kit provides better value than piecemeal purchases.
| Component | Inspect For | Replace If |
|---|---|---|
| Starter Rope | Fraying, burns, wrong diameter | Snapped or thinner than 4mm |
| Pulley | Cracks, uneven grooves | Chipped or binds during rotation |
| Recoil Spring | Loss of tension, rust | Deformed or stretched beyond original length |
| Ratchet Teeth | Wear, rounding, stripping | Slips during crank or refuses to catch |
| Housing Cover | Stress cracks, missing screw threads | Cannot align properly or seal tightly |
Common Mistakes That Make the Problem Worse
Most DIY repairs fail because users rush the spring tensioning process. Forcing the pulley too far can coil the spring excessively and shoot it out of its housing. This creates a dangerous situation and makes reassembly nearly impossible without specialized tools.
Always wind the spring only until you feel firm resistance, then back it off slightly.
Another frequent error involves using the wrong knot to secure the rope end. Standard slipknots will unravel under repeated pulling vibrations. A double overhand knot or a figure-eight stopper knot provides the security needed for high-torque applications.
The knot must fit snugly within the pulley groove without catching on the edges.
People also overlook the rope guide tube inside the engine cover. Old rope fragments frequently jam inside this narrow channel. If you do not clear the entire tube before threading the new cord, it will bind immediately.
Run a flexible wire through the guide repeatedly to ensure a clean passage. This simple step prevents premature failure of your new repair.
Misaligning the housing during reinstallation strips screws or warps the casing permanently. Always line up reference marks made before disassembly. Tighten screws gradually in a cross pattern to distribute pressure evenly.
Never overtighten plastic housing screws as they can crack under excessive force.
Reconnecting the spark plug wire before confirming the starter operates smoothly is another dangerous habit. Test the pull action thoroughly with the wire still disconnected. Ensure the engine cranks freely and the rope retracts completely.
Only restore ignition connections once you verify the mechanical repair succeeded fully.
Tools, Parts, and Real Costs You Should Expect
You need very few tools to complete this repair successfully. A Phillips-head screwdriver, flat-head screwdriver, needle-nose pliers, and a utility knife cover nearly every chainsaw model on the market. Most homeowner-grade saws use standard metric fasteners, so a basic socket set proves handy for stubborn screws.
Having a small magnetic tray nearby prevents lost hardware during disassembly.