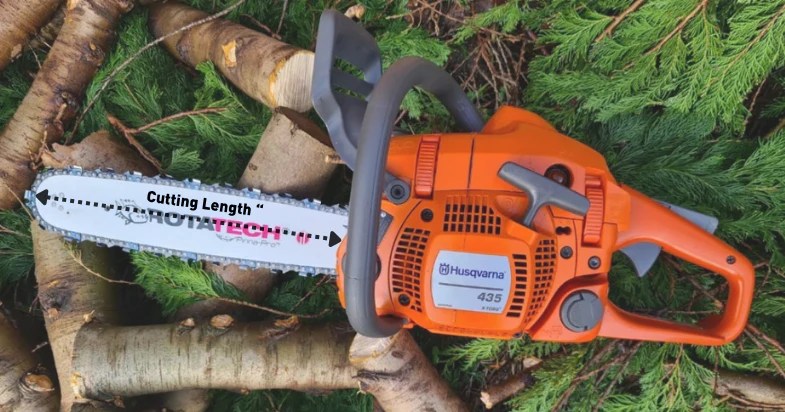
Measure a chainsaw bar by measuring the usable cutting length from the front of the chainsaw body to the tip of the bar. Round the measurement up to the nearest even number. A 17.5-inch measurement equals an 18-inch bar. Check the bar tail for stamped specifications like gauge and pitch to confirm chain compatibility.
What Is a Chainsaw Bar and Why Measurement Matters
What Is a Chainsaw Bar
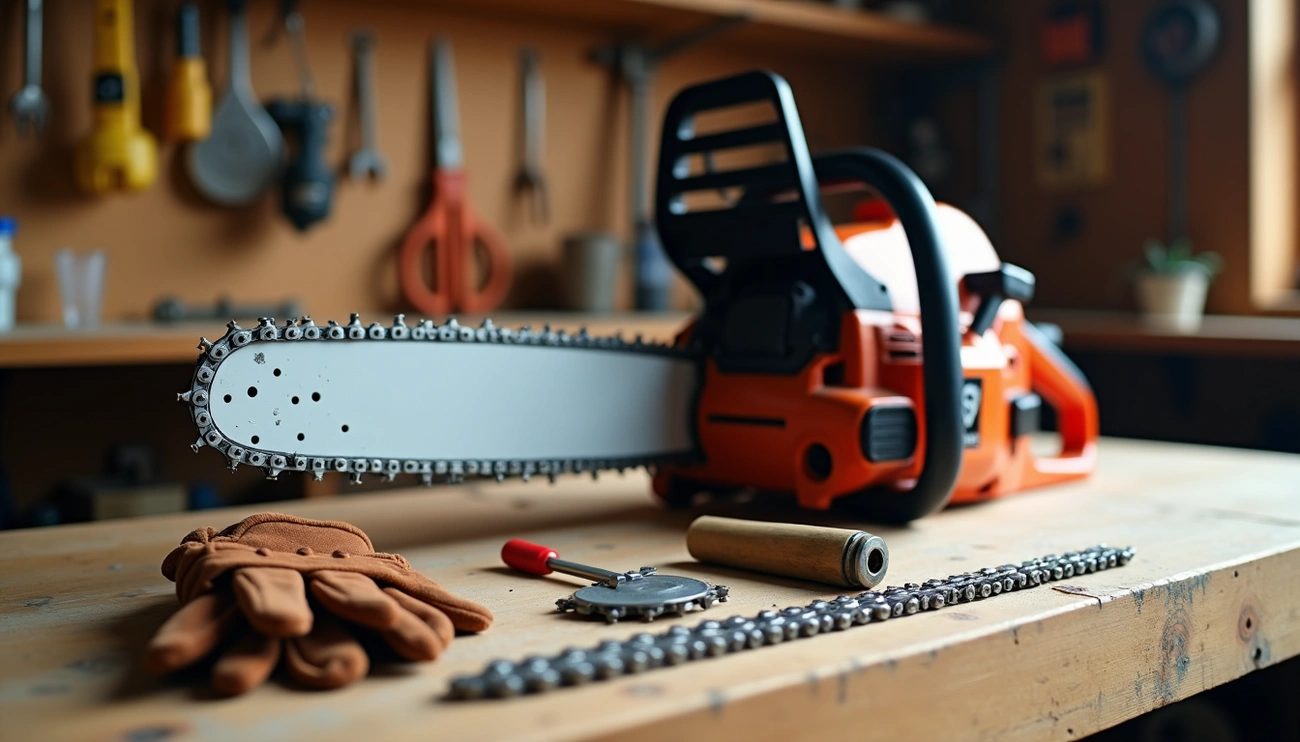
The chainsaw bar, also known as a guide bar, is the sturdy, elongated metal bar that guides the cutting chain during operation. This component keeps the chain aligned, supports it under tension, and provides stability for controlled cutting. Without a properly functioning guide bar, the chain would not track correctly, leading to poor performance and increased safety risks.
Bar length determines the maximum diameter of wood you can cut in a single pass. A stable, well-maintained bar helps keep cuts straight and predictable, while proper alignment between the bar and chain reduces resistance for smoother cutting. The guide bar actively influences how your chainsaw behaves, making it more than just a structural component.
Why Accurate Measurement Is Important
Selecting the correct chainsaw bar dimensions affects chain fit, cutting efficiency, operator control, and strain on the chainsaw’s components. Using a bar that is too long can strain the chainsaw’s engine, reduce cutting efficiency, and increase the risk of kickback. On the other hand, a bar that is too short may limit reach and cutting capacity.
An oversized bar creates multiple problems. The engine has to develop more torque to drive the chain, and if you exceed the recommended maximum size for your saw, you will probably wear out the motor quickly while exposing yourself to potential kickbacks and injury. Additionally, bars that are too large for your saw’s power cause bogging down under load, stalling on cuts, slower cutting speeds, excessive strain on the engine, higher fuel consumption, and difficulty controlling the saw.
Too small a bar presents different challenges. You’ll spend twice as long on every job, reducing productivity and efficiency.
When You Need to Measure Your Chainsaw Bar
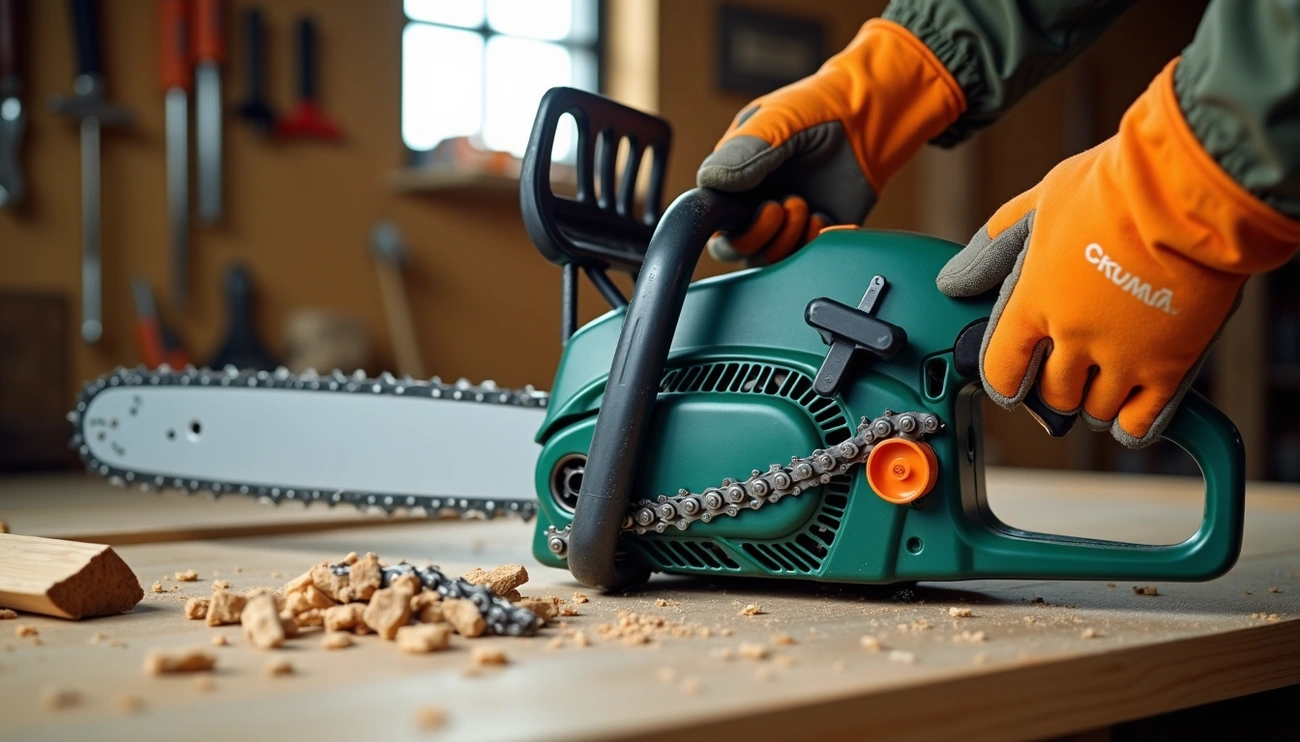
You need to measure your chainsaw bar when replacing a worn or damaged bar. The guide bar undergoes heavy wear where the chain makes contact with the working material, and when the amount of wear has become excessive or the bar has worn unevenly, it may be time to get a replacement.
Measuring becomes necessary when purchasing a new chain for your saw. Chain size varies by manufacturer, so even if you choose a new chain in the same length as your old one, it may not fit your specific chainsaw. Accurate bar measurements ensure compatibility and prevent costly purchasing mistakes.
How to Measure Chainsaw Bar Length: Step-by-Step Methods
Method 1: Measuring the Effective Cutting Length
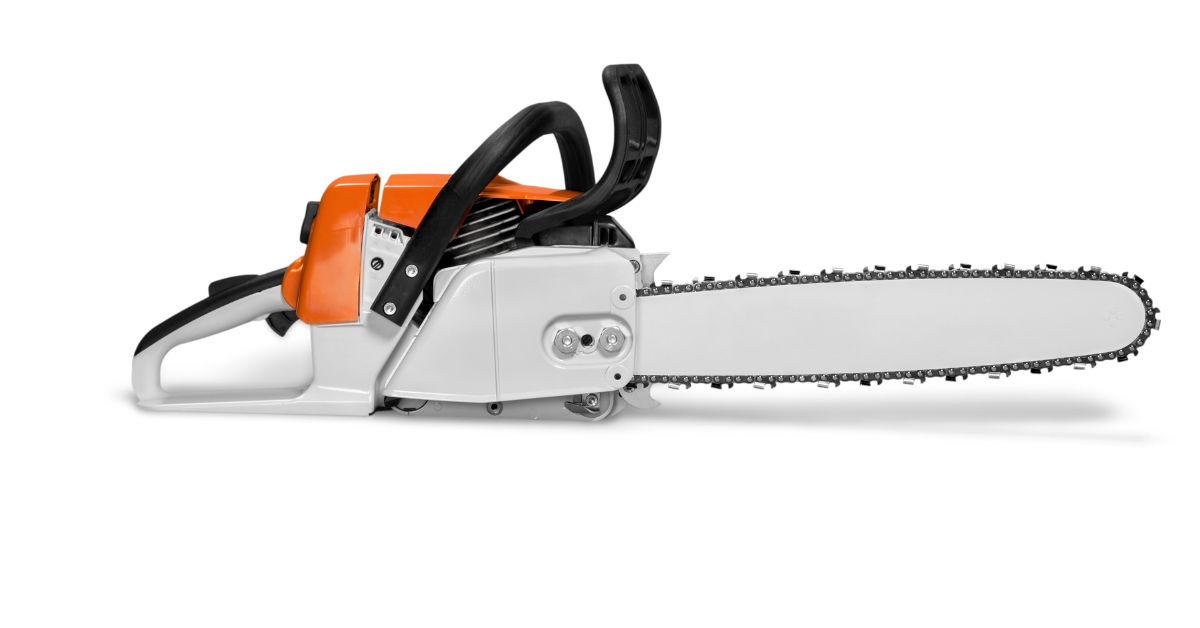
The effective cutting length, also called “called length,” represents the distance from the bar tip to the point where it exits the chainsaw housing. This measurement determines the actual depth the saw can cut in a single pass.
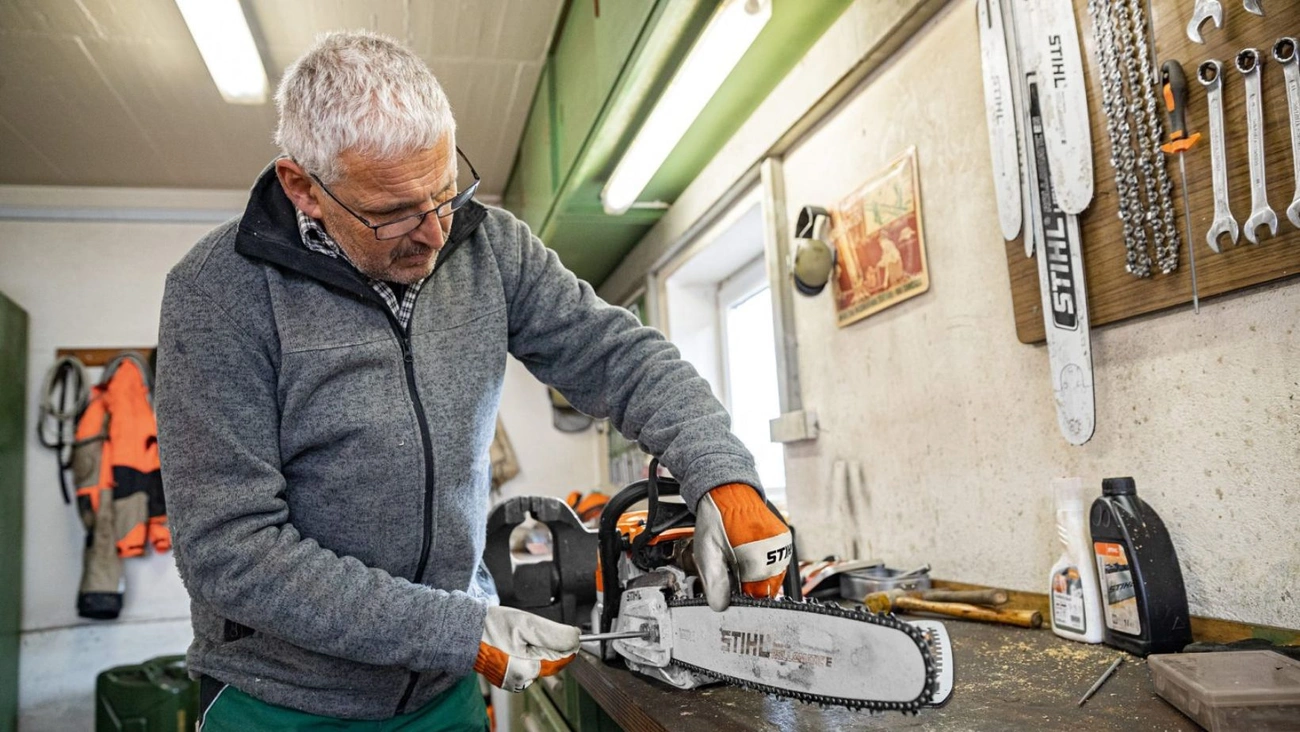
To measure the effective cutting length:
- Place your chainsaw on a flat, stable surface
- Position a tape measure at the very tip of the bar
- Measure straight back to the point where the bar enters the chainsaw body
- Record this measurement
This method gives you the working measurement used when a saw is described as a 16-inch or 20-inch model.
Method 2: Finding the Length Stamped on the Bar
Bar length is often printed on the bar’s tail near the powerhead attachment point. Look for a code stamped into the side of the bar. For instance, a bar marked “S205072W” indicates a 20-inch length in the middle two digits. This stamped information provides the quickest verification without any measuring tools.
Method 3: Counting Drive Links
Drive links are the pointed metal pieces on the chain’s interior that sit inside the bar groove. When stamped information is unavailable, counting these links helps verify bar length. Remove the chain and count each individual drive link around the full loop. Mark your starting point with tape to avoid miscounting. The total count corresponds to specific bar lengths, though exact numbers vary by pitch and gage combinations.
Rounding Your Measurements
Chainsaw bars are sold in even-inch increments such as 14, 16, and 18 inches. Round your measurement up to the nearest even number. A saw measuring 15 inches becomes a 16-inch chainsaw, while an 18.75-inch measurement rounds to 20 inches. Called length measurements are almost always rounded to the nearest even inch.
Understanding Other Chainsaw Bar Dimensions and Specifications
Beyond chainsaw bar length, several other specifications determine compatibility between your bar, chain, and saw.
Bar Gage (Groove Width)
Bar gage refers to the thickness of the drive link where it fits into the guide bar groove. This measurement must match the groove width of the guide bar for proper chain control and movement. Oregon products offer saw chain gages of .043″, .050″, .058″, and .063″. Common gage sizes include .043 inch (1.1 mm), .050 inch (1.3 mm), .058 inch (1.5 mm), and .063 inch (1.6 mm). Manufacturers laser etch the chain pitch and gage at the rear of the bar, making replacement easier. Normal wear can make measuring tricky, hence always order by the number stamped on the drive link of your old chain.
Pitch Size
Chain pitch refers to the size of the chain and is determined by the distance between any three consecutive rivets divided by two. Oregon chain is available in several pitches: 1/4″ is the smallest, 3/8″ is the most popular, and 3/4″ is the largest. Pitch matters because the drive sprocket must be the same pitch as the chain, as well as the bar nose sprocket if applicable. Common pitch sizes include .25 inch (1/4 inch), .325 inch, .375 inch (3/8 inch), and .404 inch.
Number of Mounting Holes
Stihl has a range of bars with 3 different mount bar sizes. The 3005 small bar mount has a slot width of .323″ (8.2mm), the 3003 medium bar measures .476″ (12.2mm), and the 3002 large bar measures .551″ (14.0mm).
Bar Nose Type
Sprocket nose bars reduce friction and maintain chain tension with a replaceable gear wheel. Hard nose bars excel in abrasive conditions like cutting dirty wood or railroad ties. Sprocket tips run with less friction and less heat compared to hard nose designs.
Common Measurement Mistakes and Pro Tips
Mistakes during measurement lead to purchasing incompatible chains and bars. Understanding what not to do saves time and money.
Don’t Measure the Total Bar Length
The part inside the saw housing does not count when measuring chainsaw bar length. Measure the exposed portion from where it exits the chainsaw body to the tip. Measuring the detached bar gives you the true length, not the cutting length you need for ordering replacements.
Never measure along the chain teeth. Always measure along the bar edge itself. In similar fashion, avoid measuring straight across on curved tip bars. Follow the curve of the bar with your measuring tape. A warped bar gives inaccurate results, so replace it before taking measurements.
Ensure Your Tape Measure Is Accurate
Using strings, sticks, or other improvised methods produces unreliable measurements. A proper tape measure or ruler provides the precision needed for correct chainsaw bar dimensions.
Mixing metric and imperial units creates confusion. One inch equals 2.54 cm, so double-check which system you’re using before ordering parts. Once you measure how do you measure the length of a chainsaw bar, verify the number by measuring again. This second check prevents ordering errors and ensures you get the correct replacement parts.
Conclusion
You now have all the knowledge needed to measure your chainsaw bar accurately and avoid costly purchasing mistakes. Above all, remember to measure the effective cutting length, not the total bar length, and always round to the nearest even inch.
Check the stamped information when available, verify your measurements twice, and match the gage and pitch specifications. Apply these methods correctly, and you’ll confidently order the right replacement bar and chain every single time.