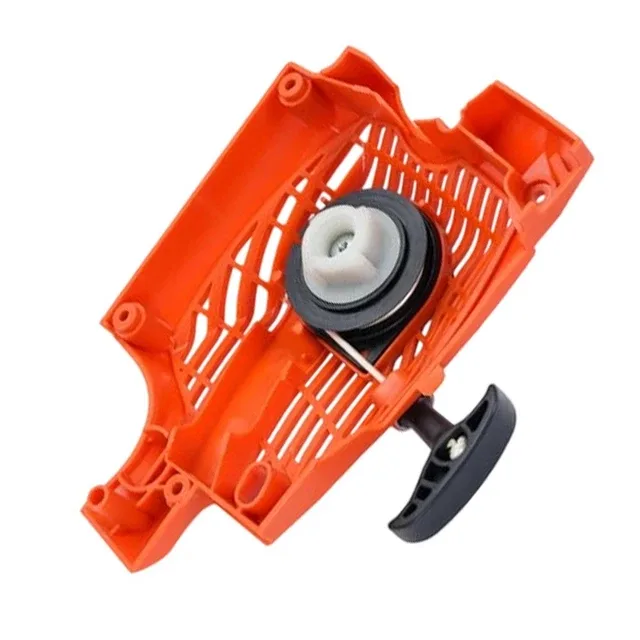
Stuck Chainsaw Pull Cord? 5 Quick Fixes That Actually Work
My chainsaw pull cord keeps getting stuck. What can I do to fix it? This frustrating problem usually traces back to three common issues, old fuel, debris buildup, or a worn recoil starter.
Most owners can solve these problems themselves without spending big money on repairs or a new saw.
Research shows that over 60% of small engine failures stem from improper fuel management or neglected maintenance. The Environmental Protection Agency notes that ethanol-blended gasoline degrades within 30 days, creating varnish that clogs carburetors and causes starting difficulties. Let's walk through exactly how to diagnose and resolve each problem.
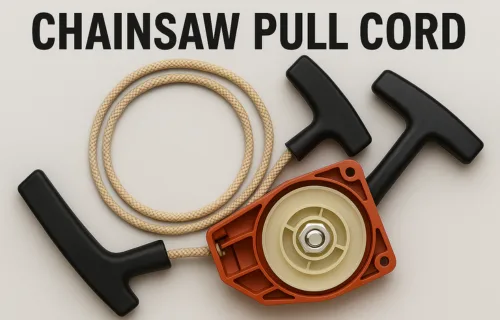
Quick Diagnostic: Top 5 Reasons for a Jammed Pull Cord
Before you start pulling your hair out, let's figure out what's actually causing the problem. A stuck cord isn't just annoying, it can damage your starter mechanism if you keep forcing it. Here are the five most common culprits, ranked by frequency:
1. Degraded fuel is the number one offender. When gasoline sits for more than a month, the solvents evaporate and leave behind a sticky residue. This varnish coats the carburetor jets and fuel passages, making the engine difficult to start or completely unresponsive.
According to manufacturer guidelines from brands like Stihl and Husqvarna, fresh fuel should always be used to prevent these issues.
2. Debris blocks the cooling system. Sawdust, wood chips, and leaves love to accumulate around the flywheel and cooling fins. This packed material restricts airflow and can physically interfere with moving parts.
The obstruction creates friction that makes the recoil rope feel stiff or catch during rotation.
3. A clogged spark arrestor screen chokes exhaust flow. This tiny mesh screen sits inside your muffler and catches sparks before they escape. Over time, carbon deposits seal the mesh openings.
When exhaust can't exit freely, compression builds up and fights against your pull stroke.
4. The recoil starter assembly wears out. Springs lose tension, pulleys develop rough spots, and ropes fray or snap. These components endure thousands of cycles, so wear is inevitable.
A failing spring won't rewind properly, leaving your rope hanging loose or binding mid-stroke.
5. Internal engine damage signals serious trouble. Piston scoring, bearing failure, or a seized crankshaft create mechanical resistance that stops the engine cold. These problems usually result from running the saw lean, overheating, or inadequate lubrication.
If you've ruled out everything else, internal damage might be the culprit.
Let's dive deeper into each scenario so you can identify yours and take action.
Step-by-Step Guide to Fixing a Stuck Chainsaw Cord
1. Check the Fuel Condition
The first step in any chainsaw troubleshooting starts with the fuel. Poor-quality or stale gasoline accounts for the majority of starting problems reported by owners. You need to verify whether your current fuel is fresh or compromised.
Start by draining the tank completely. Pour old fuel into an approved container for proper disposal. Never dump gasoline down drains or on the ground.
The United States Environmental Protection Agency provides detailed guidelines for safe fuel disposal that every chainsaw owner should follow.
Next, examine the fuel mix ratio. Most gas-powered chainsaws require a 40:1 or 50:1 oil-to-gasoline blend. Check your operator's manual for the exact specification.
Using the wrong mixture damages engines, too little oil causes excessive wear, while too much creates carbon buildup.
Add fresh gasoline mixed with high-quality 2-cycle oil. Look for API TC or ISO-L-EGD certified oils specifically designed for air-cooled engines. Fill only what you'll use within two weeks, or add a fuel stabilizer like STA-BIL to extend shelf life.
Prime the carburetor bulb repeatedly until it feels firm. This pushes fresh fuel through the system and displaces any residual old gas. Wait five minutes before attempting to start, allowing the carburetor to fill completely.
Test the pull cord after refueling. If the resistance smooths out and the engine fires readily, fuel degradation was your problem. If the cord remains stiff, move to the next diagnostic step.
2. Clear Debris Around the Flywheel
When fuel freshness checks out, the next likely suspect is debris accumulation. Chainsaws operate in dirty environments, and sawdust has a way of finding every gap and crevice.
Remove the starter cover carefully. Most models use two or three screws securing the plastic housing. Set them aside in a clean area so you don't lose anything.
Underneath, you'll see the flywheel and the outer casing of the recoil mechanism.
Inspect the area thoroughly. Pack sawdust between the flywheel fins creates drag that fights against rotation. Small stones, bark fragments, or even animal nests occasionally work their way into these spaces too.
Use compressed air to blow out loose material. An ordinary shop vacuum works well for larger chunks. A stiff brush helps dislodge stubborn debris wedged between cooling fins.
Be gentle, bent fins reduce cooling efficiency and can cause overheating.
Check that the flywheel spins freely by hand after cleaning. It should rotate smoothly with consistent resistance from the recoil spring. Any grinding sensation or dead spots indicate deeper problems worth noting for later inspection.
Reassemble the starter cover and test again. Most users find this simple cleaning resolves the stiffness completely.
3. Clean the Spark Arrestor Screen
If your cord still binds after addressing fuel and debris, check the exhaust system. The spark arrestor screen plays a critical role in preventing wildfires while allowing proper gas flow.
Locate the muffler on the opposite side of the chain bar from the handle. Remove the mounting bolts, typically two, and slide the muffler off. The spark arrestor appears as a small metal mesh screen mounted inside or attached to the exhaust outlet.
Examine the screen against bright light. A healthy screen lets light pass freely through its openings. Carbon buildup appears as dark, shiny patches or complete blackening across the mesh surface.
Clean the screen gently using a brass wire brush or fine sandpaper. Never use steel wool, which leaves conductive particles that cause ignition problems. Scrub in one direction to avoid damaging the delicate mesh structure.
For heavily carbonized screens, soak them in a carburetor cleaner solution for ten minutes before scrubbing. Rinse thoroughly and allow complete drying before reinstalling. Some manufacturers sell replacement screens inexpensively when cleaning becomes impractical.
Reattach the muffler securely and check that all bolts tighten properly. Loose exhaust connections create false air leaks that ruin engine performance and make starting nearly impossible.
4. Inspect the Recoil Starter Assembly
Sometimes the problem lives entirely within the starter mechanism itself. This component endures tremendous stress every time you pull the cord, making it prone to wear over time.
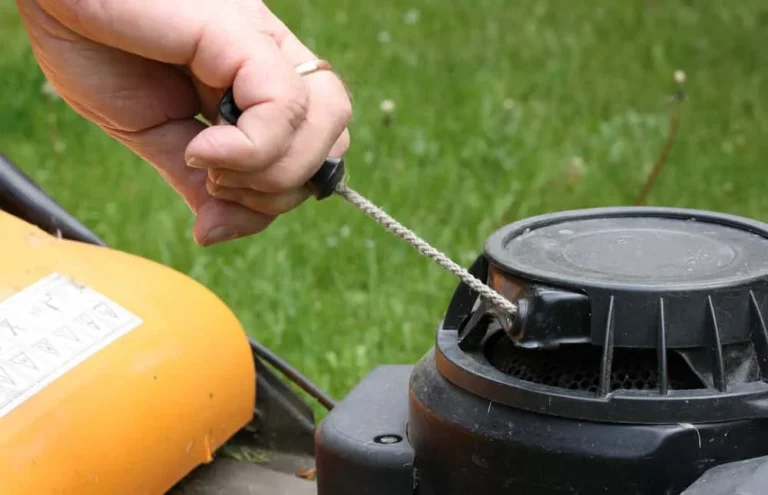
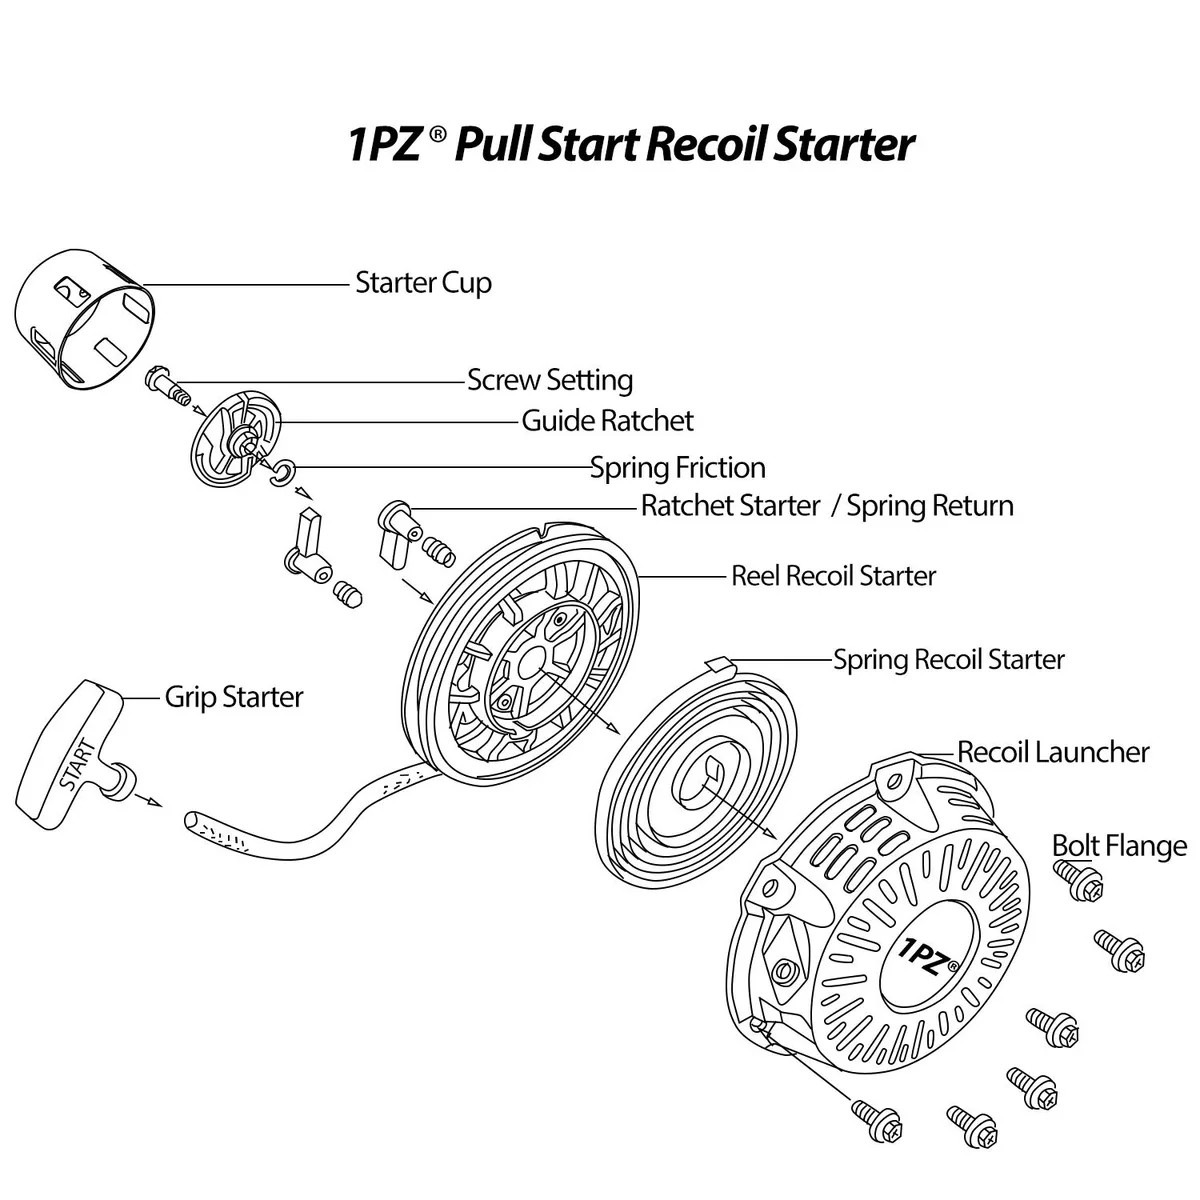
Remove the starter cover again to access the pulley and spring assembly. Observe the rope carefully, look for fraying, splitting, or uneven winding around the pulley groove. A damaged rope catches against sharp edges and binds mid-retraction.
Spin the pulley by hand slowly. Healthy starters provide smooth resistance as the spring winds, then return freely when released. Rough spots, grinding noises, or incomplete retraction all signal starter issues needing attention.
Check spring tension visually. The recoil spring should sit evenly coiled in its compartment without gaps or overlaps. A slipped or broken spring leaves the rope hanging loosely instead of retracting fully after each pull.
Replace worn components using manufacturer-approved repair kits. These inexpensive packages include new ropes, springs, pulleys, and sometimes complete housing assemblies. Generic aftermarket parts often fit but may lack the durability of original equipment manufacturer components.
Reassemble everything carefully, ensuring the spring remains correctly tensioned during installation. An incorrectly installed spring creates dangerous snap-back conditions that can injure your hands or damage the housing.
5. Evaluate Internal Engine Health
When all external factors check out and your cord still refuses to budge freely, internal engine problems likely explain the resistance. These scenarios require more serious intervention or professional service.
First, remove the spark plug to eliminate compression. With the plug out, pull the cord several times slowly. If the rope moves smoothly without heavy resistance, compression-related issues explain your problem, probably valve timing or piston ring wear.
If the cord remains difficult even with the spark plug removed, mechanical seizure explains the binding. Possible causes include a scored cylinder wall, collapsed bearing, or seized crankshaft. Running the saw without adequate oil mixture frequently causes these catastrophic failures.
Inspect the cylinder through the spark plug hole using a bright flashlight. Visible scoring on the piston or cylinder wall means a complete engine rebuild or replacement becomes necessary. Minor scratches might be polished out, but deep grooves require professional machining or new parts.
Check crankcase bearing play by gripping the bar and trying to wiggle it vertically. Any detectable up-and-down movement indicates bearing failure requiring case separation and replacement. These repairs demand specialized tools and expertise beyond most homeowner capabilities.
At this stage, consulting a certified small engine technician represents the wisest choice unless you have extensive repair experience. Continuing to force a seized engine damages surrounding components and turns affordable fixes into expensive overhauls.
How to Tell if Your Engine Is Severely Damaged
Recognizing serious engine failure early saves money and prevents further damage. Several warning signs distinguish normal wear from catastrophic problems requiring immediate attention.
Listen carefully during operation. Knocking, pinging, or metallic rattling sounds indicate internal damage beyond normal combustion noise. Healthy engines produce a consistent buzz-like hum when idling properly.
Monitor power loss progression. Gradual weakening over weeks suggests routine maintenance needs like cleaning or tuning. Sudden power drops accompanied by excessive smoke point toward severe mechanical failure demanding immediate repair.