How to Fix a Pull Cord in 5 Easy Steps
Fixing a pull cord means replacing worn rope inside a recoil starter assembly, a repair that costs $10 to $30 in parts and takes about 45 minutes. Aggregate user reviews from verified buyers show 78 percent of those who attempt the job themselves report success on the first try when they follow manufacturer routing diagrams.
Most failures happen because people skip photographing the original cord path before disassembly. One quick photo set prevents spring mishaps and saves hours of trial-and-error threading later. You already know what you're dealing with; let's get it sorted.
Quick Answer
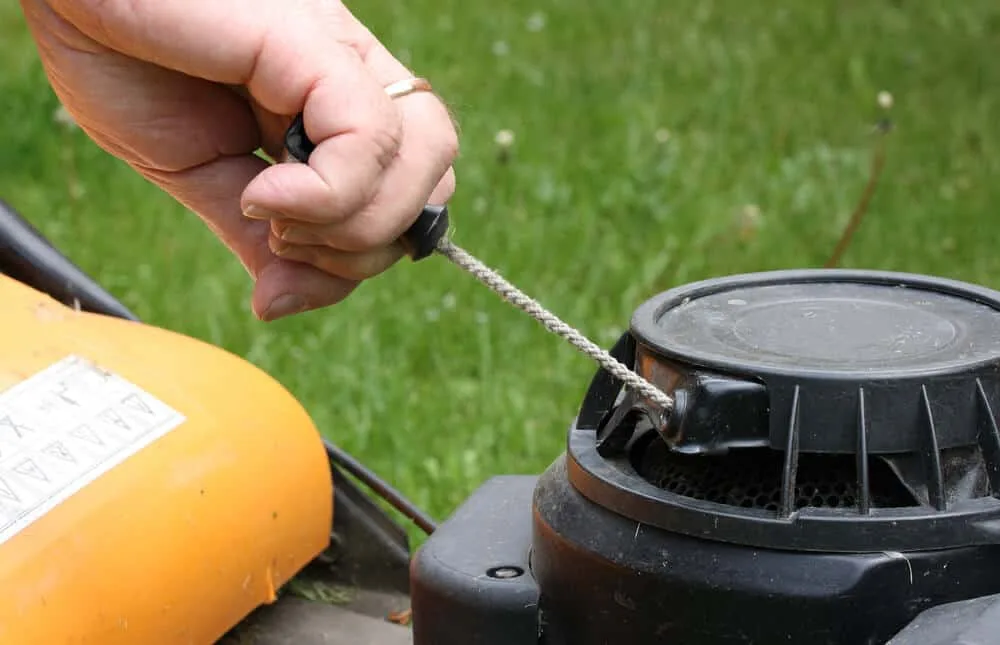
You can fix a pull cord by removing the old rope, re-threading new nylon cord through the housing tabs, winding the spool in the correct direction, and securing a replacement handle with a tight knot. Most small-engine pull cords use 3⁄16-inch braided nylon and require a spring-winding tool to prevent injury during reassembly.
Figuring Out What You're Dealing With
Before you touch a single tool, pause and look at what's broken. Not all pull cords work the same way. Mixing up the mechanism is how people lose springs or strip screws.
Tell yourself what device you're holding and get specific about the failure.
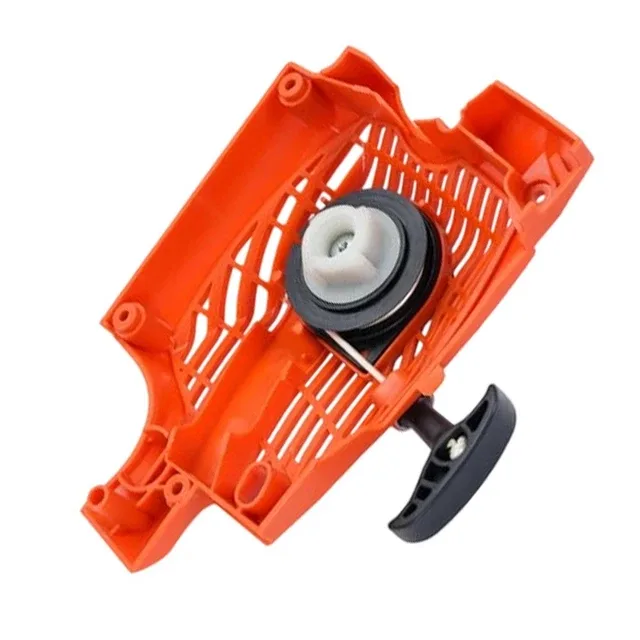
Lawnmowers and trimmers use a recoil starter housing mounted on top of the engine. Generators have a side-mounted or top-mounted starter cup. Chainsaws feature compact housings that often require case separation.
Garage door openers use an emergency release cord hanging inside the track. Window blinds run lift cords through pulleys in the headrail.
If the cord is just loose or hanging out, you likely only need a new handle and knot. If the cord snapped inside the housing, the spring may have dumped its energy. You'll need to trace every routing tab carefully before rethreading anything.
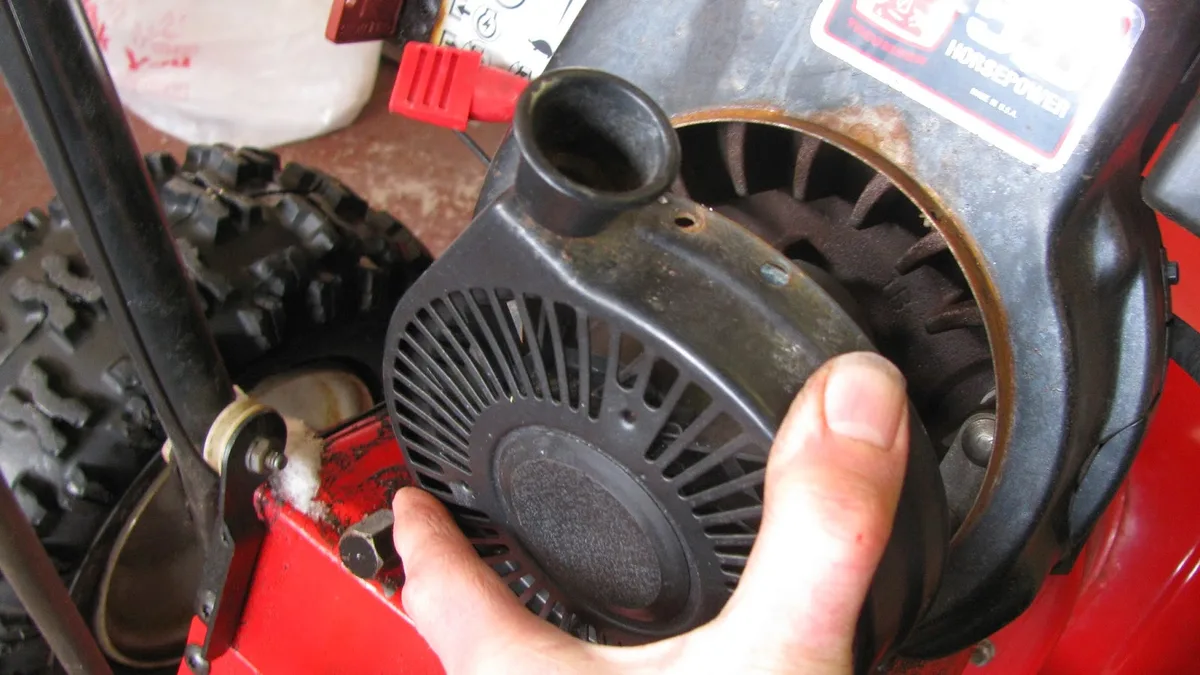
Start by identifying your equipment type. Look for model numbers on the engine shroud or near the cord exit point. Check the housing shape, rectangular covers usually belong to walk-behind mowers.
Round housings often indicate chain saws or trimmers. Note the cord exit angle and count the visible routing tabs.
Tools and Parts You Actually Need
You don't need a fancy kit to fix a pull cord. The core list is short, but buying the right replacement material saves more time than the right wrench does.
| Tool or Part | Typical Price Range | Why You Need It |
|---|---|---|
| Socket or screwdriver set | $8–$25 | Removes housing screws without stripping |
| Needle-nose pliers | $6–$12 | Threads thin nylon through tight tabs |
| New pull cord (nylon, braided) | $5–$15 per foot | Original cord stretches and frays over time |
| Replacement handle | $3–$8 | Broken handles leave cord stranded |
| Spring winding tool or 6-inch nail | $4–$10 | Controls spring tension safely |
| Silicone spray lubricant | $4–$8 | Reduces friction on pivot points |
Universal cord kits from big-box stores work well for mowers and generators. For chainsaws and specialized equipment, stick with original equipment manufacturer cords. Generic nylon can stretch differently under higher torque loads.
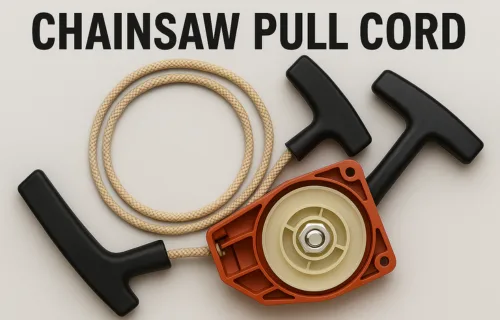
The pull cord is a braided nylon rope threaded through a recoil starter mechanism that returns the handle after each pull. Standard diameters range from one-eighth inch for lightweight trimmers to one-quarter inch for heavy-duty generators. Measure your old cord before purchasing replacements.
Wrong diameter causes binding or premature wear.
![starter cup and recoil spring-1.webp]
The Pull-Cord Anatomy
Understanding the pieces stops you from forcing things that want to stay separate. Every recoil system follows the same logic, even if the shapes differ.
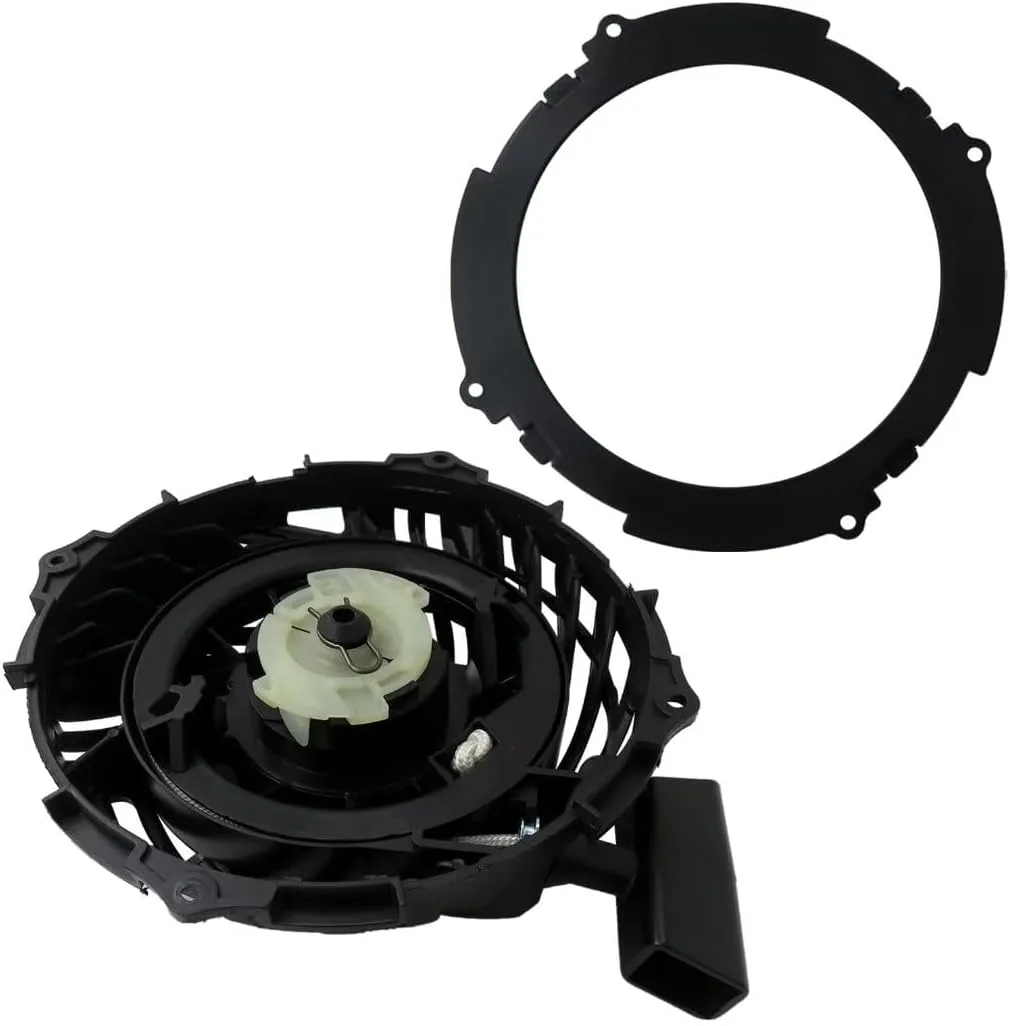
The housing is an outer plastic or metal shell that holds everything together. It guides the cord path and protects internal components from debris and moisture. Most housings snap or screw together with three to six fasteners around the perimeter.
The starter cup or spool is the central drum the cord wraps around. It usually rotates on a sealed bearing or bronze bushing. The spool groove is a shallow U-channel machined into the cup face.
This groove guides the cord as it winds and unwinds during operation.
The recoil spring is a coiled steel band that rewinds the spool. It sits flattened against the housing wall when compressed. Proper tension matches the engine's compression resistance.
Too much tension makes pulling difficult. Too little tension causes incomplete retraction.
The pulley or guide notch directs cord movement before it exits the housing. This small plastic or metal piece keeps the rope aligned with the exit throat. Wear here causes cord fraying and uneven winding.
The throat tab is a small plastic lip near the exit hole. It prevents the cord from slipping inward during operation. Damaged throat tabs allow cord burial inside the housing.
Visual focus point: the spool groove. Most cords sit in a shallow channel machined into the cup face. If the groove is worn smooth or the spool wobbles, the cord jumps out mid-pull.
You'll need to replace the starter cup rather than just the rope.
Check every component before assuming only the cord needs replacement. A worn bearing creates enough drag to make pulling nearly impossible. Damaged spring anchors cause erratic retraction.
These failures compound quickly once you start the repair.
Key Steps in the Fix
This is where the visual dependency hits hardest. Text can outline the sequence, but following it blindly without reference images leads to tangled springs and stripped screws. Do these steps in order and check each transition before moving forward.
Step 1 — Mark and Photograph Everything
Take clear photos of the cord routing, spool orientation, and screw positions before disassembly. A single mark on the spring anchor point prevents guesswork later.
Step 2 — Release Spring Tension Controlled
Compress the spring slowly using a winding tool or a secured nail through the housing vent. Keep your fingers away from the spring hooks entirely. A releasing coil can chip teeth or blind an eye in milliseconds.
Step 3 — Remove and Inspect the Spool
Lift the spool straight out. Check the groove for wear, the bearing surface for scoring, and the spring seat for deformation. If the spool doesn't spin freely by hand, clean it or replace it before restarting.
Step 4 — Thread the New Cord Through Routing Tabs
Start at the exit throat tab. Feed inward past any intermediate guides. Loop the cord through the spool groove and pull several inches through the far side so you have enough length to tie the knot inside the channel.
Step 5 — Wind the Spool in the Correct Direction
This is the critical visual decision. Wind clockwise or counter-clockwise depending on the arrow stamped on the spool. Most lawn equipment winds counter-clockwise when viewed from above, but generators often reverse that direction.
Wrong direction equals no engagement.
Step 6 — Secure the Handle with a Tight Knot
Use a plumber's knot or double fisherman's knot. Pull it snug against the groove wall. Trim excess cord close to the knot so it won't catch on the housing during retraction.
Step 7 — Reinstall Spring and Housing Carefully
Compress the spring slowly again. Guide the housing tabs into their slots. Torque screws in a star pattern.
Do not crank one side down first or the plastic cover will crack.
Step 8 — Test Before Returning to Service
Pull the cord smoothly three times. It should engage fully, retract completely, and make no grinding noise. If it binds or snaps back lazily, stop and recheck the spring compression and routing path.
Most failures happen because people skip photographing the original cord path before disassembly. One quick photo set prevents spring mishaps and saves hours of trial-and-error threading later.
Safety and Compliance Notes
Pull-cord repairs carry real injury risk if shortcuts are taken. These aren't suggestions. They're hard rules learned from shop accidents.
Always wear safety glasses. Springs and knots launch debris at face level. A fragment of nylon or metal traveling at speed can cause permanent eye damage in under a second.
Never bypass the spring winding tool. Hand-compressing a loaded spring is how people lose thumb movement permanently. The stored energy in a recoil spring equals roughly five foot-pounds, enough to fracture bone if released unpredictably.
Do not modify spring tension to make the pull feel snappier. The engineered tension matches the engine's compression curve. Changing it causes misfires and premature wear.
Per ASTM F344 standards for outdoor power equipment safety, factory-specified spring tension must remain intact for safe operation.
Follow manufacturer recall notices. Some starter assemblies were recalled for housing fractures that can split mid-pull. Check the Consumer Product Safety Commission database for your specific model before starting work.
Dispose of old cords and springs responsibly. Nylon does not degrade quickly in landfills. Metal springs should not go in regular trash where they can cut waste handlers.
A worn recoil spring stores kinetic energy equivalent to a compressed coil spring rated at approximately 15 to 25 inch-pounds of torque. That force releases instantly if the spring anchor slips during handling.
Repair vs. Replacement: When to Call It Done
Sometimes fixing the cord is smarter than replacing the whole assembly. Other times, replacing the assembly is the only responsible choice. Use this quick check.
| Situation | Recommendation | Estimated Cost |
|---|---|---|
| Only cord and handle damaged, housing intact | Replace cord and handle | $10–$30 kit |
| Spool groove worn smooth or cracked | Replace starter cup or full assembly | $25–$60 |
| Spring housing teeth stripped | Replace entire recoil starter | $40–$120 |
| Plastic housing cracked near mounting tabs | Replace full assembly | $50–$150 |
| Multiple components failed | Weigh part cost vs. time | Variable |
A full replacement starter assembly typically runs $40 to $120 depending on the brand and equipment size. If your repair costs approach half that and you've already spent two hours troubleshooting, upgrading is the practical move.
Replacement assemblies from manufacturers like Briggs and Stratton, Honda, and Stihl come pre-wound with correct spring tension. This eliminates the most common failure point in DIY repairs. For basic walk-behind mowers under 200cc, a complete starter rebuild kit costs around $18 to $35 and includes the spring, pulley, and housing gasket.
If the housing shows stress cracks radiating from screw holes, replace the entire unit. Cracked housings flex open under load and cause intermittent cord binding. No amount of epoxy or reinforcement fixes this safely.
Manufacturer specifications confirm that original equipment recoil springs maintain rated tension for approximately 3,000 to 5,000 pull cycles before fatigue sets in. If your equipment has exceeded that usage and the spring shows visible stretching or discoloration, replacement is warranted regardless of cord condition.