Your chainsaw chain keeps coming off because the chain tension is too loose. Chain derailments also occur from worn bars, sprockets, or chains, incorrect chain size or type, poor tensioning technique, or new chains stretching during break-in. Damaged drive links or cutting brush that jams the chain also cause derailment.
Common Signs Your Chainsaw Chain Is About to Fall Off
Recognizing the warning signs before your chainsaw chain actually falls off can save you time and potentially prevent injury. Your chainsaw will typically give you several clues that the chain is about to detach if you know what to look for.
Chain feels loose during use
A properly tensioned chainsaw chain should fit snugly against the guide bar but still allow movement when pulled by hand (with proper protective gloves). However, during operation, you might notice your chain becoming increasingly loose. Initially, this might appear as visible sagging when the chain is pulled away from the guide bar.
The key indicator of dangerous looseness is seeing the drive links disengaged from the guide bar when pulled. Furthermore, if you find yourself having to retighten the chain every 5-10 minutes of use, this indicates abnormal loosening. Chains naturally stretch during operation due to heat, but excessive or rapid loosening suggests a more serious issue.
Cuts are uneven or curved
Perhaps one of the most telltale signs of an impending chain issue is when your cuts start to veer off course. Consequently, if your chainsaw consistently cuts to one side instead of making straight cuts, your chain may be about to fail.
This curving happens because:
- The chain’s teeth are unevenly sharpened or worn on one side
- The chain isn’t properly seated in the bar groove
- The chain tension is inconsistent
Many users report that no matter how carefully they cut or how firmly they hold the saw, the cuts begin to “bend” or “curve” rather than staying on a single straight plane. Eventually, this curving motion puts additional stress on the chain, potentially pulling it out of alignment.
Chain slips or derails mid-cut
The most obvious sign of imminent chain failure is when the chain actually slips or derails during cutting. This happens most commonly when the chain tension is too loose. A chain that’s slipping will make distinctive sounds and may cause the saw to jerk or operate erratically.
Under normal conditions, your chain should pull itself into the wood without requiring excessive force. However, if you suddenly need to apply pressure to force the saw through wood, or if it feels like the chain isn’t “biting” properly, these are urgent warning signs that derailment may be imminent.
Notably, chain derailment during operation creates a serious safety hazard with risk of severe injury to the user.
Top Reasons Your Chainsaw Chain Keeps Coming Off
After identifying the warning signs of a loose chain, understanding the underlying causes is crucial for permanent fixes. Based on expert analysis, here are the top eight reasons your chainsaw chain might keep falling off.
1. Incorrect chain tension
According to the Chainsaw Manufacturers Association, 70% of chainsaw failures stem from poor chain tension. A properly tensioned chain should be snug against the guide bar without sagging, yet loose enough to move by hand with slight resistance. When hot, the chain should have slightly less tension, sagging about the width of a medium screwdriver tip below the guide bar. Both overtightened and undertightened chains create problems – an overtight chain forces the saw to work harder and causes excessive wear, while a loose chain increases derailment risk.
2. Worn or damaged sprocket
The drive sprocket transfers all engine power to the chain, making it a critical wear point often overlooked. A worn sprocket changes pitch as it deteriorates, leading to power loss and increased bar and chain wear. Signs include skipping, jerking, or stretching feelings during operation. Most experts recommend replacing the sprocket every two to three chains to prevent damage to other components.
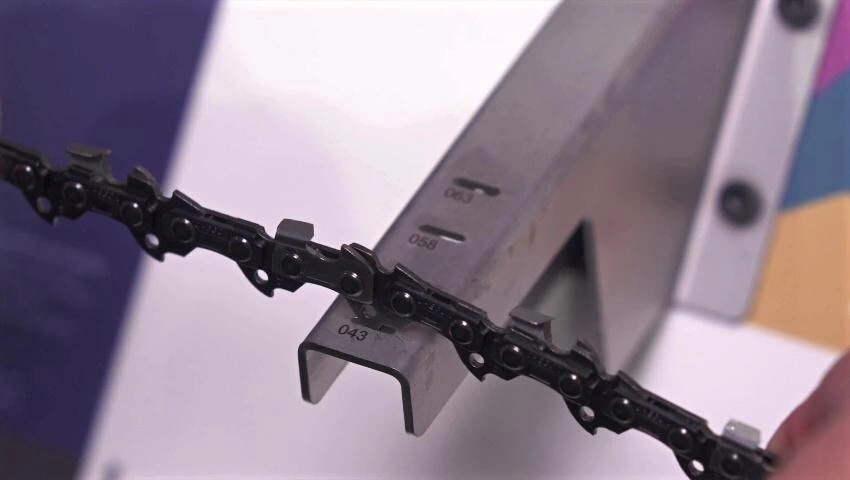
3. Chain not seated properly on the bar
Sometimes the chain simply isn’t correctly positioned in the guide bar groove. This misalignment causes the chain to move roughly and increases derailment risk. Especially after maintenance or chain replacement, ensure each drive link sits properly in the guide bar groove and around the sprocket.
4. Worn bar groove or rails
Over time, the bar rails wear down, reducing groove depth where drive links sit. This creates instability as the chain travels farther out of the groove when rounding the sprocket. Bar rail wear typically appears first at the “heel” (where the bar meets the saw body) and behind the nose, particularly with consistently loose chain tension.
5. Faulty or loose tensioner mechanism
The tensioning system maintains proper pressure on the chain. Various systems exist, but most use springs to maintain pressure. If this mechanism becomes damaged, stripped, or misaligned, it may spin without actually changing tension.
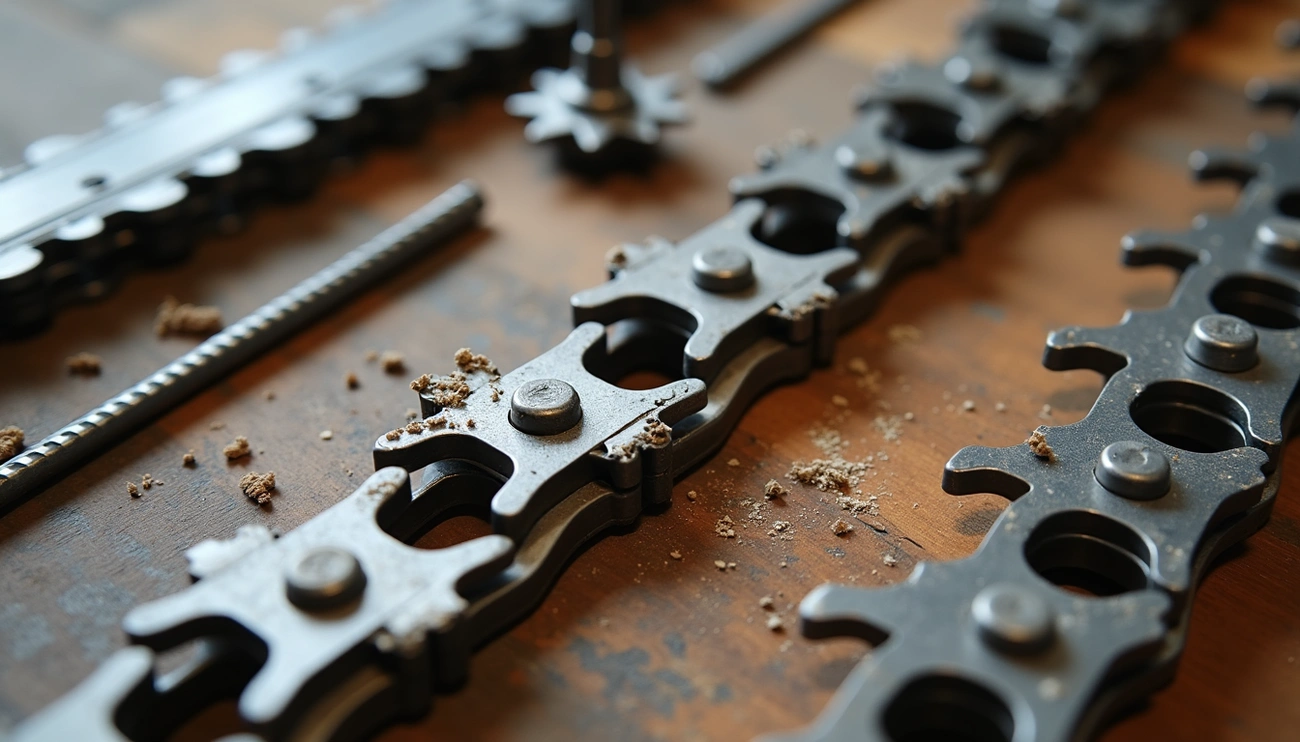
6. Damaged or stretched chain
Chains stretch naturally from heat and wear. A stretched chain appears loose and sagging on the guide bar. Multiple stretch-and-tighten cycles eventually reach a point where no further adjustment is possible, requiring chain replacement.
7. Poor lubrication or clogged oil port
Without adequate lubrication, chains overheat, creating excessive friction. Alongside this, manufacturers sometimes limit oil output for environmental reasons, potentially causing chains to get so hot that what little oil remains starts smoking. Check that oil ports remain clean and unobstructed.
8. Improper installation or user error
Simple mistakes like loose bar nuts, improper chain orientation, or misaligned bars cause frequent derailments. Additionally, attempting to cut brush with a chainsaw often leads to small branches lodging between the chain and sprocket, kicking the chain off track.
How to Fix a Chainsaw Chain That Keeps Coming Off
Now that you understand what’s causing your chainsaw chain to come off, let’s get it fixed. Following these steps will help solve even persistent chain issues.
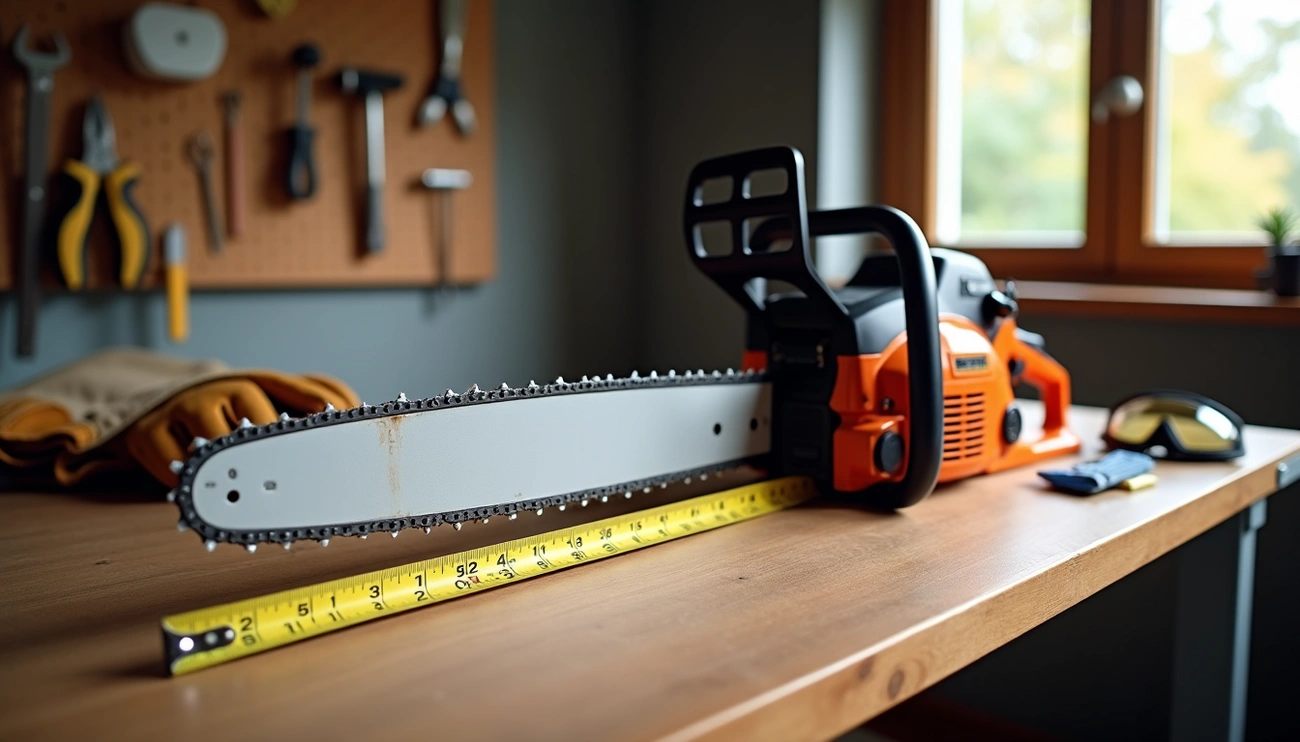
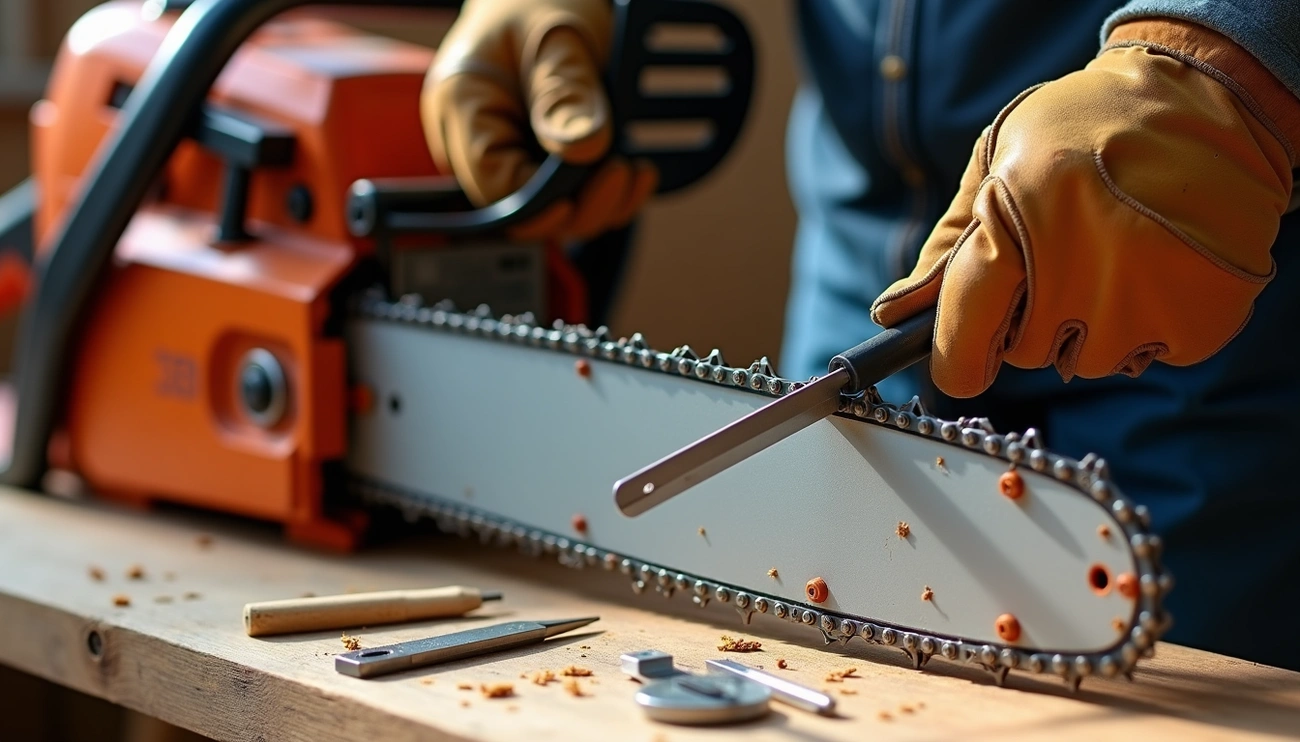
Check and adjust chain tension
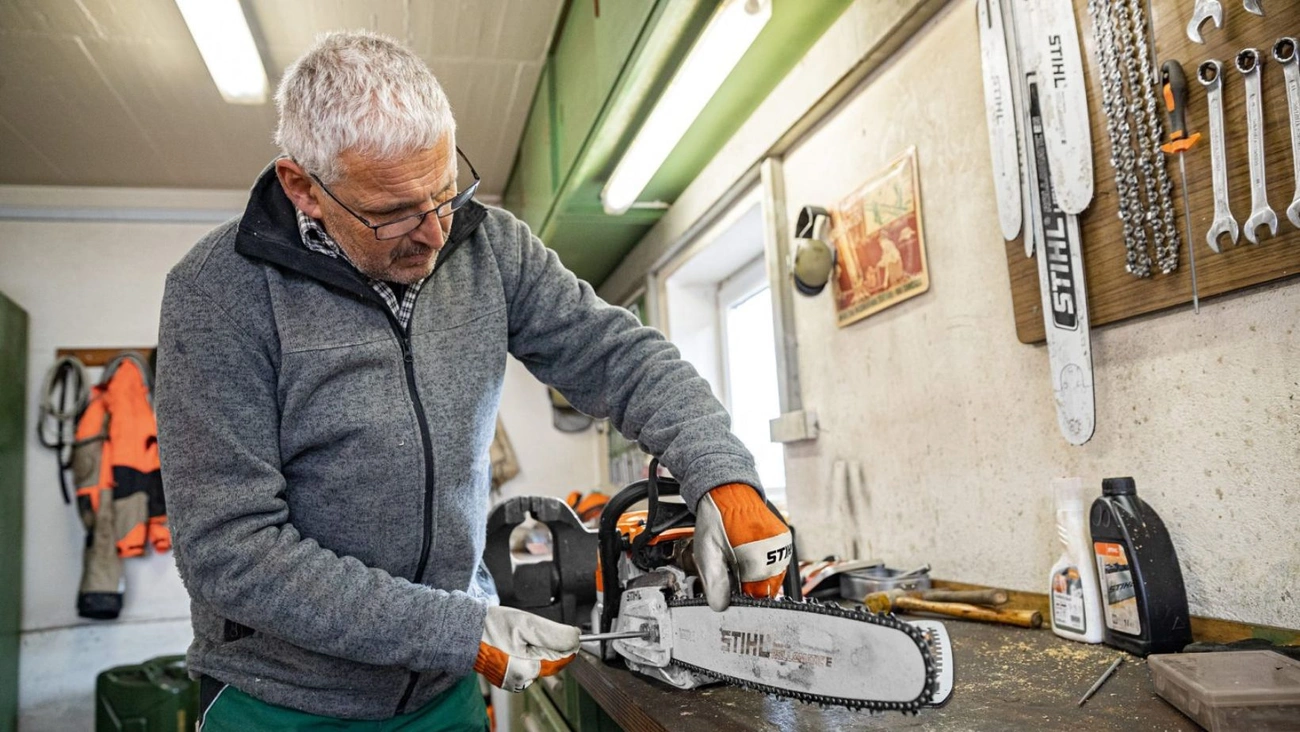
First, turn off your chainsaw completely and disconnect the spark plug for safety. Loosen the bar nuts using a combination spanner or scrench until they’re hand-tight. Lift the bar tip slightly and adjust the tensioning screw clockwise until the chain fits snugly against the bar but can still be moved by hand. The chain should snap back when pulled and released—this indicates proper tension.
Inspect and replace worn parts
Examine your guide bar for uneven wear, nicks, or a widened groove. File down any nicks with a flat file. Check if the sprocket nose wheel is loose—replace the bar if it is. Subsequently, inspect the drive sprocket for worn teeth or damage, as experts recommend replacing it every two to three chains.
Clean the bar and oil system
Remove debris from the bar groove using a screwdriver. Clean the chain oil lubrication holes thoroughly. Oil ports often become clogged with sawdust and hardened oil, preventing proper lubrication. Indeed, many chain issues stem from inadequate oiling.
Reinstall the chain correctly
Position the chain properly around the bar, ensuring cutting teeth face the direction of rotation. Loop it correctly around the sprocket and check that drive links seat fully in the bar groove.
Test the saw before full use
Afterward, run the saw briefly without cutting to ensure the chain moves smoothly and oil flows properly. Always perform a “snap test” before cutting.
How to Prevent Future Chain Issues
Prevention is the best solution when dealing with chainsaw chains that keep falling off. Implementing a few simple maintenance habits can save you significant time and frustration.
Regularly inspect chain and bar
Check your chain tension before every use and each time you refuel the saw. The chain should fit snugly against the bar with the strap ties lightly touching, yet loose enough to pull by hand with some resistance. Moreover, clean the bar groove regularly using a screwdriver to remove debris that can affect chain movement. Throughout the year, examine the entire chain for visible wear or damage.
Avoid cutting into dirt or rocks
Hitting dirt, rocks, or any other abrasive material while cutting is among the most damaging actions for your chain. Small branches can become lodged between the chain and sprocket, kicking the chain off track. Primarily, this issue occurs when attempting to cut brush or when working at ground level.
Use proper chain oil and refill often
Fill the oil reservoir every time you refuel your chainsaw. Always use high-quality bar and chain oil specifically designed for chainsaws—never used motor oil. Alongside proper oil type, check that oil is being delivered to the chain during operation.
Loosen chain after heavy use to prevent shrinkage
Simply loosen your chain slightly after use. As the chain cools, it contracts, potentially causing over-tightening. This simple habit extends the life of both your chain and bar.
Conclusion
Dealing with a chainsaw chain that keeps falling off certainly ranks among the most frustrating experiences for any chainsaw user. Throughout this guide, we’ve explored the warning signs, identified the common causes, and provided practical solutions to this persistent problem.
Therefore, next time your chain starts showing signs of loosening or your cuts begin veering off course, you’ll know exactly what to check first. Remember, most chain issues stem from incorrect tension, worn components, or simple user error that can be quickly addressed with proper knowledge.
Above all, prevention remains your best strategy against chain derailment issues. Regular inspection, proper lubrication, and careful operation will significantly extend the life of your chainsaw components. Additionally, taking a few extra minutes after each use to clean and properly store your saw will save hours of frustration later.