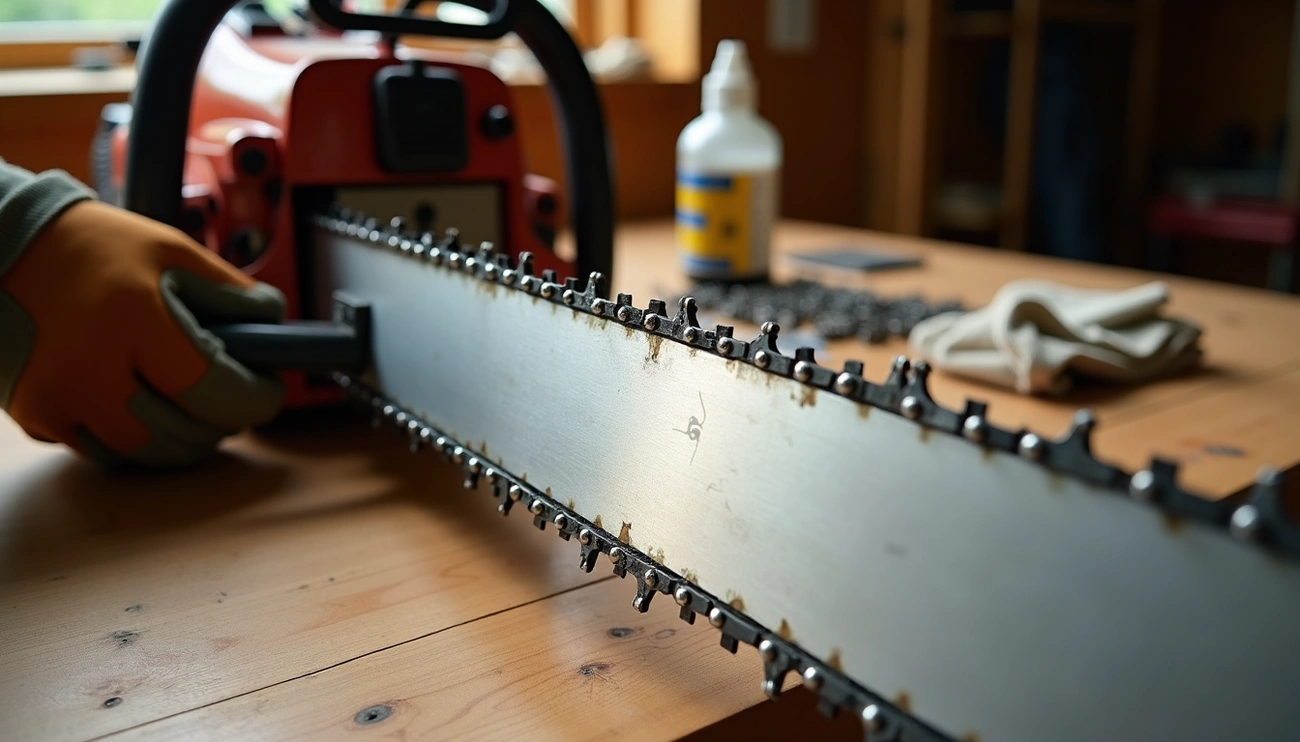
Chainsaw teeth face forward toward the tip of the bar on the top edge and backward toward the powerhead on the bottom edge. The sharp, angled cutting edge points in the direction of chain rotation, which is clockwise when viewed from the side.
Understanding Chainsaw Teeth and Their Function
To properly understand which way chainsaw teeth should face, we need to explore the anatomy of a chainsaw chain. Every chainsaw chain consists of four primary components that work in unison to deliver effective cutting performance.
Drive links and their role
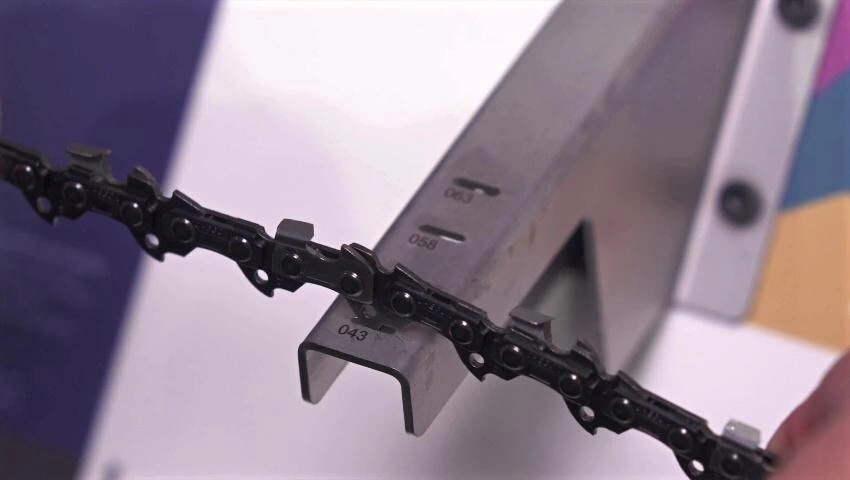
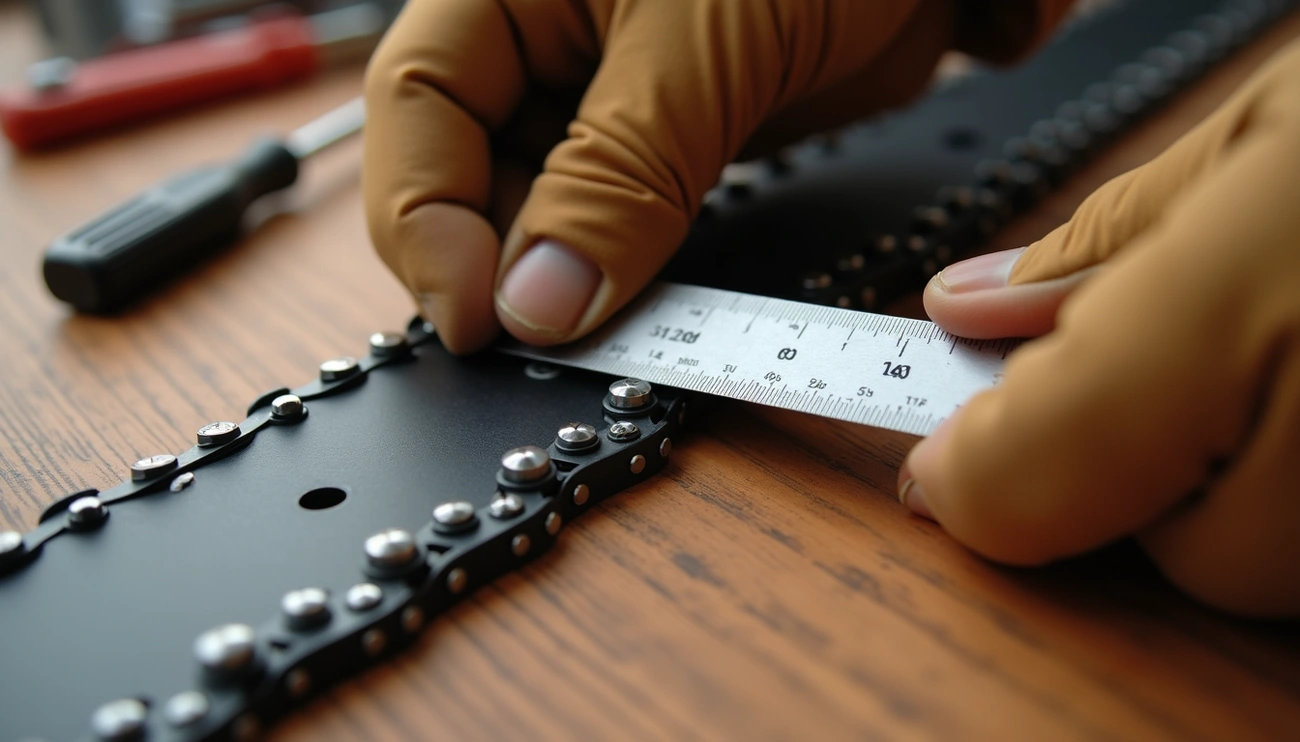
Drive links serve as the backbone of chainsaw operation. These tooth-like components on the underside of the chain fit into the guide bar groove and connect directly with the chainsaw’s engine. Their primary purpose is to transfer power from the sprocket to the chain, ensuring smooth movement around the bar. The thickness of drive links (known as gage) comes in four standard sizes: .043″, .050″, .058″, and .063″ inches. Choosing the correct drive link count is crucial – too many or too few can make your chain either too long or too short for your specific bar.
Cutting teeth: the sharp edge of the chain
The cutting teeth are the sharp, angled blades positioned on the outer part of the chain that actually slice through wood. These teeth are arranged in an alternating right/left pattern to ensure even, straight cuts. Each cutting tooth consists of a top plate, cutting corner, side plate, gullet, and heel. The direction these teeth face determines how efficiently your chainsaw performs. The cutting teeth work according to the chipper tooth principle – the top-plate cutting edge planes wood strands while the side-plate cutting edge splits them sideways.
Depth gages and cutting control
Located in front of each cutting tooth, depth gages (also called rakers) control how deeply the teeth bite into the wood. They function similarly to adjusting a wood plane – the height difference between the depth gage and cutting tooth determines how much wood is removed with each pass. For optimal performance, this height difference should be maintained according to wood type – slightly larger for softwoods (about 0.2mm more) than for hardwoods. Without proper depth gage settings, your chain may cut too aggressively, causing increased vibration and kickback risk.
How all parts work together
The entire system functions through precise coordination. Drive links engage with the sprocket, transferring power through the chain. Cutting teeth slice through wood fibers while depth gages regulate cutting depth. Tie straps connect these components, maintaining proper spacing and stability. Furthermore, the angles between cutting edges must be maintained precisely – typically 30° for optimal cutting performance. Ultimately, understanding this interconnection helps explain why chainsaw teeth direction matters so much – each component relies on proper orientation to function safely and efficiently.
Why Chainsaw Teeth Direction Matters
The direction your chainsaw teeth face isn’t just a minor detail—it’s fundamental to your saw’s operation. Proper orientation determines both your safety and the tool’s performance during every cut you make.
Correct direction ensures efficient cutting
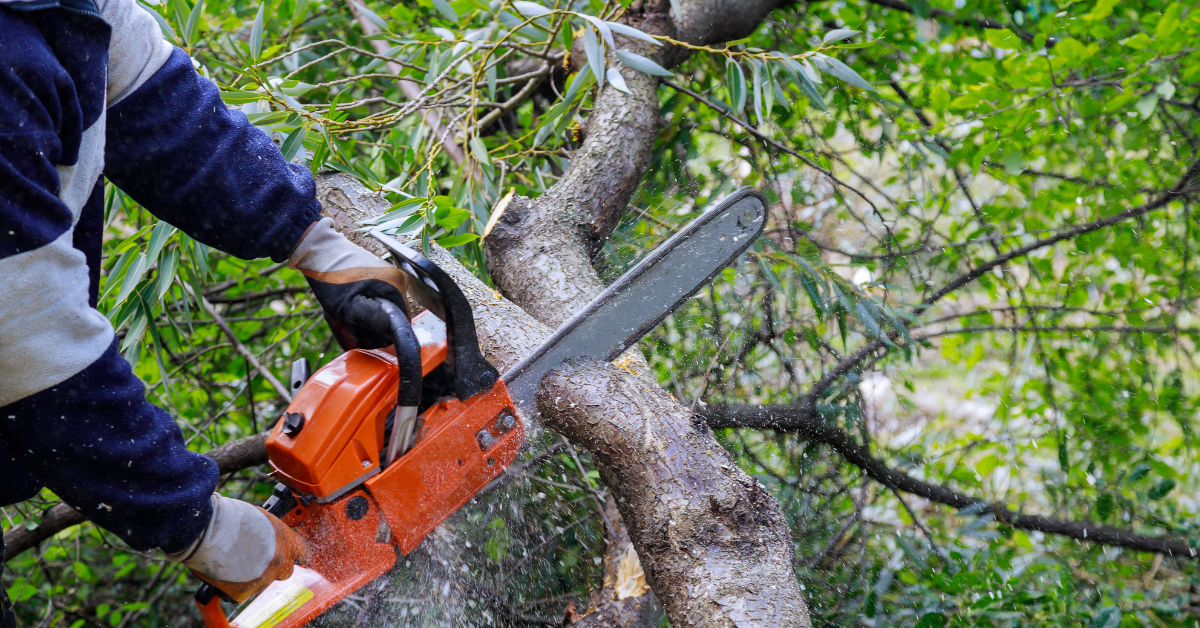
When chainsaw teeth are correctly installed, they bite into the wood effectively, pulling out wood chips rather than creating fine dust. This results in smooth, efficient cutting that requires minimal effort. Properly oriented teeth cut through wood quickly because they’re designed to slice when moving in a specific direction. The correct orientation is when cutters on top of the bar point toward the bar tip—away from the chainsaw body.
Safety risks of backward chains
Backward chains present serious safety hazards. The most dangerous risk is increased kickback potential, where the saw unexpectedly jumps back toward you, potentially causing severe injury. Moreover, incorrectly installed chains don’t sit properly in the bar groove, making them more likely to jump off during operation. This chain detachment can be extremely hazardous, particularly when cutting at high speeds.
How incorrect direction affects engine and bar
Running a chainsaw with backward teeth places excessive strain on the motor. The engine works unnecessarily hard because the chain isn’t cutting effectively, wasting power and potentially causing premature mechanical failure. Consequently, both the chain and bar experience accelerated wear and tear. The drive links don’t sit properly in the bar groove, creating abnormal friction that damages components and shortens their lifespan.
Signs your chain is installed wrong
Several clear indicators suggest your chain faces the wrong direction. First, poor cutting performance—the saw feels like it’s dragging or merely scraping wood surfaces rather than cutting. Next, you’ll notice unusual sparks or smoke even with proper lubrication. Strange noises like whining or grinding often accompany increased vibration. Finally, your chainsaw might produce fine sawdust instead of coarse wood chips, a telltale sign that cutting teeth aren’t biting properly into the wood.
How to Tell Which Way Chainsaw Teeth Should Face
Determining the correct chainsaw teeth direction is crucial for effective and safe operation. Let me show you five reliable methods to check your chain’s orientation.
Look for arrows or markings on the chain
Initially, examine your chain for directional indicators. Many chains feature small arrows or markings on the side plates of cutting teeth that indicate the correct travel direction. These manufacturer-provided guides offer the most straightforward verification method.
Check the angle of the cutting teeth
The cutting teeth have sharp edges that should point in the chain’s rotation direction. On properly installed chains, each tooth’s top plate is angled, pointing toward the direction of rotation. The filing angle typically ranges between 25–35 degrees, depending on your chain type.
Understand the chain’s rotation path
Hold your chain and observe its natural curve. The chain is engineered to move around the guide bar in one specific direction. If it feels stiff or resists curving naturally, it might be backward.
Visual inspection of chain on the bar
When mounted correctly, cutting edges on top of the bar point away from the chainsaw body toward the bar tip. The bottom edge of cutting teeth should sit flat against the bar – if they don’t, it’s a clear sign of incorrect installation.
How to test chain movement manually
To confirm proper orientation, the chain should rotate smoothly around the guide bar, moving away from the chainsaw body on top and toward it on the bottom. For a quick test, rotate the bar forward by hand – cutters should scrape forward with cutting edges leading.
Fixing a Backward Chainsaw Chain Safely
Discovering your chainsaw chain is installed backward can be frustrating, yet fixing it is straightforward once you understand the correct chainsaw teeth direction. Following these steps ensures you’ll resolve the issue safely.
Turn off and cool down the chainsaw
Safety comes first! Before attempting any repairs, completely power off your chainsaw. For gas models, remove the spark plug wire; for electric ones, unplug or remove the battery. Allow the chainsaw to cool for several minutes if recently used. This prevents accidental burns from hot components.
Remove the chain cover and loosen tension
Locate the chain cover nuts or bolts on the side of the chainsaw body. Using the appropriate wrench, loosen these fasteners. Next, find the tensioning screw (typically near the guide bar) and turn it counterclockwise to loosen the chain. This creates enough slack to remove the chain entirely.
Identify correct orientation before reinstalling
Examine the cutting teeth carefully—the sharp, angled edge should point away from the chainsaw body toward the tip of the guide bar. Some chains have helpful arrows indicating proper rotation direction. When correctly oriented, cutters on the top of the bar face forward.
Reinstall and tension the chain properly
Loop the chain around the drive sprocket first, then carefully fit the drive links into the guide bar groove. Adjust the tension until the chain is snug but still moves freely. A properly tensioned chain can be pulled slightly away from the bar but should snap back when released.
Final checks before starting the saw
Double-check all fasteners are secure. Test the chain movement by hand—it should rotate smoothly. Apply chain oil to ensure proper lubrication. Primarily for safety, engage the chain brake before starting the saw to prevent unexpected chain movement.
Conclusion
Understanding which way chainsaw teeth should face might seem like a small detail, but as we’ve seen throughout this guide, it makes all the difference between efficient cutting and potential danger. Properly oriented teeth create clean, efficient cuts while reducing strain on your chainsaw’s engine and components. Conversely, backward chains not only cut poorly but also significantly increase kickback risk—a serious safety hazard for any operator.
Remember these key indicators of correct installation: cutting teeth on the top bar point toward the tip, manufacturer’s arrows follow the direction of rotation, and the chain moves smoothly when tested manually. Additionally, a properly installed chain produces wood chips rather than fine sawdust during operation.
Safety must always come first when handling chainsaws. Therefore, regular inspection of your chain’s orientation before each use becomes a crucial habit worth developing. This simple check takes seconds yet prevents potentially costly mistakes and dangerous situations.