Sharpen a chainsaw chain at a top plate angle between 25° and 35°. Use 30° for general cutting. Apply a steeper 35° angle for softer woods and a shallower 25° angle for harder woods. Always follow the chain manufacturer’s specifications and use a filing guide to maintain consistent and accurate sharpening.
How to know when your chainsaw needs sharpening
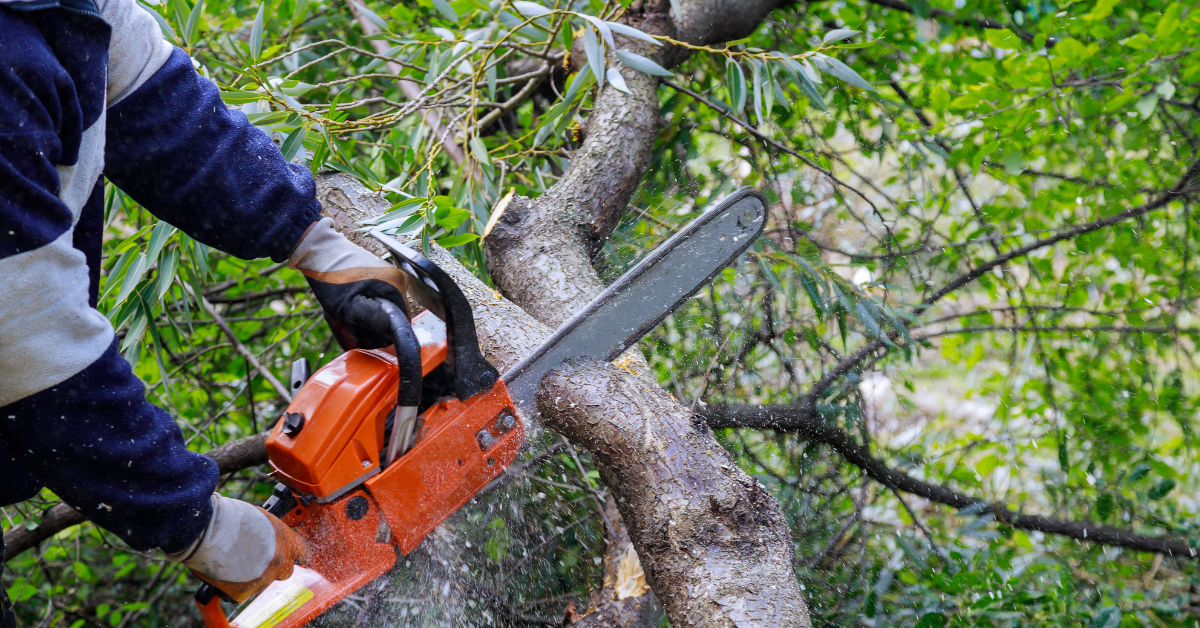
Keeping your chainsaw in peak cutting condition requires recognizing when that chain needs sharpening. Even before you worry about finding the correct chainsaw sharpening angle, you need to identify when your chain has become dull. Here are four unmistakable signs that it’s time to break out the sharpening files.
1. Sawdust instead of wood chips
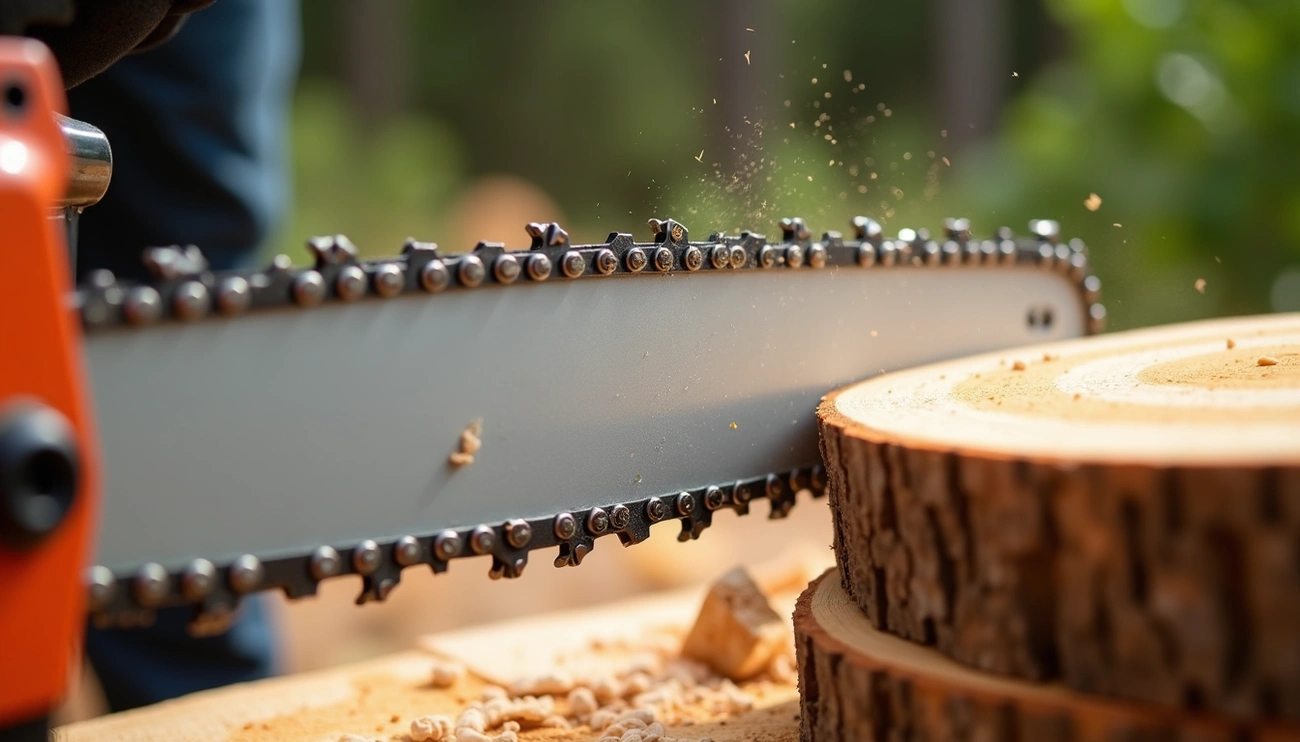
A properly sharpened chain should produce large, uniform wood chips during cutting, particularly when cross-cutting (cutting against the grain). When your chainsaw starts creating fine sawdust instead of those chunky chips, it’s a clear indicator that your chain has dulled. This fine powder-like sawdust can actually cause additional problems by getting deeper into your bar and potentially jamming the chain oiler mechanism.
2. Needing more pressure to cut
One of the most evident signs of a dull chain is increased cutting resistance. A sharp chain naturally pulls itself into the wood, requiring minimal pressure from you. Conversely, if you find yourself applying significant force to push the chainsaw through material that should cut easily, your chain needs attention. This excessive pressure doesn’t just tire you out—it causes premature wear on your bar, drive links, clutch sprocket, and clutch.
3. Uneven or curved cuts
When your chainsaw starts veering to one side instead of cutting straight, your chain likely has unevenly worn cutting teeth. These “J cuts” or curved cutting paths occur because one side of the chain is duller than the other. Most frequently, chainsaws curve to the right when the chain dulls. This uneven cutting not only creates unprofessional results but can lead to dangerous binding situations where the saw gets stuck in the wood.
4. Smoke or burn marks during cutting
Perhaps the most concerning sign of a dull chain is smoke or a burning smell during operation. Despite proper lubrication and correct chain tension, a dull chain creates excessive friction as it struggles to cut. This friction generates heat that can leave burn marks on the wood and produce visible smoke. If you notice these symptoms, stop cutting immediately to prevent damage to both your chainsaw and the material you’re cutting.
Recognizing these warning signs early can save you significant hassle and extend the life of your chainsaw. Furthermore, maintaining the proper chainsaw sharpening angle becomes much easier when you address dullness promptly rather than waiting until the chain is severely worn.
Choosing the right tools and angle for sharpening
Selecting proper sharpening tools is essential for maintaining your chainsaw’s cutting performance. The correct equipment and angles make all the difference between a smooth cut and a frustrating experience.
1. Round file and flat file
The round file is your primary tool for sharpening cutting teeth. You’ll need to match the file diameter to your chain’s pitch size. Most common round file diameters are 5/32″, 3/16″, and 7/32″ inches. For example, a 3/8″ pitch chain typically requires a 7/32″ file, while smaller 3/8″ Low Profile chains need a 5/32″ file.
A quality flat file is equally important for maintaining depth gages (also called rakers). This file helps you adjust how deeply the cutting teeth bite into the wood. After approximately five sharpenings, consider replacing your round file to ensure optimal results. To extend file life, coat them with lightweight machine oil and store them in cloth to prevent dulling.
2. Filing gage and angle guide
Filing gages serve multiple crucial functions. They help maintain consistent sharpening angles, check depth gage settings, and even assist with cleaning the bar groove. For beginners especially, a file holder is invaluable—it helps maintain the correct filing height and angle.
Another helpful tool is a filing guide or sharpening grid. These guides typically have markings that make it easy to maintain the correct angle. Some feature magnets that attach directly to the guide bar, simplifying the positioning process.
3. Understanding the best angle to sharpen chainsaw chain
The optimal chainsaw sharpening angle typically falls between 25° and 35°. This range offers the best balance of cutting efficiency and durability. The specific angle depends on what you’re cutting:
- 25° – Best for hard or frozen woods (extends edge durability)
- 30° – General purpose for various wood types
- 35° – Optimized for softwoods (faster cutting but dulls quicker)
Maintaining a consistent angle is crucial—even small deviations affect cutting performance. Remember that as you sharpen, you’re actually creating two cutting surfaces: the top plate and the side plate cutting edge.
4. Referencing the Stihl chainsaw sharpening angle chart
Stihl chains generally follow a standard 30° filing angle. The exception is Rapid Hexa chains, which require a 25° angle. When using Stihl’s filing guides, the inside edges of the plastic handles act as angle guides—keep these edges parallel to the bar to maintain proper sharpening angles.
Many manufacturers provide detailed sharpening specifications. Husqvarna’s chart, for instance, lists not only the filing angle but additionally the side plate cutting angle, file down angle, and depth gage settings for each chain type. These manufacturer guidelines ensure optimal performance for your specific chainsaw model.
Step-by-step guide to sharpening your chainsaw chain
Now that you’ve gathered your tools and determined the proper angle, let’s dive into the actual sharpening process. Sharpening your chainsaw doesn’t need to be complicated with these straightforward steps.
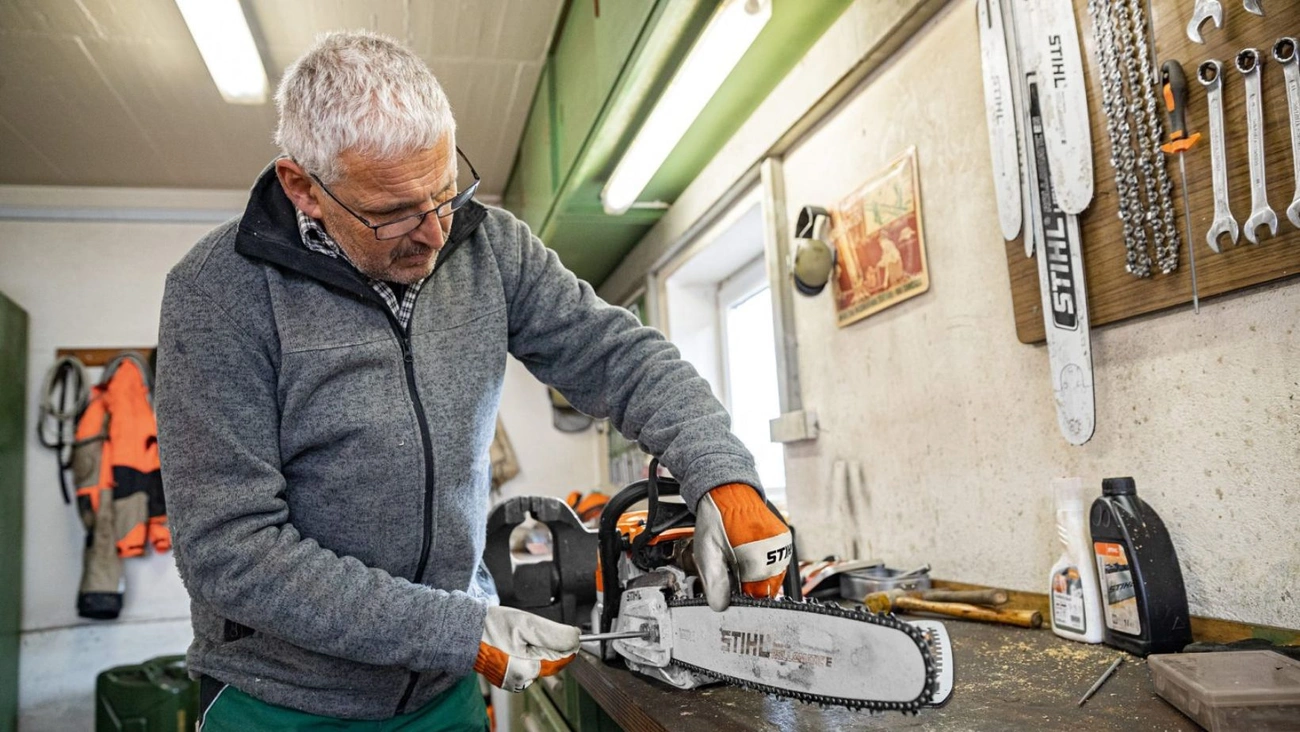
1. Prepare and clean the chain
First thing to remember, thoroughly clean your chain before sharpening. A light soaking in mineral spirits or diesel fuel for about 2 minutes effectively removes sap and debris. For basic maintenance, engage the chain brake and secure your saw in a vice. Moreover, tension the chain slightly tighter than normal cutting tension to keep teeth stable during filing.
2. Mark the shortest tooth as a guide
Identify the shortest or most damaged tooth and mark it with a felt-tip pen. This becomes your reference point for all other teeth, ensuring uniform length throughout the chain. Subsequently, all teeth should be filed to match this length.
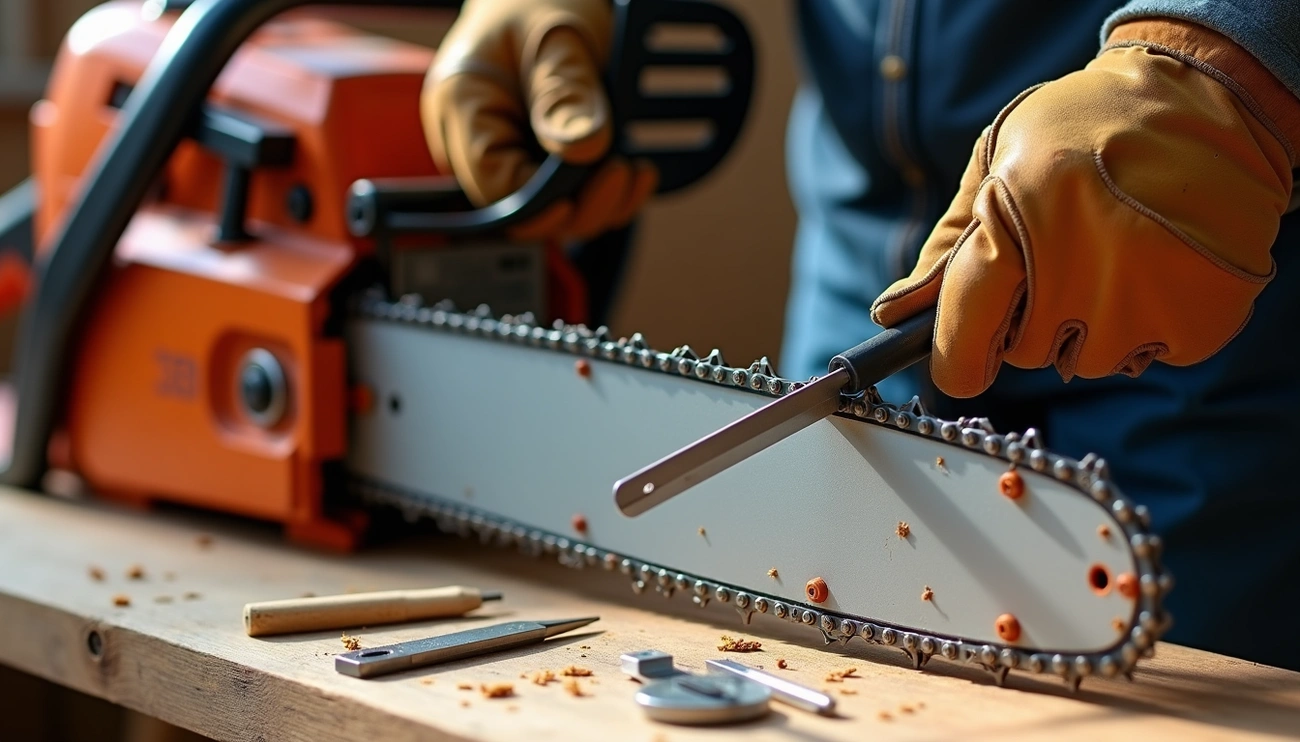
3. File each cutter at the correct angle
Position your file at the manufacturer’s recommended angle (typically 30° for most chains). Place the file so that approximately 1/5 or 25% of its diameter sits above the cutter’s top plate. File with smooth, even strokes, pushing away from you—never pull the file backward across the tooth.
4. Maintain consistent length and angle
Count your file strokes (usually 3-10) and apply the same number to each tooth. Uneven tooth lengths cause the chain to pull to one side, creating curved cuts. File until you see a uniform, shiny edge on each cutter.
5. Sharpen both sides evenly
After completing one side, turn the saw around and sharpen all teeth on the opposite side using identical technique and number of strokes. Afterward, check that all cutters match your reference tooth in both sharpness and length.
Adjusting depth gages and finishing up
After sharpening your chainsaw’s cutting teeth, don’t overlook the crucial final steps that ensure optimal cutting performance. These finishing touches make all the difference in how your chainsaw performs.
1. What are depth gages (rakers)?
Depth gages (sometimes called “rakers” or “riders”) control how much wood each cutting tooth bites off during operation. Located in front of each cutter, these small bumps essentially act like a plane—determining how deeply the cutting teeth penetrate the wood. Without properly maintained depth gages, your chain might not cut anything at all, regardless of how sharp the teeth are.
2. How to check and file them
Check your depth gages after sharpening the chain 3-4 times. Place a depth gage tool over the chain so it sits against the cutting tooth. If the depth gage protrudes above the tool, it needs filing. Using a flat file, carefully file the depth gage until it’s flush with the tool. Never file depth gages too low—Oregon recommends .025″ for most professional chains. Always maintain their original rounded shape for smooth cutting.
3. Lubricate and tension the chain
Once sharpening is complete, thoroughly clean the chain and apply bar and chain oil. For best results, soak the chain overnight in lubricant. Check chain tension—a properly tensioned chain should contact the underside of the guide bar yet still pull easily by hand. Incorrect tension causes premature wear and dangerous operating conditions.
4. Final safety checks before use
Before using your freshly sharpened chainsaw, verify all depth gages are even. Uneven depth gages cause the chain to cut roughly, vibrate excessively, or pull to one side. Consequently, perform a final inspection of chain tension and lubrication. These simple checks prevent accidents and extend your chainsaw’s life.
Conclusion
Proper chainsaw maintenance certainly pays dividends through improved cutting performance and extended tool life. Throughout this guide, we’ve seen how the correct sharpening angle—typically between 25° and 35°—makes a tremendous difference in your chainsaw’s effectiveness. Additionally, recognizing the warning signs of a dull chain allows you to address issues before they become serious problems.
Remember that consistent angle maintenance matters just as much as the angle itself. Therefore, investing in quality tools like appropriate files and guides will make your sharpening tasks significantly easier and more precise. First-time sharpeners might feel intimidated, but after following the step-by-step process a few times, this skill becomes second nature.
Safety always remains paramount when working with chainsaws. Consequently, those final checks of depth gages, chain tension, and lubrication protect both you and your equipment. Most chainsaw users find that regular maintenance actually saves time in the long run—a sharp chain cuts faster and requires less physical effort than struggling with a dull one.