Use a chainsaw file guide by matching the file size and guide angle, typically 30°, to your chain. Align the guide with the cutter angle and direction arrow, file forward with even strokes, lift on the return, sharpen all teeth on one side, then repeat on the other side and check rakers.
Understanding the Chainsaw File Guide
A chainsaw file guide stands as the foundation of proper chain maintenance for both beginners and experienced users alike. This essential tool ensures precision when sharpening your chainsaw chain, making the entire process more consistent and effective.
What is a chainsaw file guide?
A chainsaw file guide is a specialized tool designed to maintain specific filing angles when sharpening chainsaw chains. It holds your file in the correct position relative to the cutting teeth, eliminating guesswork and inconsistency. Most file guides include round files for sharpening the cutting teeth, a flat file for depth gages, and a built-in guide system. Fundamentally, this tool helps maintain precise angles—including top plate filing angle (25-35°), side plate cutting angle (55-90°), and file down angle (0-10°)—all of which vary depending on your specific chain type.
How does a chainsaw file guide work?
Chainsaw file guides function by positioning your file at the exact angle needed for proper sharpening. The guide sits directly on the chain, with arrows pointing in the chain’s direction of rotation. Once positioned, the file rests on rollers at a 90-degree angle to the guide, creating the correct filing angle of 25-35° depending on your chain type.
The plastic handles on most file guides serve as angle indicators—keeping these parallel to the bar maintains the proper sharpening angle. For optimal results, you’ll use smooth strokes away from yourself, lifting the guide between strokes rather than pulling backward. Typically, three strokes per cutting tooth suffice, though severely worn teeth might require additional attention.
Types of file guides and when to use them
File guides primarily differ based on the chain pitch they’re designed for. Common types include:
- Bar-mounted file guides – Professional-grade options that clamp onto the bar for maximum stability and precision
- Hand-held file guides – More portable and affordable options suitable for most home users
- 2-in-1 filing guides – Comprehensive tools that handle both cutting teeth and depth gages
Furthermore, selecting the correct guide depends on your chain’s pitch. For instance, you’ll need a guide appropriate for 3/8″, .325″, or .404″ pitch chains. Each guide corresponds to specific file diameters: 5/32″ (4.0mm) files for 1/4″ and 3/8″ low profile chains, 3/16″ (4.8mm) for .325″ pitch chains, and 7/32″ (5.5mm) for standard 3/8″ and .404″ pitch chains.
Ultimately, using the correct file guide ensures your chain maintains optimal cutting performance throughout its lifespan.
Preparing Your Chainsaw for Sharpening
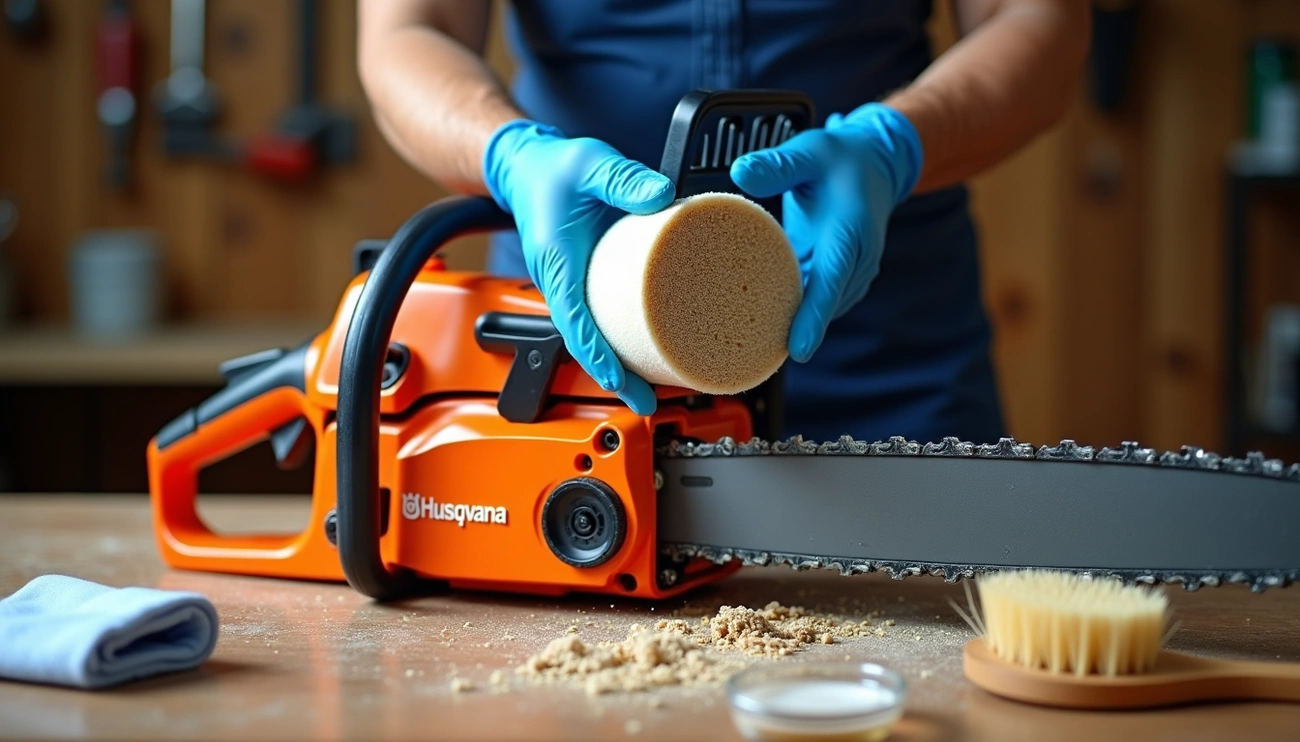
Proper preparation before sharpening ensures both your safety and optimal results when using a chainsaw file guide. Taking time for these preliminary steps will save you frustration and potential injuries during the sharpening process.
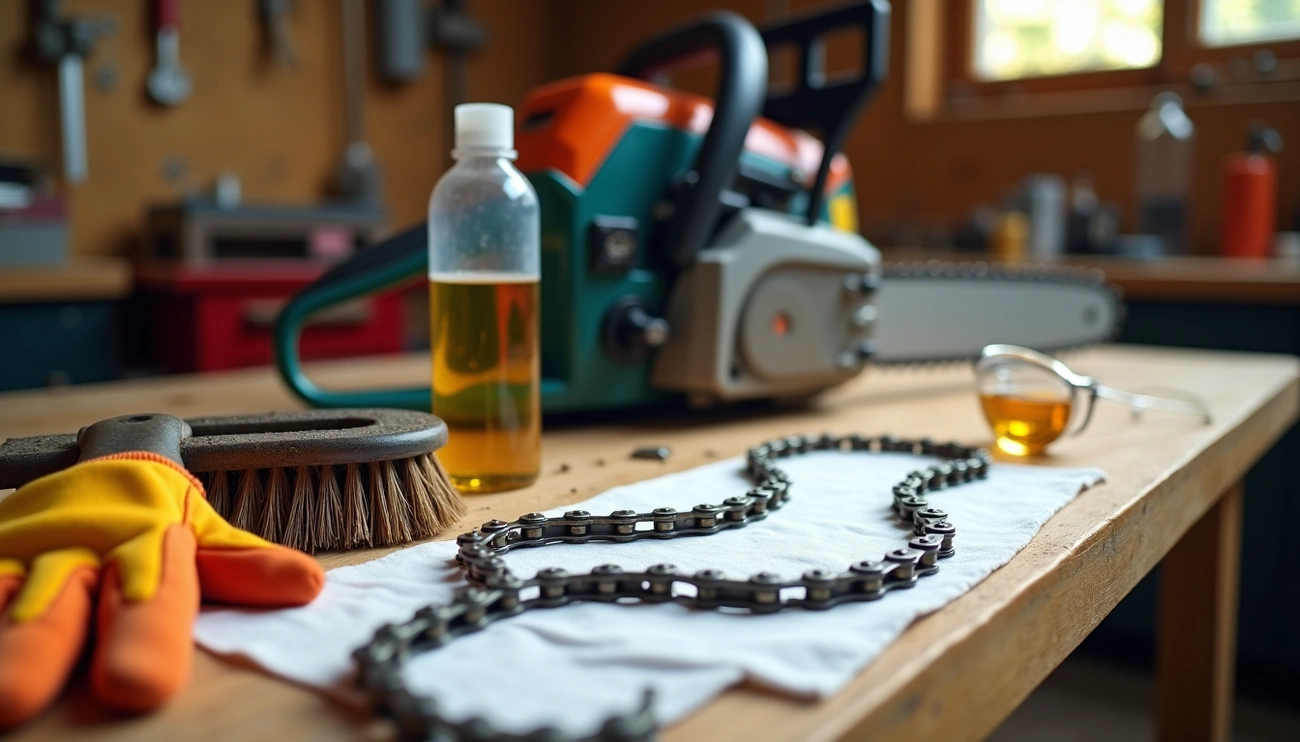
Check chain tension and wear
Proper chain tension is crucial before beginning any sharpening work. A chain that’s too loose can jump off and cause serious injuries, while one that’s too tight can damage your saw. The ideal tension allows the chain to be pulled freely around the bar yet remain snug against it. To check tension, pull the chain with a gloved hand – it should feel tight but still move smoothly. Additionally, examine the chain for cracks, missing teeth, or excessive wear. If the cutting tooth has worn down to less than 4 mm, it’s time to replace the chain instead of sharpening it.
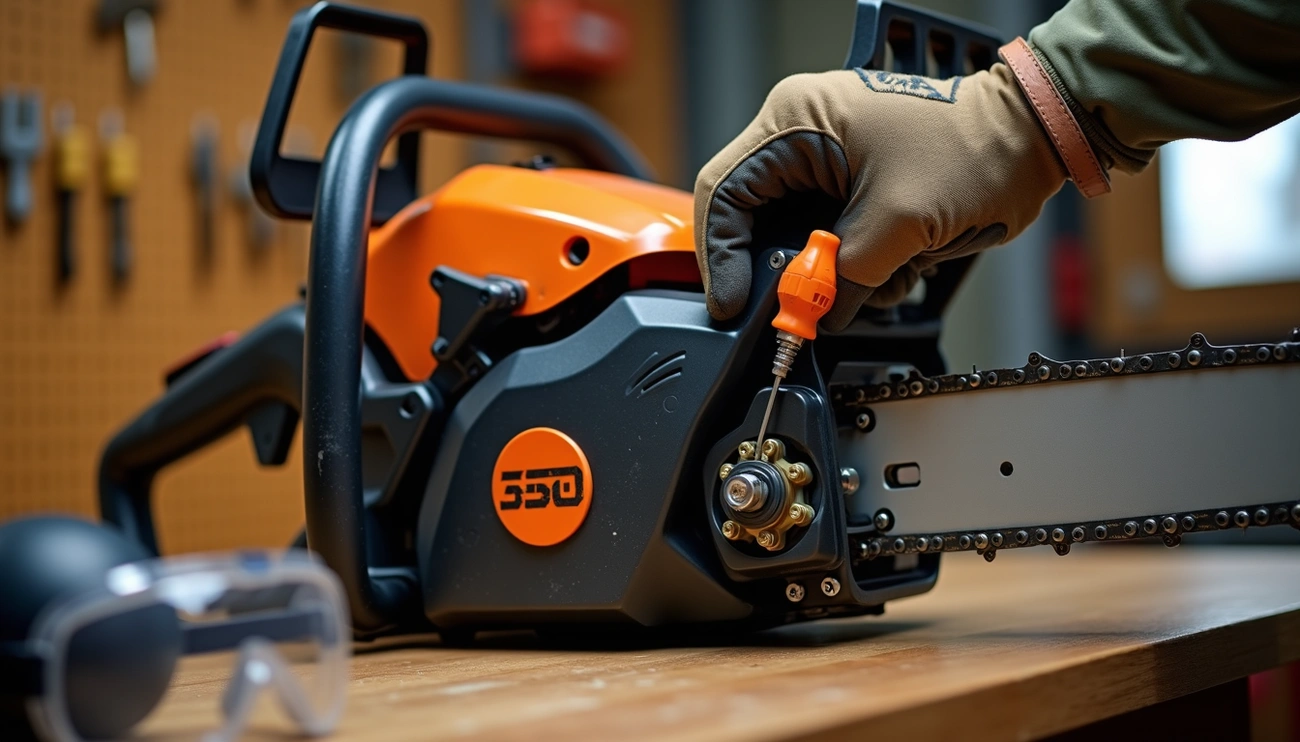
Secure the chainsaw safely
Before sharpening, ensure your chainsaw is completely off with the motor cooled down. Securing the chainsaw properly prevents movement during filing and reduces the risk of accidents. The most effective method is placing the guide bar in a vise on a sturdy workbench. Alternatively, you can use a stump vise if working outdoors. For extra stability and safety, consider activating the chain brake after securing the saw.
Identify the most worn cutting tooth
Inspect your chain to locate the cutter in the worst condition – this will be your starting point. This “master tooth” typically has the most wear and will determine how much filing is needed across all teeth. Addressing the most damaged tooth first ensures all cutters will ultimately match in length and shape, resulting in smoother cutting performance.
Mark your starting point
Once you’ve identified your starting point, mark it with a permanent marker. This simple step prevents confusion during the sharpening process, especially since all teeth can look similar after you begin filing. The mark ensures you don’t accidentally sharpen some teeth twice while missing others – a common mistake that leads to uneven cutting and poor chainsaw performance.
Step-by-Step: How to Use a File Guide
With your chainsaw properly secured, it’s time to master the actual sharpening process. Using a file guide makes this task surprisingly straightforward once you understand the correct technique.
Place the file guide correctly on the chain
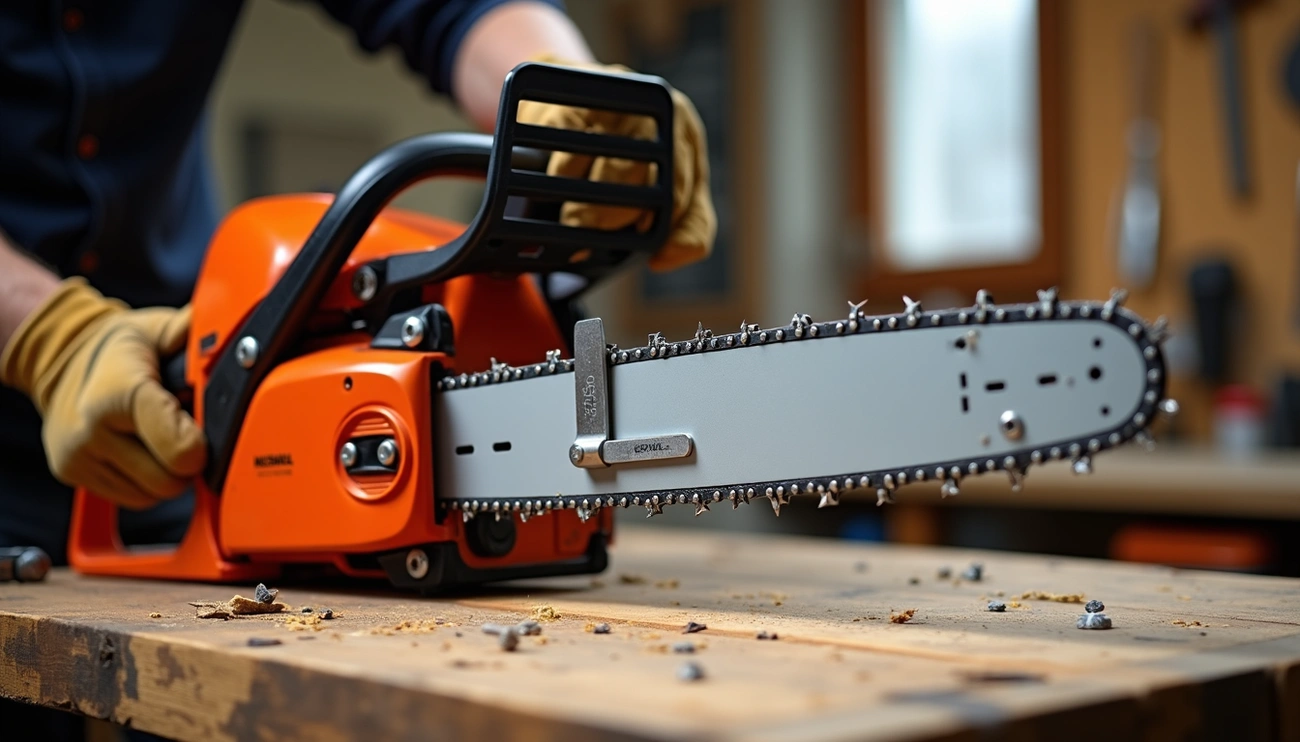
Position the file guide over the cutter with the file resting in the gullet between the cutter and depth gage. Ensure the guide has two contact points—one on the cutter’s top plate and one on the depth gage. The arrows on the guide should point in the chain’s direction of rotation (toward the nose wheel). This proper positioning guarantees consistent filing angles across all teeth.
Maintain the correct filing angle
Hold the file at a 90-degree angle relative to the rollers on the filing guide. Approximately 20% of the file’s diameter should extend above the cutter’s top plate. The proper angle typically ranges between 25-35 degrees depending on your chain type. The plastic handles on most file guides serve as built-in angle indicators—keep these parallel to the bar.
Sharpen each tooth with smooth strokes
File each cutting tooth with steady, even strokes from the inside to the outside of each cutter. Apply consistent pressure while pushing forward—never pull back on the file. Count your strokes (typically three per tooth is sufficient for routine maintenance). You’ll know sharpening is complete when the cutter displays a shiny, silver face.
Switch sides and repeat the process
After completing all cutters on one side, turn your chainsaw around or reposition yourself to access the opposite-facing cutters. Reset the chain brake if necessary, then follow the same procedure for the remaining teeth. Maintaining consistent stroke count ensures all cutters remain equal in length and sharpness.
Check for even sharpness across all teeth
Examine each tooth for light reflection—any reflective spots indicate more sharpening is needed. All cutters should match the length of your “master tooth” (the most worn tooth you identified earlier). Uneven teeth will cause the chainsaw to cut unevenly, creating unnecessary strain and potentially dangerous vibration.
Fine-Tuning and Maintenance Tips
Maintaining your chainsaw goes beyond just sharpening the cutting teeth. Proper maintenance of other components ensures optimal performance and safety.
How to file the depth gage
Depth gages control how deeply cutting teeth bite into wood. After filing the cutting teeth 3-4 times, check your depth gages using a proper gage tool. To file them:
- Place the depth gage tool over the chain
- File any gage that protrudes above the tool
- Maintain the original rounded shape after filing
Important: Filing depth gages too low makes the chain overly aggressive, increasing kickback risk and causing the saw to stall.
When to replace the chain
Replace your chain immediately if:
- Cutting teeth have worn down to less than 4mm
- Any teeth or drive links are broken or bent
- The chain has reached its wear markers
- You notice cracks or other visible damage
- Drive links are burred and don’t fit the bar correctly
How often should you sharpen?
Sharpening frequency depends on usage:
- Clean softwood: Every 3-5 hours
- Hardwood: Every 1-3 hours
- Dirty/frozen wood: After every session
- After hitting soil/rocks: Sharpen immediately
Signs you need to sharpen include applying extra pressure to cut or seeing fine sawdust instead of chips.
Common mistakes to avoid
Common errors include using incorrect file size, inconsistent filing angles, ignoring depth gages, and filing in both directions (only file in one direction). Moreover, uneven sharpening causes the saw to pull to one side.
Conclusion
Maintaining a sharp chainsaw chain significantly impacts your cutting efficiency and safety. Throughout this guide, we’ve seen how file guides transform what might seem like a complex task into a straightforward maintenance routine. Most importantly, these tools ensure consistent filing angles every time, eliminating guesswork for beginners.
Remember that proper preparation sets the foundation for successful sharpening. Chain tension checks, secure positioning, and identifying your starting point will save you time and frustration during the actual filing process. Additionally, counting your strokes and maintaining even pressure across all teeth results in balanced cutting performance.
Your chainsaw requires different levels of attention based on usage conditions. Hardwood cutting demands more frequent sharpening than softwood, while dirty or frozen wood accelerates dulling. Consequently, recognizing the signs of a dull chain—such as producing fine sawdust instead of chips—helps you determine when maintenance becomes necessary.