Put a chain back on a chainsaw by loosening the side panel nuts and the chain tensioning screw, then removing the cover. Place the chain onto the drive sprocket and into the bar groove with cutting teeth facing forward on top. Reinstall the cover, hand-tighten the nuts, and adjust tension until the chain fits snugly without sagging.
Prepare Your Chainsaw Safely
Safety first! Proper preparation is crucial before attempting to put a chain back on chainsaw. Taking the right precautions prevents injuries and makes the reinstallation process smoother.
Clear your workspace
Finding a stable surface for your chainsaw is the first step toward safe chain replacement. A clear workbench or flat ground provides stability and prevents the chainsaw from tipping over while you work. Additionally, remove any loose debris and obstacles from your work area that might interfere with your movements or create tripping hazards.
Having enough space allows you to move freely around the chainsaw and provides a retreat path if needed. Furthermore, adequate lighting helps you see all the chainsaw components clearly, making the chain reinstallation process more efficient.
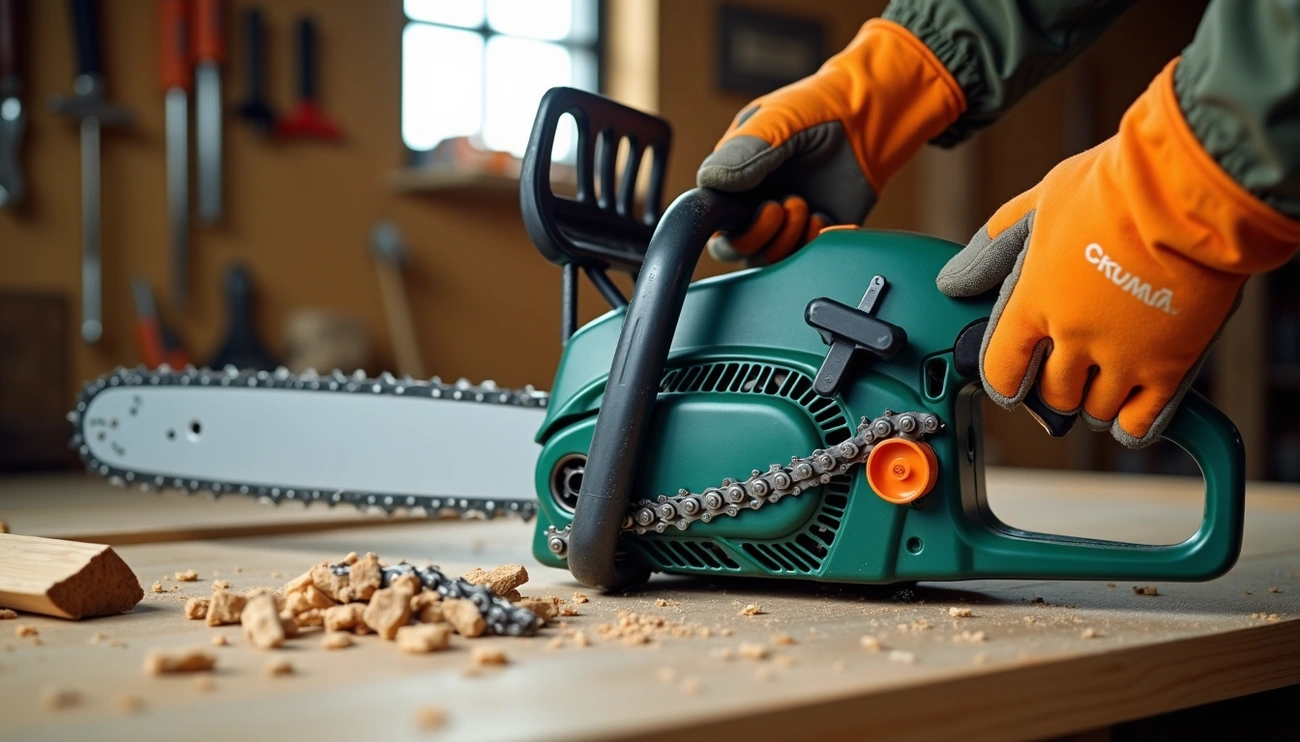
Wear protective gloves
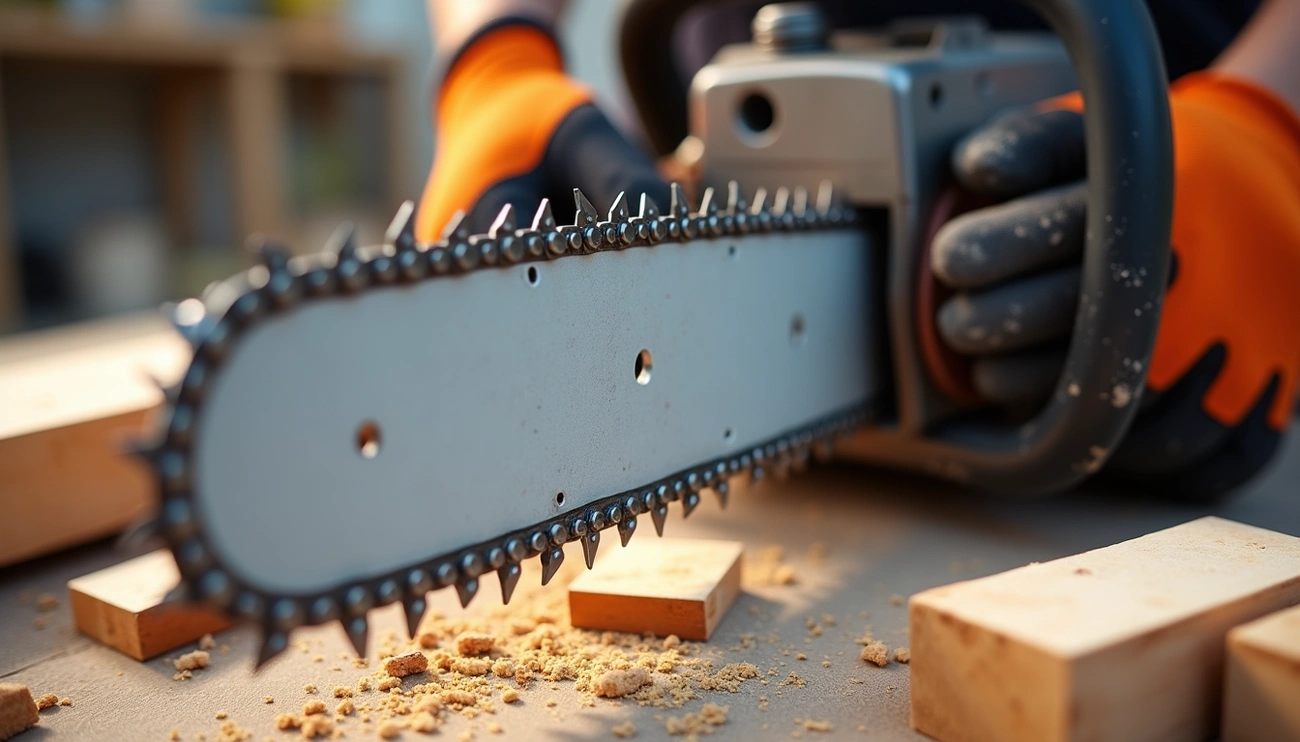
Protective gloves are non-negotiable when handling chainsaw components. Always wear work gloves made from robust material to protect your hands from cuts, abrasions, and burns. This precaution is particularly important because you’re at the greatest risk of injury when performing saw maintenance or changing a chain.
Quality gloves not only protect your hands but moreover improve your grip and control over the chainsaw parts. Even though we’re not operating the saw, the chain teeth are still sharp enough to cause serious cuts if mishandled.
Let the chainsaw cool down
Prior to touching any part of your chainsaw, ensure it has completely cooled down. Chainsaws generate significant heat during operation, and touching hot components can cause serious burns.
For electric chainsaws, disconnect the power cord from the socket and apply the chain brake. With battery-operated models, remove the battery completely. Gas-powered chainsaws require switching off the engine and turning the combi lever to 0, followed by applying the chain brake.
One effective cooling method is to simply wait 10-15 minutes after use. During this cooling period, you can gather your gloves and prepare your workspace. Following these preparation steps ensures you can safely proceed to reinstalling your chainsaw chain without risking injury.
Clean and Inspect Before Reinstalling
Before reinstalling your chain, thorough cleaning and inspection are essential. Taking time for this step prevents future problems and extends the life of your chainsaw components.
Wipe off sawdust and debris
First, place your chainsaw on a flat, stable surface like a workbench. Using a damp cloth, wipe the chainsaw housing clean to remove accumulated debris. For stubborn grime, a wire brush can be effective.
Pay special attention to the area around the sprocket, as debris often collects there. Subsequently, clean the bar groove using a screwdriver narrow enough to reach the bottom. The oil inlet hole and oil outlet port should likewise be cleared of any blockages. These steps help combat premature wear to your guide bar and saw chain.
Check the bar and chain for damage
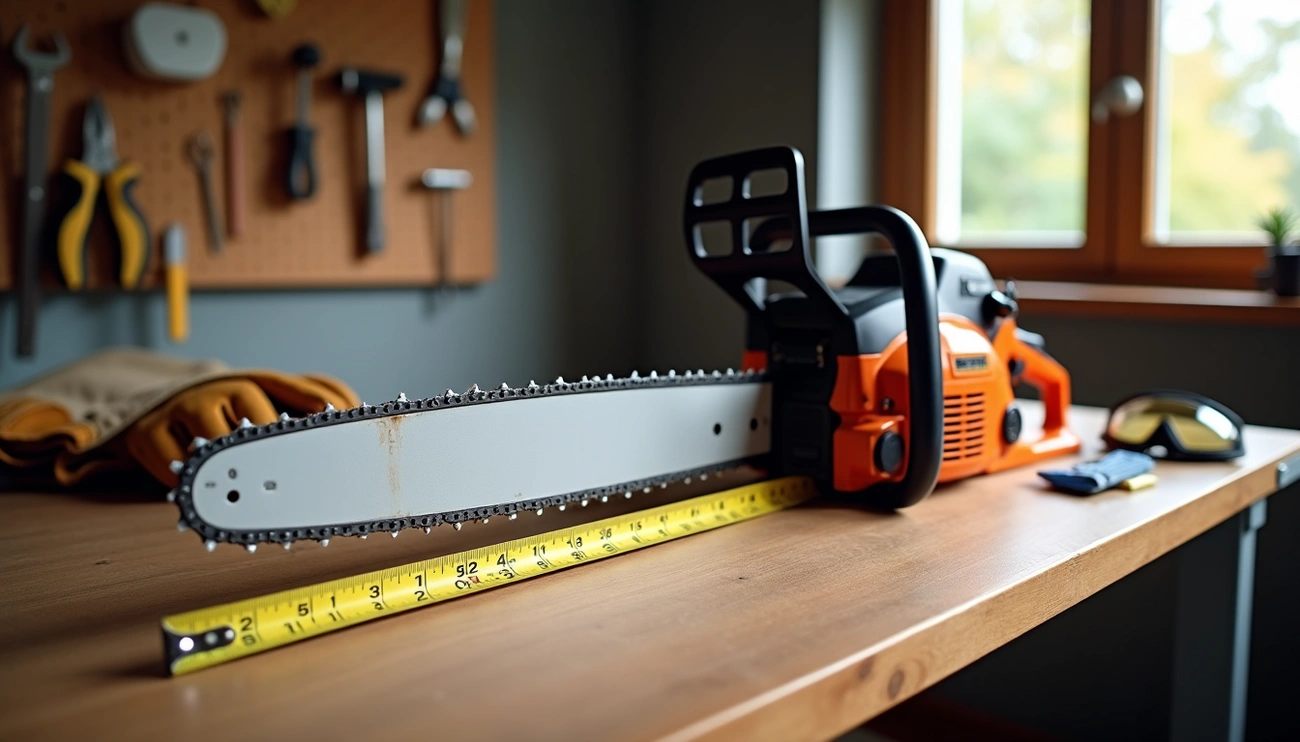
Once cleaned, inspect the guide bar carefully. Look for signs of bending, cracks, or other damage. The bar should be flat with straight rails and show no unusual wear patterns.
Run a flat file across the flat sides of the bar to remove any burrs or wire edges from the rails. Additionally, check if the metal on the bar has turned blue from overheating, which indicates damage.
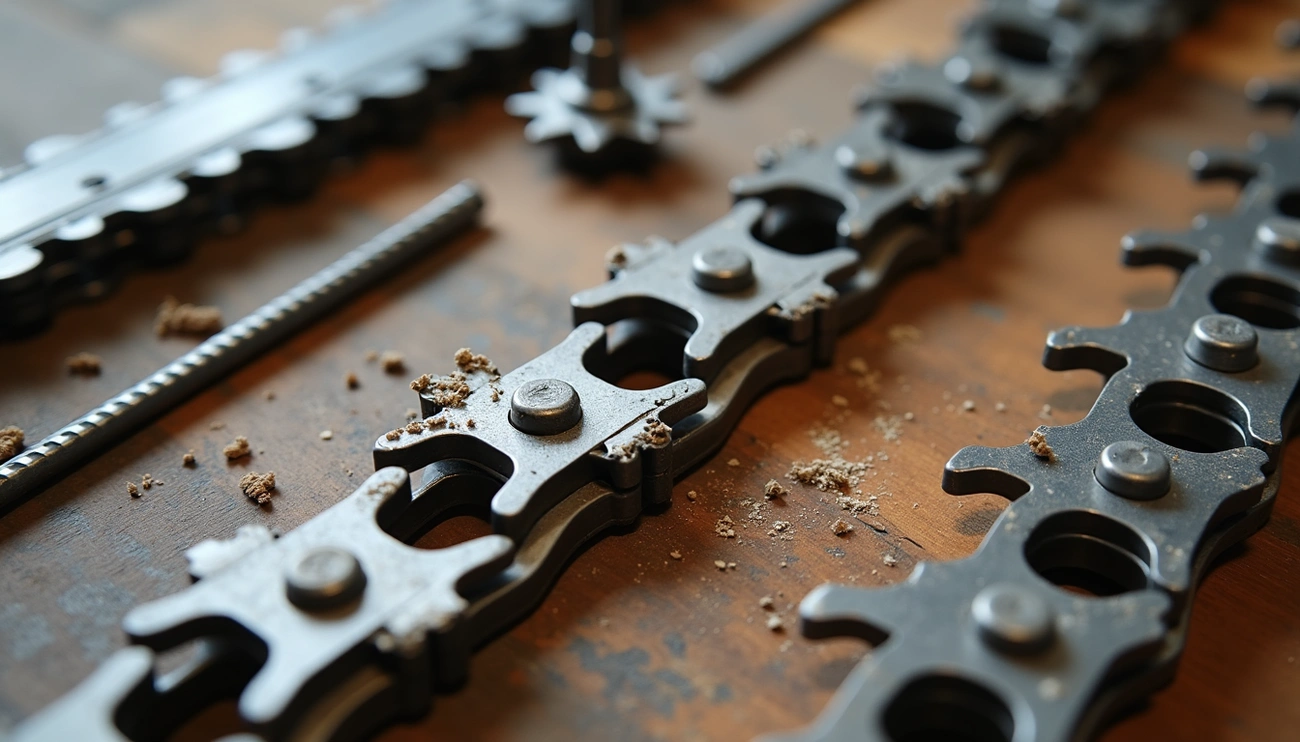
For the chain, examine it thoroughly for visible wear, damage, or broken drive link tangs. Damaged tangs often result from chains running too loose or jumping off the bar. If you find minor damage, carefully file off burrs.
Ensure the chain is not twisted
Finally, verify that your chain isn’t twisted before reinstallation. A twisted chain will cause performance issues and potentially damage your chainsaw. Inspect the chain to confirm that the tie straps are positioned to ride evenly on the guard rails of the guide bar.
The chain should lay flat with cutting teeth pointing in the correct direction. Consequently, taking time to ensure your chain is properly aligned now will save you trouble after reinstallation and prevent the chain from falling off again.
How to Put Chainsaw Chain Back On (No Tools Needed)
Now that your workspace is clear and your chainsaw properly inspected, it’s time for the actual reinstallation process. Putting a chain back on a chainsaw without specialized tools is actually quite straightforward once you understand the proper technique.
Align the chain with the sprocket
First, take your clean chainsaw chain and locate the drive sprocket (sometimes called the clutch drum). This is the toothed wheel that powers your chain’s movement.
- Place the chain around the sprocket, ensuring it sits correctly in the sprocket’s teeth
- Give the chain a gentle spin to confirm it’s properly seated on the sprocket
- The drive links should fit snugly into the teeth of the sprocket as you do this
Important tip: Make sure the chain brake is disengaged at this point to allow proper alignment.
Fit the chain into the bar groove
Once the chain is positioned around the sprocket, it’s time to fit it onto the guide bar:
- Hold the guide bar steady with one hand
- Start at the sprocket end and begin placing the chain into the bar’s groove
- Work your way around the entire bar, inserting each drive link carefully into the groove
- As you reach the nose of the bar, roll the chain around the nose sprocket
After fitting the chain, give the guide bar sprocket a small spin to verify that the chain is seated properly throughout the entire bar.
Ensure the chain teeth face the right direction
The orientation of your chain is absolutely critical for proper operation. An improperly installed chain won’t cut effectively—or worse, could pose a safety hazard.
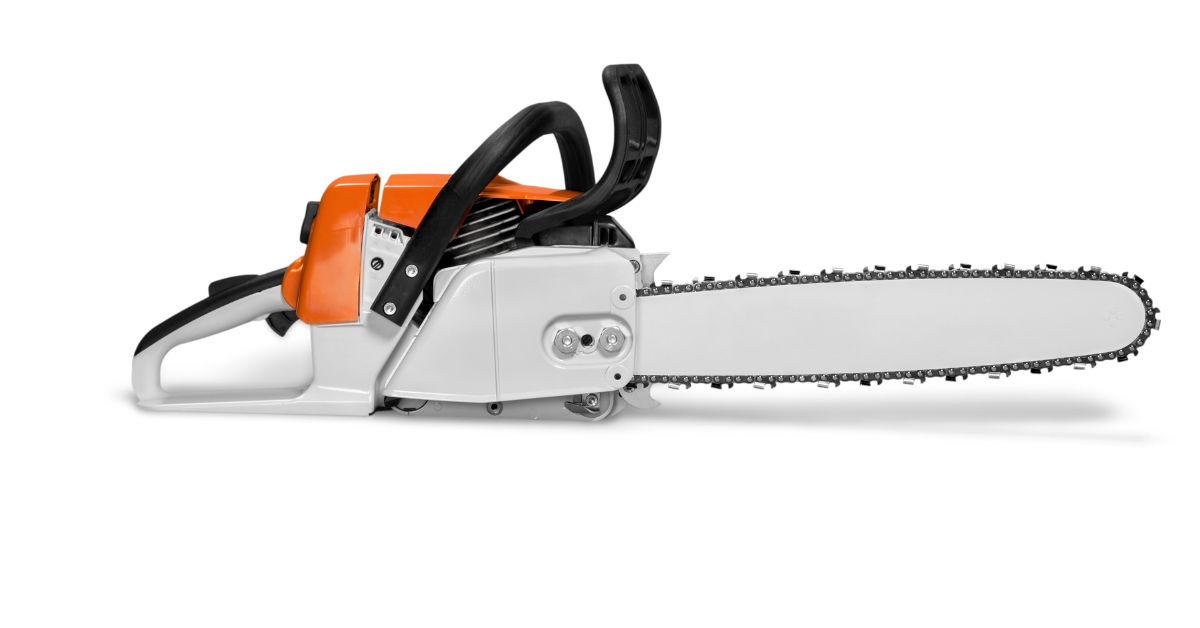
The cutting teeth must face the appropriate direction—specifically, the sharp edge of each tooth should point away from the engine when on the top run of the bar. This means the chain will pull forward on top of the bar during operation.
If you’re uncertain, look for these indicators:
- Cutting teeth should face forward on the top of the bar
- The chain should dig into wood as it moves forward
Adjust the chain tension by hand
Without using any tools, you can now adjust your chain tension:
- Hold the bar nose slightly upward
- Pull the chain by hand to check movement
- The chain should move freely yet still fit snugly against the bar
- There should be minimal sag on the underside of the bar
A properly tensioned chain can be moved by hand but doesn’t hang loose underneath the bar. After installation, manually spin the chain to check for any tight spots or binding.
Final Checks and Testing
After completing installation, proper testing ensures your chainsaw operates safely. These final checks confirm your chain is correctly reinstalled and tensioned.
Spin the chain manually to check movement
Upon reinstallation, perform a manual “rotation test” first. With gloved hands, pull the chain along the top of the guide bar toward the nose. A properly tensioned chain should move smoothly with light resistance. The chain should feel snug against the bar yet still pull freely.
Next, conduct the crucial “snap test.” Pull the chain down on the underside of the bar until one or two drive links lift slightly out of the groove, then release it. The chain should snap back into position immediately. This confirms proper tension.
Start the chainsaw and test tension
Once manual tests indicate appropriate tension, it’s time for a running check. Start your chainsaw and allow it to idle briefly. Listen carefully for any unusual noises or vibrations that might indicate improper installation.
With the saw running at half throttle, hold it over a light-colored surface. If the chainsaw leaves a clear trail of oil, lubrication is working correctly. Inadequate lubrication requires immediate attention.
Recheck after a few cuts
The most critical tension check happens after initial use. As the chain warms up during operation, it naturally expands. Check tension regularly, especially during the first half hour of use.
If your chain becomes loose while cutting, stop immediately. Let the saw cool completely before readjusting tension. This prevents dangerous chain displacement and extends the life of both chain and bar.
Conclusion
Putting a chain back on your chainsaw doesn’t require professional assistance or specialized tools after all. Throughout this guide, we’ve walked through the complete process from preparation to final testing. Safety remains the top priority when handling chainsaw maintenance, which is why proper gloves and a clear workspace make all the difference.
Remember, thorough cleaning and inspection serve as essential steps before reinstallation. This attention to detail prevents future problems and extends the life of your chainsaw components. The actual reinstallation process – aligning with the sprocket, fitting the chain into the bar groove, and ensuring correct tooth direction – requires patience rather than technical skill.
Additionally, proper chain tension stands as perhaps the most critical factor for safe chainsaw operation. The chain should move freely yet remain snug against the bar. Most importantly, chains naturally expand during use, so you must check tension frequently during your first cuts after reinstallation.