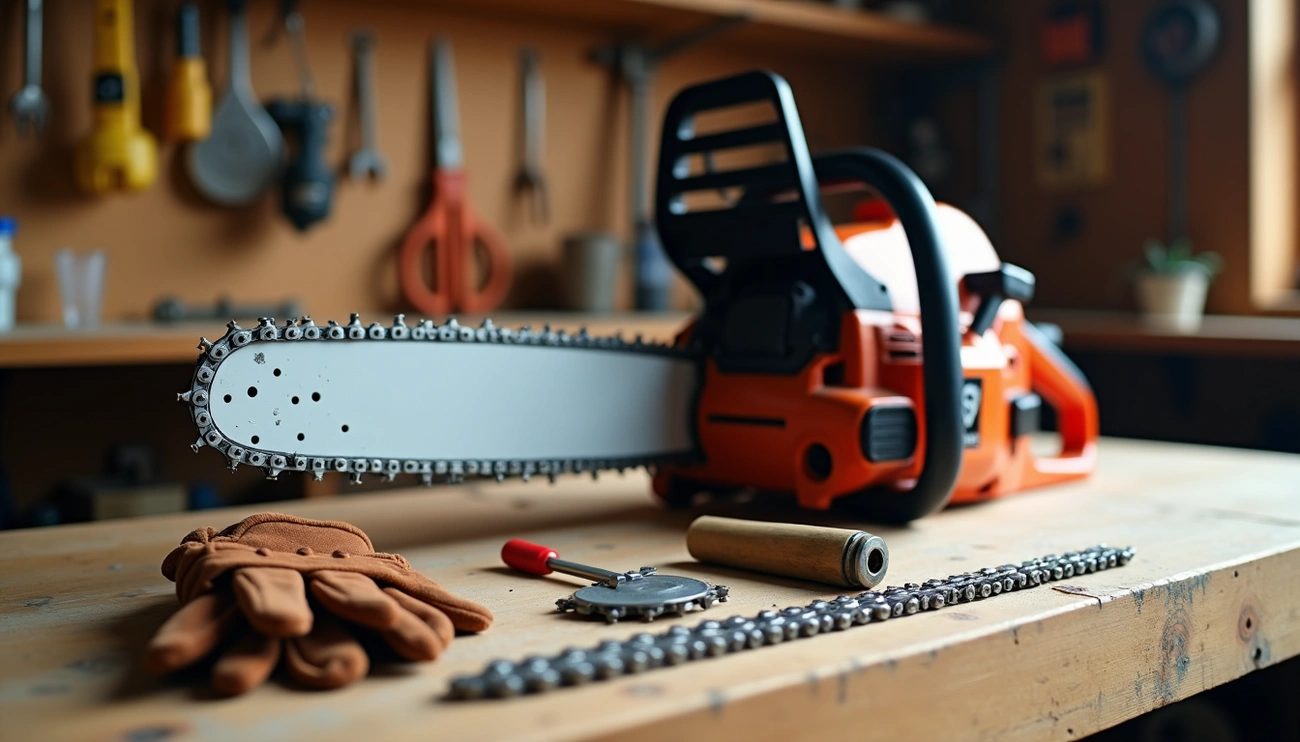
Measure a chainsaw chain by identifying three values: pitch, gauge, and drive link count. Measure pitch by checking the distance between rivets, measure gauge by the thickness of the drive link, and count the total drive links. Bar stamps or gauge tools often confirm these numbers.
Understand the Three Key Chain Measurements
Every chainsaw chain requires three precise measurements to ensure proper fit and function. Getting any of these wrong creates not just performance issues, but potentially dangerous situations.
Pitch: How to measure and what it means
Chain pitch represents the fundamental size classification of your chainsaw chain. Technically, pitch equals the distance between any three consecutive rivets divided by two. This measurement determines whether your chain will match your saw’s drive and bar tip sprockets.
Common pitch sizes include 1/4″ (smallest), .325″, 3/8″ (most popular), and .404″. Many homeowner saws use 3/8″ Low Profile (often called “Picco”) or .325″ chains. To measure pitch accurately, lay your chain flat, measure from the first to third rivet, then divide that number by two.
Perfect pitch matching between chain, drive sprocket, and bar tip sprocket is essential. Mismatched pitches cause dangerous situations where chains can jam, skip, or be thrown from the bar.
Gage: Why thickness matters
Gage refers to the thickness of the drive links that slide into your guide bar’s groove. Most commonly, you’ll encounter .043″, .050″, .058″, and .063″ gages, with .050″ and .058″ being the most prevalent.
This measurement must be exact. A chain that’s too thick won’t fit in the bar rails at all. More dangerously, a chain that’s too thin will sit loosely in the groove, causing crooked cuts, preventing proper lubrication, and potentially derailing during operation.
For precise gage measurement, you’ll need a caliper to measure the thickness of a single drive link. Alternatively, look for numbers like ’50’ (meaning .050″) stamped on your bar.
Drive links: Counting them correctly
Drive links are those triangular extensions on the chain’s underside that keep it attached to the bar and engage with the sprocket. The exact count matters more than bar length for determining the correct replacement chain.
For accurate counting, lay your chain on a flat surface with drive links facing up. Mark your starting point and count each link until you return to that mark. Typically, you’ll find between 66 and 72 drive links on common chains, with 16-inch bars usually having 66 drive links.
Unlike bar length, which can vary between manufacturers, drive link count provides your foolproof method for getting the correct replacement chain.
How to Measure Chainsaw Chain Size Accurately
Accurate measurement requires precision and the right tools. With proper equipment and technique, you’ll never purchase the wrong chainsaw chain again.
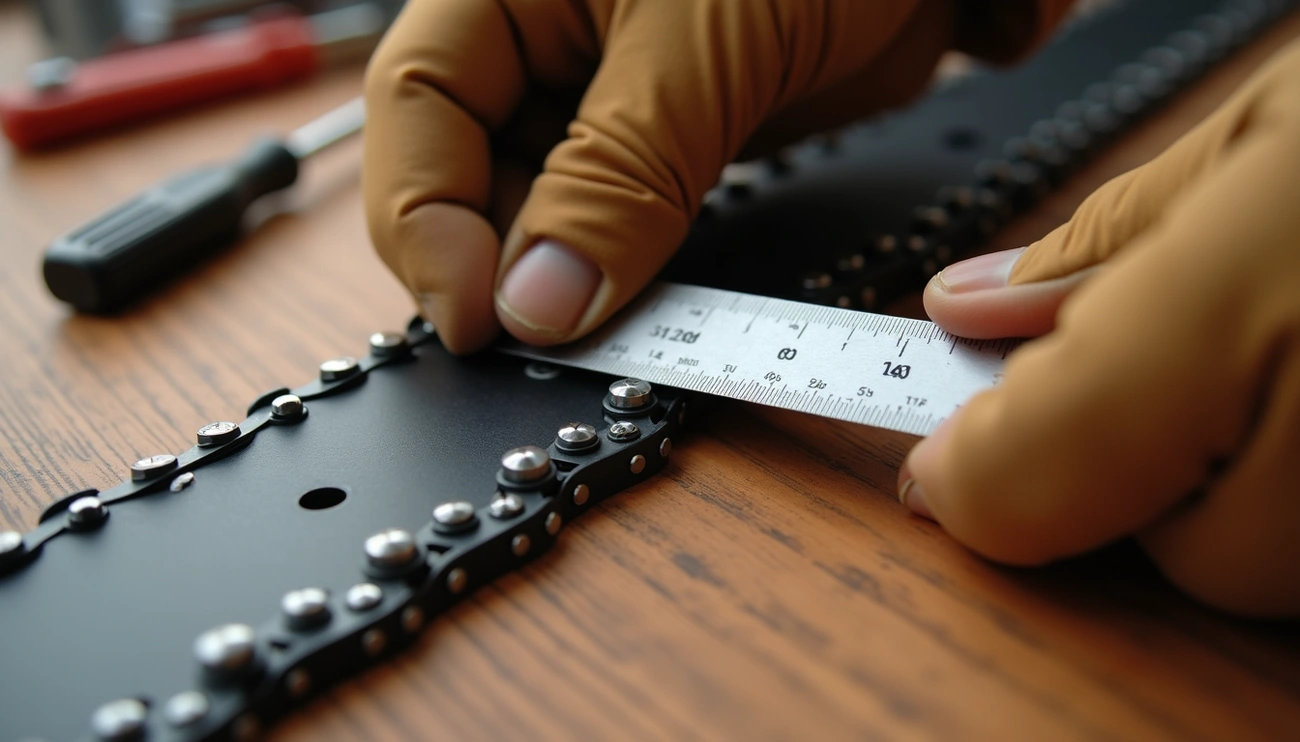
Using a tape measure for pitch
To measure your chain’s pitch accurately, grab a tape measure or ruler and follow these steps:
- Lay your chain flat on a stable surface with the drive links visible.
- Locate three consecutive rivets (the small metal pins connecting the links).
- Measure the distance from the center of the first rivet to the center of the third rivet.
- Divide this measurement by two to get the pitch.
For example, if the distance between three rivets is ½ inch, dividing by two gives you a pitch of ¼ inch. Most residential chainsaws use either 3/8″ Low Profile, .325″, or standard 3/8″ pitch chains.
Using a caliper for gage
The gage measurement requires greater precision:
- Obtain a caliper for accurate measurement—a ruler simply isn’t precise enough.
- Place the caliper jaws around the thickness of a single drive link where it fits into the bar groove.
- Read the measurement precisely—common gages are .043″ (1.1 mm), .050″ (1.3 mm), .058″ (1.5 mm), and .063″ (1.6 mm).
For those without calipers, some enthusiasts use coins as makeshift gage guides: a dime approximates .050″ gage, a penny .058″, and a quarter .063″. Nevertheless, a proper caliper provides the most reliable results.
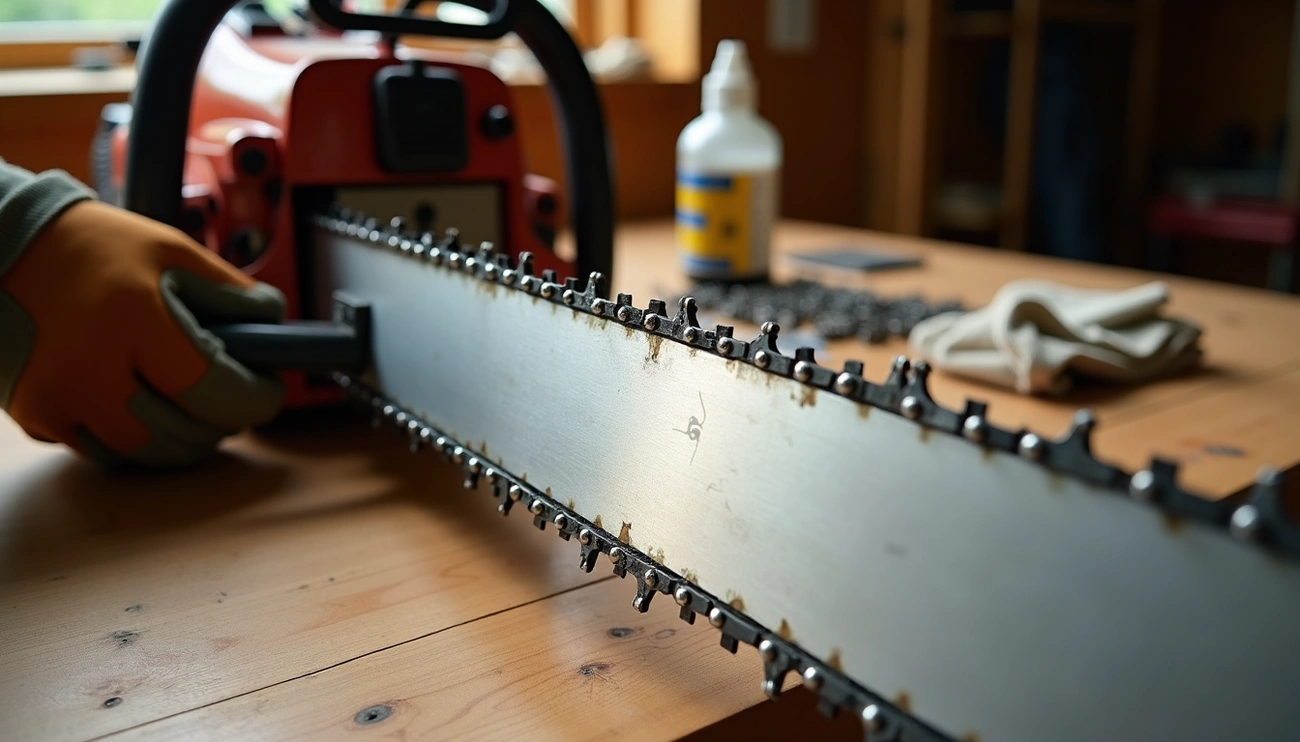
Tips for counting drive links easily
Counting drive links accurately prevents purchasing a chain that’s too short or too long:
- Wear protective gloves to prevent cuts.
- Spread the chain on a flat surface with drive links facing upward.
- Mark your starting point with a piece of tape on the first link.
- Count systematically, moving one link at a time.
Alternatively, count in pairs using your thumb and forefinger to track progress—this helps maintain accuracy during the count.
Where to find size info on the bar or chain
Before measuring anything, check these locations for specifications:
- Look at the stamped numbers on your guide bar—many bars have pitch, gage, and recommended drive link count printed directly on them.
- Examine the drive links themselves—manufacturers often stamp identifying codes on them.
- Consult your chainsaw’s manual, which typically contains all size specifications.
For Stihl chains specifically, the first number in the code (like “33RM2″) indicates pitch (3 = 3/8″), while the second number shows gage (3 = .050”).
Chain Types and Compatibility Considerations
Once you’ve mastered measuring your chain, understanding different chain types becomes crucial for optimal performance and safety.
Low profile vs full chisel chains
Chain types vary significantly in cutting performance and safety features. Low profile chains have rounded corners and a lower height, making them ideal for smaller saws and less experienced users. These chains reduce kickback risks and are generally quieter, perfect for residential areas.
Full chisel chains feature square-cornered teeth that cut aggressively through hardwood with remarkable speed. However, they dull more quickly, especially in dirty conditions, and require frequent maintenance. For occasional users, semi-chisel chains offer a middle ground with rounded corners that stay sharp longer.
Matching chain pitch with sprocket and bar
The compatibility triangle between chain, sprocket, and bar cannot be overlooked. The pitch must match exactly across all three components. Furthermore, the drive sprocket and bar tip sprocket must have the same pitch as your chain. Mismatched pitches cause dangerous situations where chains can jam, skip, or completely detach from the bar.
Using a chainsaw chain size chart
Chainsaw manufacturers provide detailed sizing charts that simplify replacement. Most charts organize chains by pitch, gage, and drive link count. Additionally, many manufacturers use identification systems—Oregon uses numeric codes like “72” while Stihl uses alphanumeric codes such as “33RM2”. In Stihl’s system, the first number indicates pitch (3 = 3/8″) and the second shows gage (3 = .050″).
Safety and Performance Tips When Replacing Chains
Proper safety considerations remain paramount after measuring your chainsaw chain accurately.
Choosing low kickback chains for safety
Safety-focused chains feature special design elements that minimize dangerous reactive forces. Modern chainsaws include features like chain brakes and front hand guards to reduce kickback injuries. For those without specific training, low kickback chains are strongly recommended. These chains use deeper depth gages and modified cutter shapes that prevent aggressive grabbing. In North America, chains meeting American National Standards Institute (ANSI) guidelines display a green mark for easy identification. Though they cut more slowly than standard chains, this trade-off significantly improves safety.
Signs your chain needs replacement
Beyond dullness, several indicators signal necessary chain replacement. Replace immediately upon seeing broken, cracked, or severely chipped cutting teeth. Throughout normal use, watch for wear markers on each tooth – once these limits are reached, replacement becomes essential. A properly functioning chain produces coarse wood chips, whereas a worn chain creates fine, powdery sawdust. Furthermore, excessive heat generating smoke around the bar groove indicates dangerous friction. Chainsaw chains requiring constant re-tensioning due to stretching likewise need replacement.
Why chain tension and bar length matter
Chain tension directly affects both safety and performance. A loose chain increases kickback risk plus the chance of throwing the chain off the bar completely. Conversely, overly tight chains prevent rotation or cause dangerous overheating. Check tension before starting work and regularly throughout your cutting session. Adjust tension only when the chain is cool. Regarding bar length, longer bars create stronger kickback forces due to increased leverage. Always match your bar length appropriately to your experience level and cutting needs.
Conclusion
Measuring your chainsaw chain correctly prevents wasted money and potential safety hazards. Throughout this guide, we’ve examined the three crucial measurements you must know: pitch, gage, and drive link count. Each measurement plays a vital role in ensuring your chain fits perfectly and performs optimally.
Most importantly, remember that all three measurements must be exact matches for your specific saw. A chain with incorrect pitch won’t engage properly with your sprockets. Similarly, the wrong gage creates dangerous operating conditions, while an incorrect drive link count means your chain simply won’t fit.
Additionally, taking time to understand chain types helps you select the right option for your specific cutting needs. Low-profile chains offer safety benefits for occasional users, whereas full chisel chains provide aggressive cutting power for experienced operators.