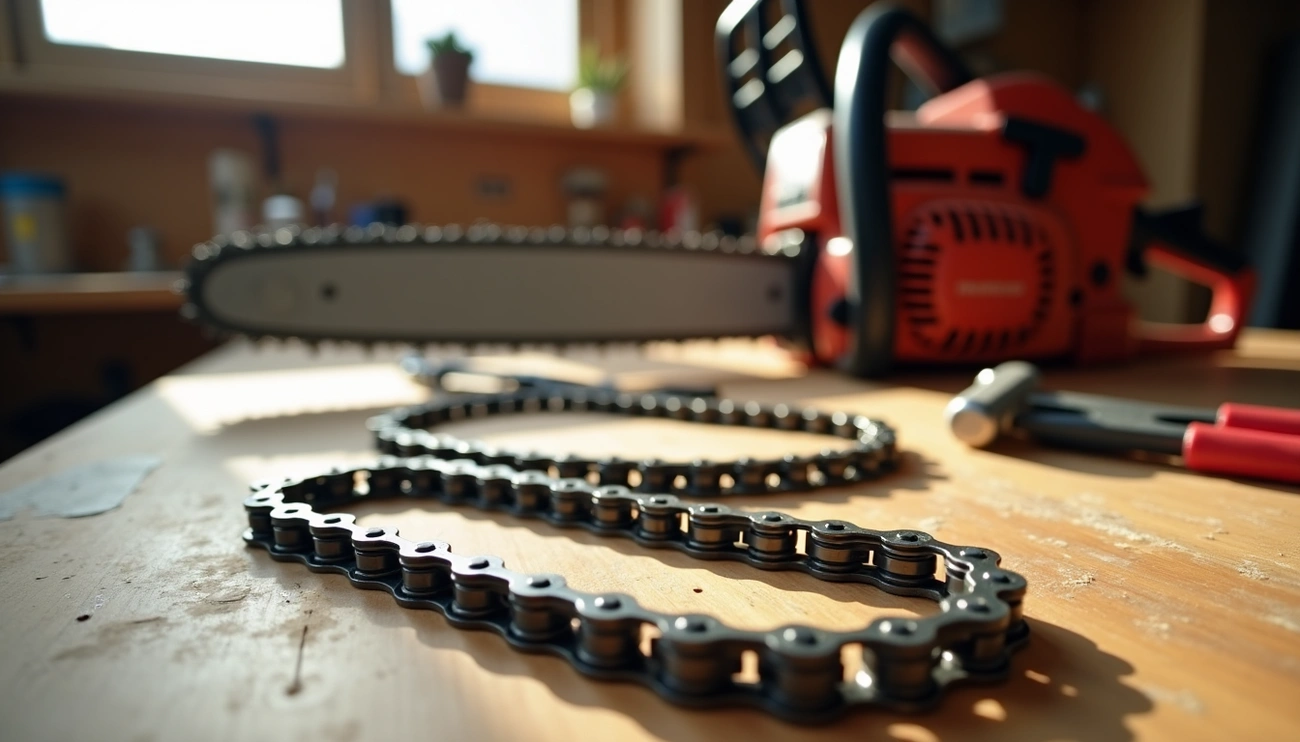
Yes, a chainsaw chain can stretch, but the change comes from wear, not elasticity. Friction wears the pins, bushings, and rivets, which causes chain elongation and looseness. New chains stretch faster during break-in and require frequent tension adjustments. This process is normal with regular chainsaw use.
What Causes a Chainsaw Chain to Stretch?
Understanding why chainsaw chains appear to “stretch” requires examining what’s actually happening at the mechanical level. First of all, despite common terminology, chainsaw chains don’t technically stretch in the way fabric might.
Heat and friction during cutting
The primary culprit behind chain elongation is the combination of heat, friction, and cutting forces. As you cut through wood, the constant resistance generates significant heat, which affects metal components differently. Furthermore, this heat doesn’t just make the chain temporarily expand—it gradually breaks down the integrity of individual components.
High-performance or “ported” saws can accelerate this process since they maintain higher RPMs during cuts, thereby generating additional heat and friction. Under these intense conditions, metal components undergo more stress, particularly at connection points between links.
Break-in period for new chains
New chains typically require a break-in period of approximately 6-10 tanks of fuel. During this initial phase, a fresh chain will appear to lengthen noticeably—but for different reasons than older chains.
This initial “stretching” happens because each rivet in a new chain has minimal clearance space. As you operate the saw, these clearance spaces shift in one direction. Imagine a chain with 70 links where each rivet has 0.25mm clearance—once all that play shifts to one side, the chain effectively becomes about 17.5mm longer. This explains why new chains often need frequent tension adjustments in their first hours of use.
Some professionals recommend soaking new chains in bar oil overnight before installation to help minimize initial break-in issues.
Wear and tear over time
Long-term chain “stretch” results from genuine wear rather than actual elongation. The pins and rivets—not the metal links themselves—experience the most degradation. These components can:
- Develop slight bends
- Lose material from continuous friction
- Create wider holes in the plates where pins insert
Once a chain has elongated 3% beyond its original length, replacement becomes necessary. Poorly lubricated chains deteriorate much faster since metal-on-metal contact increases dramatically without proper oil protection. Additionally, dirt and debris create an abrasive paste with existing lubricant, accelerating component wear.
Regular maintenance addresses these issues before they lead to excessive stretching or potential safety hazards.
How to Tell If Your Chainsaw Chain Is Stretched
Recognizing the signs of a stretched chainsaw chain is crucial for both safety and performance. Fortunately, several reliable methods exist to determine whether your chain needs adjustment.
Visual signs of sagging or slack
Spotting a stretched chain starts with a simple visual inspection. Place your chainsaw on a flat surface and examine the underside of the guide bar. A properly tensioned chain sits snugly against the bottom of the bar with no visible gaps. Conversely, an overstretched chain exhibits a noticeable sagging appearance, especially along the bottom section of the guide bar.
Look closely at how the chain hangs—if it droops away from the bar or touches parts it shouldn’t, this clearly indicates excessive looseness. Additionally, a stretched chain often creates a clattering sound during operation as it flops around the bar.
Drive links pulling out of the guide bar
One definitive sign of chain stretch involves examining how the drive links interact with the guide bar. In a properly tensioned chain, these links remain firmly seated in the bar groove. Upon stretching, drive links may begin pulling out or failing to engage properly with the guide bar.
Inspect the drive links carefully—if they show significant wear, flattening, or hooking at the edges where they contact the bar, your chain has likely stretched beyond reliable use. Moreover, if you notice that certain drive links no longer fit properly in the bar groove or appear damaged, this typically indicates excessive stretch.
Using the pull test method
The pull test offers a quick, definitive way to check chain tension. With the chainsaw off and cooled down, grasp the chain at the center of the bar’s underside and gently pull it away from the bar. A properly tensioned chain should lift approximately 1/8 to 1/4 inch (3-6mm) from the bar before meeting resistance.
The key indicator: while the chain should move with light finger pressure, it must never be loose enough to completely pull the drive links out of the bar groove. As a general rule, the chain should snap back into position when released. If it feels consistently loose even after adjustments or if you can pull it more than 1/4 inch from the bar, your chain requires immediate attention.
Regularly performing these checks prevents dangerous chain derailment while ensuring optimal cutting performance.
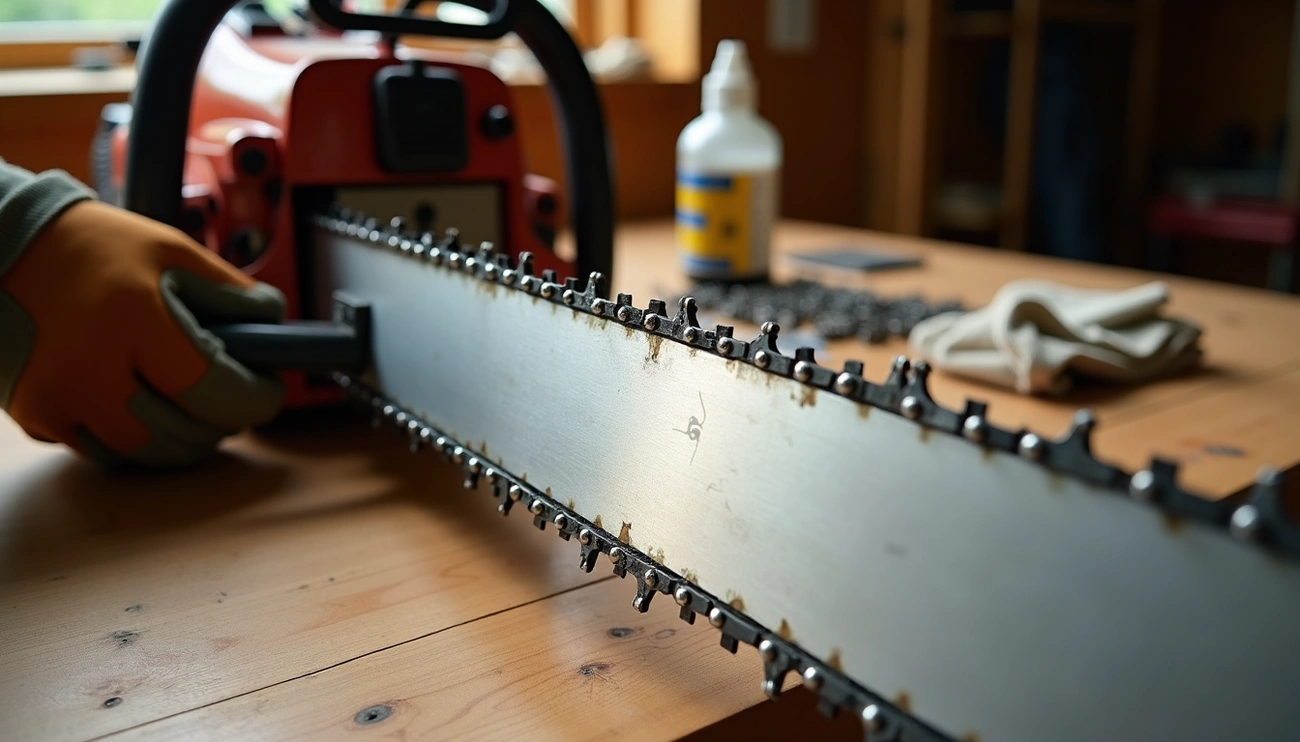
How to Fix a Stretched Chainsaw Chain
Fixing a stretched chainsaw chain is straightforward yet crucial for maintaining both safety and cutting performance. Let’s dive into the step-by-step process of properly tensioning your chain.
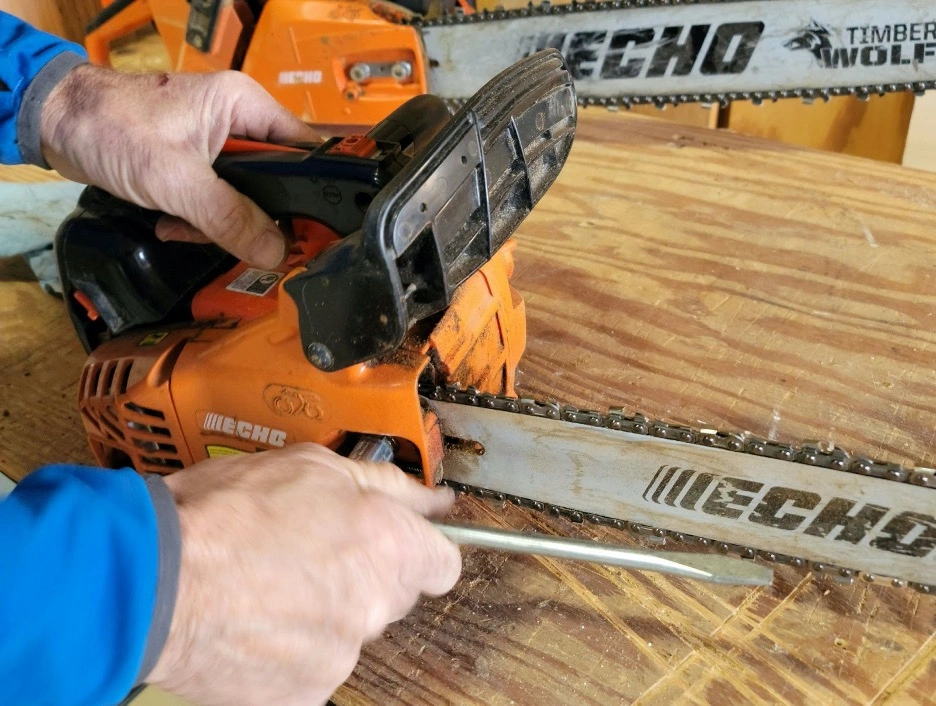
Step 1: Loosen the guide bar nuts
Firstly, ensure the engine is completely turned off. Locate the bar nuts or knob on the side of your chainsaw that secure the guide bar and drive sprocket cover. Using a chainsaw scrench or appropriate tool, loosen these nuts without removing them completely. For most models, loosening them by one or two turns is sufficient to allow bar movement during tensioning.
Step 2: Adjust the tensioning screw
Locate the chain tensioning screw, typically found at or near the base of the guide bar. Turn this screw clockwise to tighten the chain or counterclockwise to loosen it. As you turn the screw, the adjustment block moves the bar forward, effectively taking up slack in the chain.
Step 3: Lift the guide bar nose and retighten
This step is critical yet often overlooked. While adjusting tension, lift the tip of the guide bar upward and hold it there throughout the process. Continue turning the tensioning screw until the chain makes light contact with the underside of the bar. Subsequently, tighten the bar nuts firmly while still holding the bar nose up.
What to do if the chain won’t tighten
If your chain remains loose despite maximum adjustment, several issues might be at play. The tension adjustment screw or threads might be stripped, or possibly the drive sprocket is worn. In essence, a chain that won’t tighten properly after numerous adjustments has likely stretched beyond the saw’s adjustment capacity.
Can you shorten a stretched chainsaw chain?
Yes, excessively stretched chains can be shortened by removing links. This process requires specialized tools like a chain breaker. Once shortened, the chain regains proper tension, thereby improving safety and performance. Nevertheless, if your chain shows significant wear alongside stretching, replacement may be the more cost-effective solution.
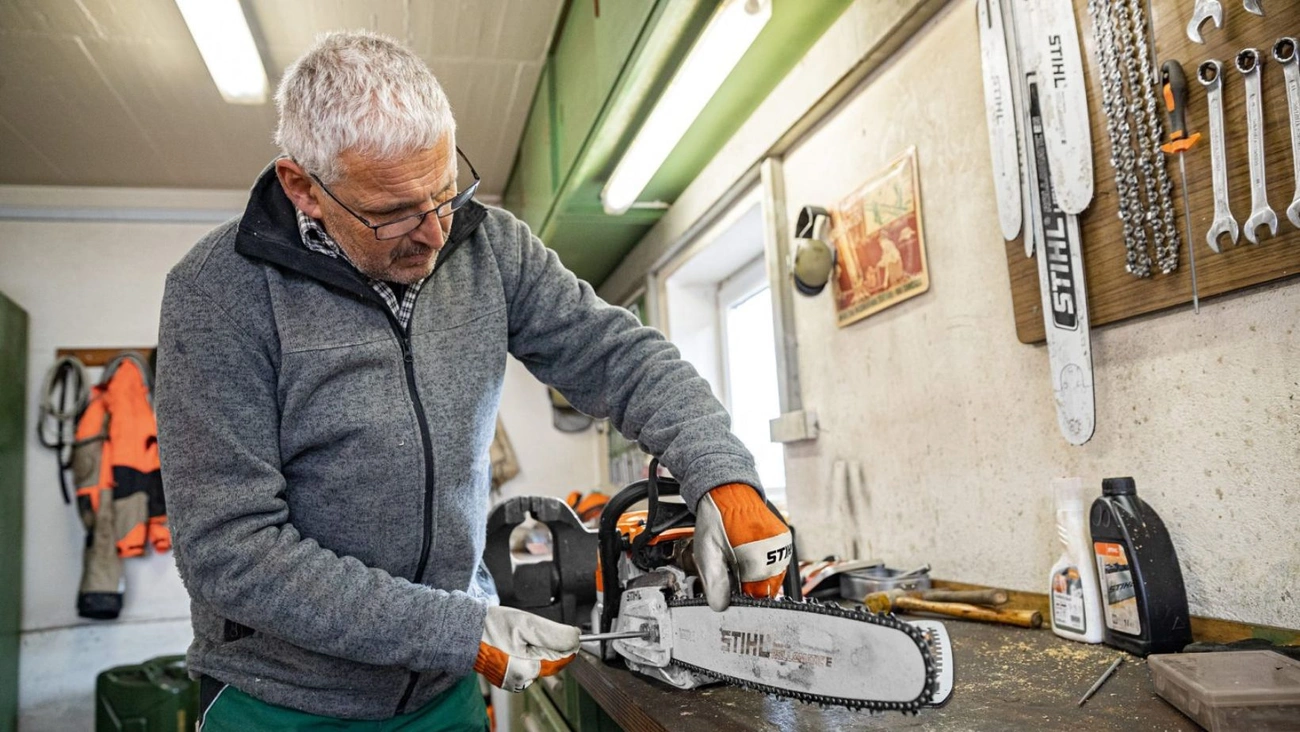
Tips to Prevent Future Chain Stretch
Prevention is the best strategy when dealing with chainsaw chain stretch. Implementing a few key maintenance habits will save you time and extend the life of your equipment.
Check chain tension before each use
Inspecting your chain tension should become an essential part of your preparation routine. A correctly tensioned chain fits snugly against the bar’s underside yet can still be moved easily by hand. Make it a habit to check tension every time before starting work. Remember to always turn off the engine, wear protective gloves, and allow the chain to cool completely before making any adjustments.
Avoid overheating the chain
Excessive heat accelerates chain stretch. Keep your chain sharp—dull chains create more friction and heat while requiring you to push harder. Let the saw do the work instead of forcing it through cuts. Avoid running at high revs without breaks, as this causes rapid heat buildup.
Use proper lubrication regularly
Proper oil application is vital in minimizing friction and heat. Ensure your oiler is functioning correctly and the oil reservoir remains filled. Consider using vegetable-based oils which provide good lubrication down to -25°C while being environmentally friendly. Well-lubricated chains experience significantly less wear and stretching.
Replace worn-out chains and sprockets
Inspect your drive sprocket regularly for signs of wear. A worn sprocket changes pitch over time, making tensioning difficult and accelerating chain wear. Replace your sprocket if wear marks reach approximately 0.5mm in depth. Consider replacing both components together, as worn sprockets can damage new chains and vice versa.
Conclusion
Maintaining proper chain tension stands as one of the most critical aspects of chainsaw ownership. Though we commonly refer to it as “stretching,” we now understand this phenomenon actually results from wear on rivets and pins rather than the metal links themselves expanding. After reading this guide, you should feel confident in recognizing the signs of a loose chain and fixing it quickly.
Remember that a well-maintained chainsaw operates safely and efficiently. Consequently, checking your chain tension before each use becomes an essential habit. Equally important, proper lubrication and preventing overheating will significantly extend your chain’s lifespan.
Should you find yourself repeatedly adjusting an old chain that won’t stay tight, perhaps the time has come for replacement. Generally, once a chain has stretched beyond 3% of its original length, installing a new one makes more sense than attempting further repairs.