A chainsaw chain should be tight enough to sit snug against the bar without sagging, yet loose enough to pull by hand. Proper tension allows about 1/4 inch of deflection, lets the chain snap back into place, and keeps drive links engaged without popping off.
Why Proper Chainsaw Chain Tension Matters
The U.S. Consumer Product Safety Commission reports over 28,000 chainsaw-related injuries annually, many of which could be prevented with proper chain tension. Understanding how tight should my chainsaw chain be isn’t just a matter of convenience—it’s essential for your safety and the longevity of your equipment.
Safety risks of loose or tight chains
A loose chainsaw chain creates several dangerous scenarios. Primarily, it increases the risk of derailment, where the chain comes completely off the guide bar during operation. This sudden failure can result in severe injuries, including potential loss of limbs, digits, or facial lacerations. Furthermore, a loose chain dramatically increases the risk of kickback—a sudden, unexpected jolt that can send the saw backward toward the operator.
Conversely, an overly tight chain presents different yet equally concerning hazards. Excessive tension forces the chainsaw to work harder, generating excessive heat. This overheating not only damages internal components but may even create a fire hazard in extreme cases. Additionally, the strain placed on the clutch, bearings, and motor can lead to catastrophic mechanical failures during operation.
Impact on cutting performance and tool lifespan
Proper chainsaw chain tension directly affects your cutting efficiency. A correctly tensioned chain ensures consistent contact between the chain and guide bar, allowing for smooth, precise cuts. When tension is incorrect, you’ll notice:
- Reduced cutting speed and precision
- Increased vibration and wobbling during operation
- Uneven or rough cuts that compromise material integrity
- Greater physical effort required to complete cuts
Concerning tool lifespan, improper tension accelerates wear on multiple components. A chain that’s too loose causes warping in the guide bar and rapid deterioration of related parts. Alternatively, excessive tension places additional strain on the drive sprocket and stretches the chain prematurely.
Regular inspection and maintenance of chain tension isn’t optional—it’s necessary for both safety and performance. Nevertheless, many operators overlook this critical aspect of chainsaw operation, consequently shortening their tool’s useful life while increasing accident risk.
How Tight Should a Chainsaw Chain Be?
Proper chainsaw chain tension ultimately comes down to finding the sweet spot between too loose and too tight. Let me show you how to get it just right.
Visual signs of correct tension
Identifying correct chain tension starts with a visual inspection. First, ensure your saw is turned off completely. A properly tensioned chain should:
- Sit snugly against the guide bar with minimal gap underneath
- Make light contact with the bottom of the guide bar
- Show no visible sagging when the bar nose is held up
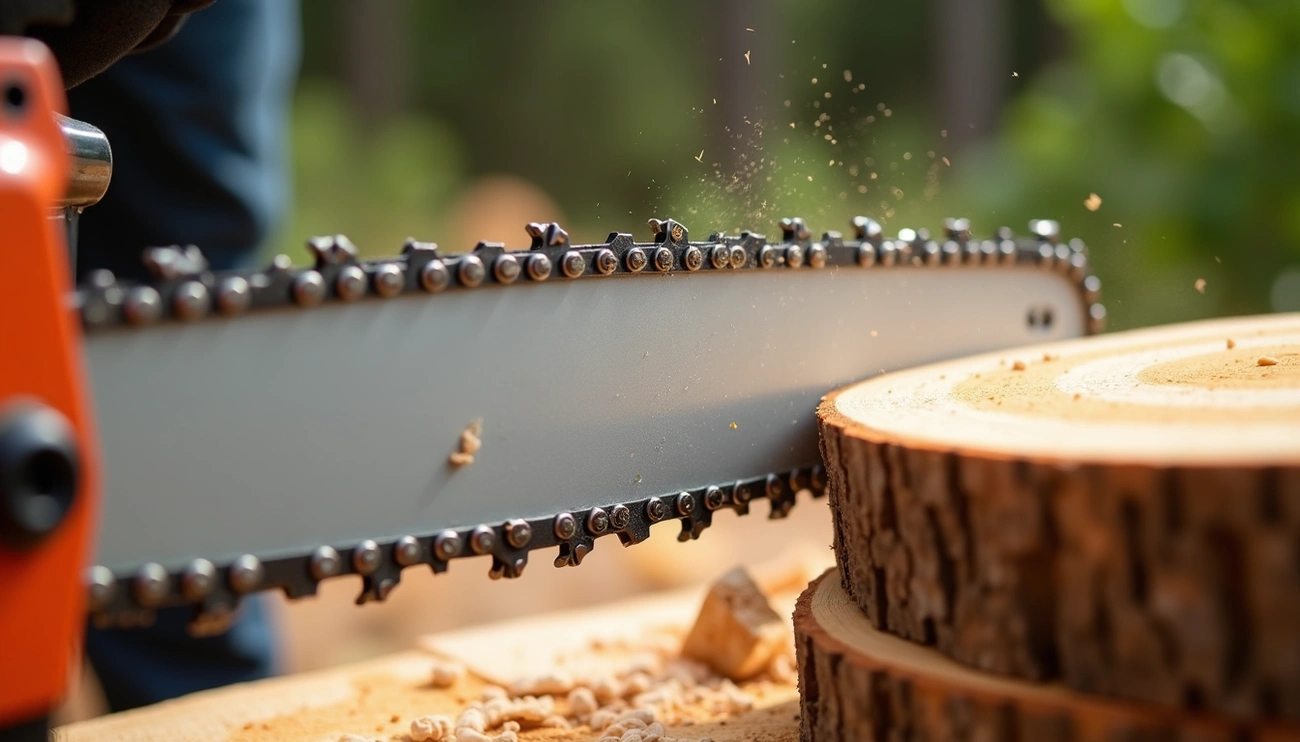
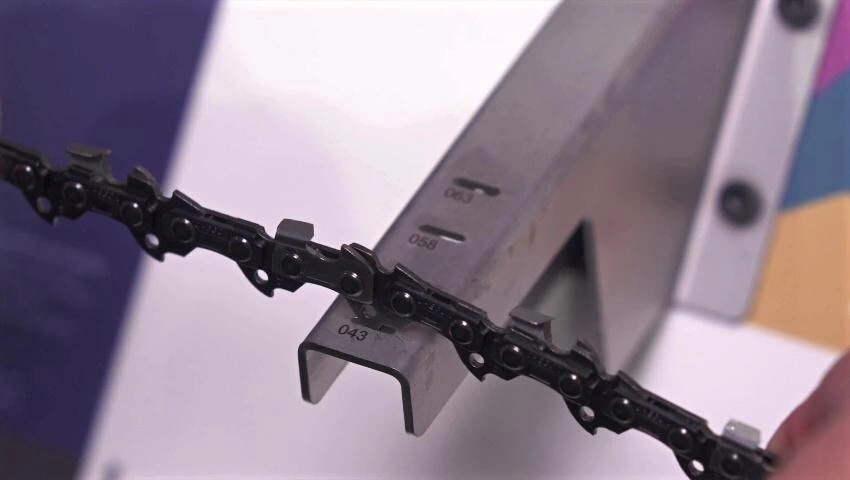
When examining your chain, it should touch the underside of the guide bar completely yet still move freely when pulled by hand. Moreover, on most chains, when you pull an individual drive link away from the bar groove, it should lift approximately 2-4 mm (1/16-3/32 inch) out of the groove.
Snap test and rotation test explained
The snap test is the most reliable method to check how tight should my chainsaw chain be. With protective gloves on, grasp the chain by one cutter tooth near the middle of the guide bar’s bottom. Pull the chain away from the bar slightly, then release it. If properly tensioned, the chain should immediately snap back into position.
For the rotation test, manually rotate the chain around the guide bar with the bar nuts loosened. The chain should move smoothly with moderate resistance. If it feels stiff or binds, it’s too tight; if it rattles loosely in the groove, it’s too loose.
How tight should chainsaw blade be?
Essentially, your chainsaw chain should be tight enough that it doesn’t hang slack underneath the bar, yet loose enough to pull around freely by hand when the chain brake is released. Specifically, you should be able to pull the chain slightly and ensure it remains seated in the groove without excessive slack.
Remember that chains expand when heated during operation, so what feels correct initially might loosen during use. Generally, recheck tension frequently, particularly during a new chain’s break-in period.
How to Adjust Chainsaw Chain Tension
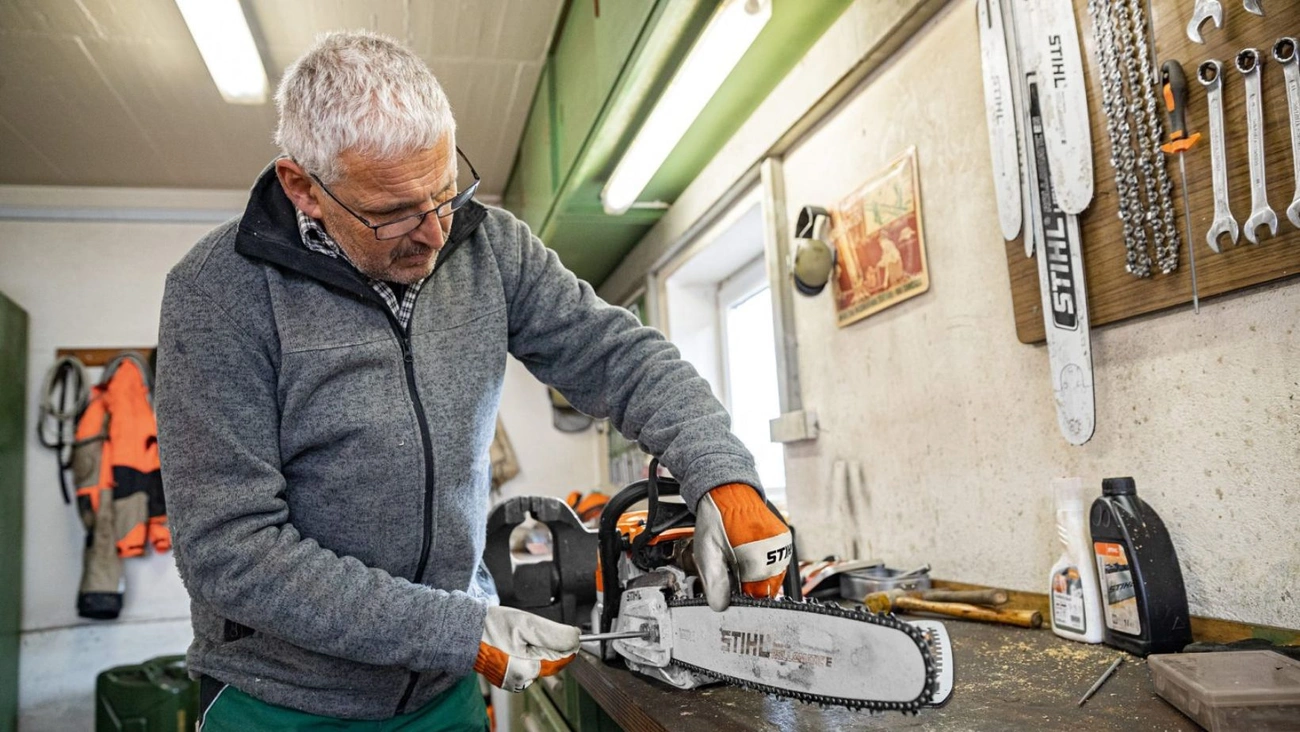
Adjusting your chainsaw chain tension requires precision and the right technique. Before starting, I always gather the necessary tools – primarily a “scrench” (the combination screwdriver/wrench that likely came with your saw).
Step 1: Loosen the bar nuts or knob
First, ensure the chainsaw is turned off and cool to the touch. Subsequently, locate the bar retaining nuts or knob (usually on the side cover). Loosen these nuts or the knob about a half-turn – just enough that the bar can move freely, yet remain attached. On most models, you’ll want to disengage the chain brake beforehand.
Step 2: Locate and turn the tension screw
Find the tensioning mechanism – typically a screw located on the side of the clutch cover or at the front of the chainsaw. Using your scrench, turn the adjustment screw clockwise to tighten or counterclockwise to loosen. Each turn gradually changes the position of the guide bar, affecting chain tension.
Step 3: Lift the bar tip while adjusting
This step is crucial! I always hold the nose of the guide bar up slightly throughout the adjustment process. Lifting the bar tip correctly positions everything for proper tensioning and prevents the chain from becoming too loose afterward during actual cutting. Continue adjusting the tension screw until the chain fits snugly against the underside of the bar with no visible sagging.
Step 4: Retighten and recheck
After achieving the desired tension, securely tighten the bar nuts or knob while still holding the bar tip up. Afterward, perform a final check – the chain should snap back when pulled slightly and move freely around the guide bar when rotated by hand. Precisely at this point, the chain should feel snug but not binding.
Remember to check tension again after about 5 minutes of initial use, since new chains often stretch during their break-in period.
Tips to Maintain Chain Tension Over Time
Maintaining optimal chainsaw chain tension requires ongoing attention, not just a one-time adjustment. Proper maintenance habits ensure your equipment remains safe and effective throughout its lifespan.
Check tension before and during use
Regular inspection is absolutely critical for safety. I always check my chain tension before starting work and repeatedly throughout operation. Primarily during the first half hour of use, new chains require extra vigilance as they stretch more rapidly. Whenever refueling, take a moment to verify tension—this simple habit prevents dangerous conditions from developing.
Adjust for different bar types
Chain tension requirements vary depending on your specific equipment. For sprocket-nose bars, give the tensioner an additional quarter to half turn after standard adjustment. With solid-nose bars, stop tensioning when the drive links are fully seated and tie straps lightly touch the guide bar. Regardless of your setup, follow manufacturer specifications for your particular model.
Let the saw cool before adjusting
Although chains naturally expand during operation, never tighten a hot chain permanently. Upon finishing work, allow the saw to cool completely prior to making final adjustments. Otherwise, once cooled, the chain will contract and become dangerously tight.
Use proper tools like a scrench
A scrench—combination screwdriver and wrench—is essential for proper maintenance. This multi-purpose tool handles chain tensioning, spark plug access, and filter maintenance. Always bring this tool along whenever operating your saw.
Conclusion
Proper chainsaw chain tension stands as one of the most critical yet overlooked aspects of chainsaw operation and maintenance. Throughout this guide, we’ve seen that finding the perfect balance between too tight and too loose directly impacts your safety, cutting efficiency, and the lifespan of your equipment. A correctly tensioned chain should sit snugly against the guide bar, pass the snap test, and rotate smoothly by hand.
Remember, chainsaw chains expand during use due to heat, therefore regular checks before and during operation are essential. After all, what seems like properly adjusted tension at the start might become dangerously loose after several minutes of cutting. Most importantly, never adjust a hot chain – always allow your saw to cool completely before making final tension adjustments.
The snap test remains your best friend when checking tension – if the chain immediately returns to position when pulled and released, you’re likely in the sweet spot. Additionally, developing the habit of checking tension whenever you refuel will significantly reduce your risk of accidents and equipment damage.