Carve with a chainsaw by starting with soft wood, sketching your design, and making rough cuts first. Use controlled movements, carve with the lower bar, and refine details gradually. Always wear full safety gear and keep the chain sharp for precision.
Understand Chainsaw Safety First
Chainsaw carving demands serious respect for safety. Unlike standard woodworking, this art form involves powerful tools that can cause severe injuries if mishandled. Before I picked up my first carving chainsaw, I made safety my absolute priority—and you should too.
Why safety matters in chainsaw carving
Safety in chainsaw carving isn’t just about avoiding accidents; it’s about creating the right conditions for artistic freedom. When I properly prepare for safety, I can focus entirely on my creative vision rather than worrying about potential hazards.
Chainsaw carving requires both physical and mental fitness. Understanding my chainsaw’s safety systems thoroughly allows me to work confidently while maintaining awareness of my surroundings. Additionally, proper safety practices ensure longevity in this craft by preventing both immediate injuries and long-term health issues.
Many carvers develop permanent conditions like HAVS (Hand-Arm Vibration Syndrome) from improper technique or insufficient protection. Once this damage occurs, it’s unfortunately permanent—yet completely preventable with proper precautions.
Essential protective gear from head to toe
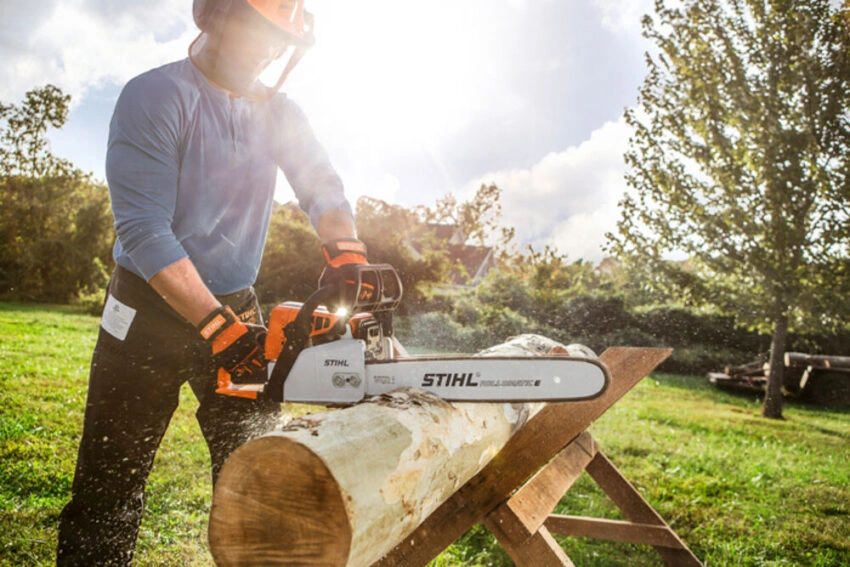
Successful chainsaw carving starts with comprehensive protection. Here’s the essential gear I never carve without:
- Head and Face Protection: A quality chainsaw helmet with integrated face shield and hearing protection. This three-in-one solution protects against falling debris, flying wood chips, and hearing damage.
- Respiratory Protection: Well-fitting face mask or powered respirator, especially when creating fine dust. Most wood dust can be carcinogenic, making this non-negotiable.
- Hand Protection: Cut-resistant gloves that protect against chain derailments while preventing vibration-related injuries.
- Body Protection: Long-sleeve cut-resistant shirts and chainsaw chaps or pants. Chainsaw chaps are specially designed to stop a moving chain by jamming the flywheel if contact occurs.
- Foot Protection: Steel-toed, slip-resistant work boots that provide good support during long carving sessions.
Even for quick carving sessions, I always wear my full protective gear. Accidents don’t schedule appointments—they happen in moments of complacency.
Common beginner mistakes to avoid
The most dangerous mistake beginners make is underestimating the power of a chainsaw. Unlike other woodworking tools, chainsaws require specific handling techniques and constant vigilance.
One critical error is improper positioning. I follow this fundamental rule: never cut toward yourself. Always keep the cutting path away from your body and maintain awareness of where the chainsaw could go if it slips or kicks back.
Another common mistake is neglecting tool maintenance. A well-maintained chainsaw is safer and more effective. I regularly sharpen the chain, lubricate the bar, and inspect for potential issues. Dull chains require more force, increasing accident risk.
Many beginners also skip essential training. Prior to my first carving, I read the manual completely, disassembled and reassembled my chainsaw, and studied proper technique through videos and courses. This preparation helped me understand not just how to use the tool, but how to respect its capabilities.
Lastly, attempting complex carvings too soon can lead to frustration and dangerous shortcuts. I started with simple projects that allowed me to develop control and confidence while learning the feel of the wood and the behavior of my chainsaw.
Choose the Right Tools and Setup
Selecting the right tools is crucial for successful chainsaw carving. As a beginner, understanding which equipment best suits your needs will significantly impact your learning experience and results.
Gas vs electric chainsaws for beginners
When starting my chainsaw carving journey, choosing between gas and electric was my first major decision. Both options offer distinct advantages depending on your specific needs.
Electric chainsaws are generally ideal for beginners because they’re lightweight, easier to handle, and produce less noise. Corded electric models provide consistent power without battery limitations, making them excellent for longer carving sessions. Meanwhile, battery-powered chainsaws offer greater mobility but typically deliver only 2-5 minutes of cutting time per battery.
For home carvers working in residential areas, electric models have significant benefits. They start instantly with no pull-cord struggles, produce fewer emissions, and require substantially less maintenance. Furthermore, the reduced noise means you can carve without disturbing neighbors.
Gas chainsaws, conversely, dominate in raw power with horsepower ratings from 2 HP for lightweight models to over 8 HP for professional-grade saws. Though heavier and louder, they offer unlimited runtime as long as you have fuel. This makes them better suited for large-scale projects or when working away from power sources. Nevertheless, they demand more regular maintenance, including air filter cleaning and fuel/oil changes.
What is a carving bar and why it matters
A carving bar is a specialized chainsaw bar with a smaller nose radius specifically designed for detailed work. These bars come in various sizes and tip types, primarily “dime tip” (smallest radius) and “quarter tip” (medium radius).
The narrow nose of a carving bar (approximately 3/4″ on a dime tip) allows for incredibly fine detail work. This precision is impossible to achieve with standard bars. Additionally, carving bars significantly reduce kickback risk, making them safer for intricate carving.
These specialized bars are constructed from high-quality steel that’s cold rolled, heat treated, annealed, and surface ground for optimal wear resistance and durability. Most have tips reinforced with cobalt alloy for extended longevity.
For beginners, I recommend starting with a 12-14″ quarter tip bar, which provides a good balance between detail capability and durability. The quarter tip works well with 3/8″ pitch low-profile chain, while dime tips require 1/4″ pitch chain due to their smaller radius.
Other helpful tools: grinders, torches, clamps
Beyond your chainsaw setup, several supplementary tools enhance your carving capabilities:
- Angle grinders: A 4-1/2″ angle grinder with coarse sanding pads helps smooth rough chainsaw cuts. Products like the Arbortech Mini Carver ($318.99) or King Arthur’s power carving disks are popular options.
- Die grinders: These allow for intricate detailing after the initial chainsaw work. The Arbortech Power Chisel kit ($299.00) offers excellent control for fine detail work.
- Support equipment: A hydraulic table for holding and adjusting the height of your work prevents back strain during long carving sessions. Sturdy clamps secure your workpiece, ensuring stability throughout the carving process.
- Surface finishing tools: Hand-held belt sanders (preferably with 1-1/8″ belts) and the Arbortech Contour Sander ($89.99) help achieve smooth final surfaces.
By thoughtfully selecting the right combination of chainsaw, bar, chain, and supporting tools, you’ll build a versatile toolkit that grows with your skills as you progress from simple chainsaw carving to more complex projects.
Pick the Right Wood and Workspace
Wood selection profoundly impacts your chainsaw carving experience and results. The right material coupled with a proper workspace creates the foundation for successful projects, particularly for those new to this craft.
Best types of wood for beginner chainsaw carving
For simple chainsaw carving projects, softwoods offer the ideal starting point. These woods cut cleanly, hold detail well, and forgive minor mistakes as you develop your skills. I’ve found these varieties particularly suitable:
- White Pine: Excellent workability with minimal grain variation makes this my top recommendation for beginners. It checks (cracks) less than other woods during drying.
- Western Red Cedar: Naturally decay-resistant for outdoor projects and offers an aromatic carving experience. Though slightly more “splitty” than pine, it creates beautiful carvings with distinctive color.
- Basswood: Features fine, consistent grain ideal for detailed work, though typically available in smaller sizes. Many carvers find this wood extremely predictable and easy to manipulate.
- Cottonwood: Despite being categorized as hardwood, it carves beautifully and has an attractive light color.
Importantly, spend time learning different wood varieties and note their effects on you. Some carvers develop allergic reactions to certain trees – cedar and redwood can cause rashes and respiratory issues.
Where to find free or cheap logs
Finding affordable carving material doesn’t necessarily require significant investment. Consider these sources:
- Tree Services: Local arborists and tree removal companies often have logs they need to dispose of. Offering them cash for delivery of suitable pieces can establish a beneficial relationship.
- City/Municipal Sources: Check where your city takes trees removed during storms or maintenance. These “tree graveyards” sometimes offer good logs at reasonable prices.
- Construction Sites: New subdivisions and road construction projects frequently remove trees. Speaking with superintendents can secure deliveries to your location.
- Neighbors and Local Parks: When you notice tree work happening nearby, politely ask if you can have some pieces. Parks occasionally leave downed trees for residents to collect.
Remember, even “free” wood involves your time investment in locating, transporting, and preparing it.
Setting up a safe and stable carving area
A properly organized workspace directly impacts both safety and carving quality. Essential elements include:
- Work Surface: Position a stable, non-slip base at comfortable height to prevent workpiece movement.
- Lighting: Choose a well-lit area, preferably with natural light, supplemented by adjustable LED task lighting for detail work.
- Clear Escape Routes: Maintain open paths in all directions allowing quick movement if kickback occurs.
- Ventilation: Ensure proper airflow to remove exhaust fumes and wood dust from your breathing zone.
- Fire Safety: Keep extinguishers rated for fuel fires nearby and maintain a cleared area free of flammable debris.
Taking breaks regularly prevents fatigue, consequently reducing accident risk. I stop carving immediately when I feel tired or lose focus—a practice that has kept me safe throughout my carving journey.
Start with a Simple Carving Project
Beginning your chainsaw carving journey requires selecting manageable projects that build confidence while teaching fundamental techniques. Let’s explore your first carving adventures with practical advice for success.
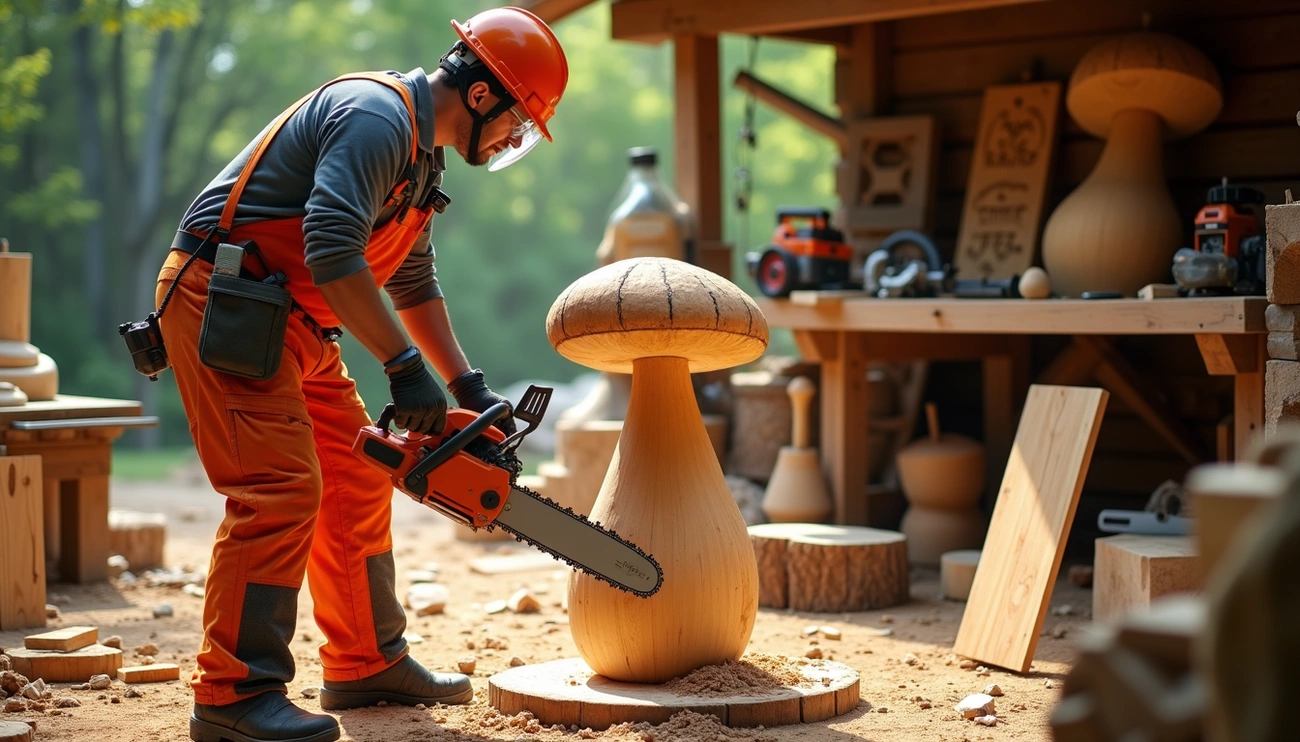
Easy chainsaw carving ideas: mushrooms, hearts, signs
When I first attempted chainsaw carving, I discovered that mushrooms make the perfect starter project. These relatively simple forms offer several advantages for beginners—they feature symmetrical lines, forgiving proportions, and can still produce impressive results. For seasonal variety, pumpkins and Christmas trees provide similarly straightforward cutting experiences with mostly symmetrical designs.
Hearts represent another excellent beginner-friendly option. Their simple yet elegant design creates a romantic gift while allowing you to practice basic cutting techniques. For something even more practical, consider crafting a log chair—requiring only a few strategic cuts yet yielding a functional piece.
How to draw and mark your carving pattern
Before firing up your chainsaw, establish clear guidelines on your wood. For my initial projects, I use graphite pencil for marking—keeping it handy to remark lines as cutting progresses. Some carvers prefer silver Sharpies on darker woods or specialized purple marking pencils that remain visible longer.
For three-dimensional work, consider creating multi-view patterns. One effective technique involves using graph paper to draw both front and side views, using the grid lines to ensure proportional measurements across different perspectives. Alternatively, trace patterns from photos using smartphone apps that create transparent overlays for accurate drawing.
Tips for stabilizing your log before cutting
Preventing log movement is essential for safe, precise carving. For beginners, I recommend logs less than three feet long and approximately 14 inches in diameter. Working on unstable wood is dangerous and ergonomically challenging—bending down to carve floor-level pieces strains your back unnecessarily.
To elevate and stabilize smaller projects, I attach a plywood base to the log bottom, then secure this base to a larger, ground-stable log. For more frequent carving, consider investing in a dedicated sawhorse with clamping capabilities or a hydraulic table that adjusts working height.
Remember that small carvings aren’t automatically easier—they can be more challenging as the chainsaw may feel disproportionately large compared to the workpiece. Most beginners find 3-4 foot pieces provide an ideal starting size.
Carve, Refine, and Finish Your Work
Now that your wood is secured and pattern marked, it’s time to transform that log into art. The transformation requires patience, but follows a methodical process that builds confidence with each cut.
Step-by-step carving process from outline
The journey begins with blocking out the major shapes. Initially, I cut the primary outlines from the front perspective, removing large sections of wood. After making these cuts, I redraw any grid markings that were cut away. Subsequently, I outline and cut from the side perspective. Throughout this process, I remove bulk material gradually, rounding corners and stopping frequently to reassess my progress.
Smoothing and Refining the Details
Once the basic shape emerges, I switch to finer tools. Although some textures work well with a chainsaw alone, intricate details often require smaller implements. I might use a smaller chainsaw carving bar, die grinder, or rotary tool with burr bits. To achieve a truly smooth surface, sanding is crucial—starting with coarser grits and progressing to finer ones.
Final Touches and Surface Finishing
The final step involves protecting your creation. I typically apply multiple coats of sealer to slow moisture loss and prevent checking (cracking). Popular finishing options include:
- Oil finishes like 50/50 boiled linseed oil and paint thinner
- Wax finishes for indoor carvings
- Marine-type varnish for outdoor durability
For added character, consider burning the wood with a small torch before applying finish—this eliminates fuzzy strands left by the chainsaw while adding beautiful coloration.
Conclusion
Chainsaw carving combines raw power with artistic vision to create stunning wooden sculptures. Throughout this guide, safety remained our primary focus because respect for this powerful tool forms the foundation of successful carving. After all, proper protection allows your creativity to flourish without unnecessary risks.
Selecting the right equipment significantly impacts your carving journey. Electric chainsaws offer beginners a lightweight, quieter option while specialized carving bars enable detailed work that would otherwise be impossible. Additionally, supporting tools like angle grinders and clamps complement your chainsaw to refine and perfect your creations.