Your chainsaw is not cutting because the chain is dull, installed backward, improperly tensioned, or poorly lubricated. Hitting dirt or metal quickly dulls the chain. Restore cutting performance by checking chain direction, setting correct tension, verifying bar oil flow with a cardboard test, and sharpening or replacing the chain while adjusting rakers.
Check the Chain First
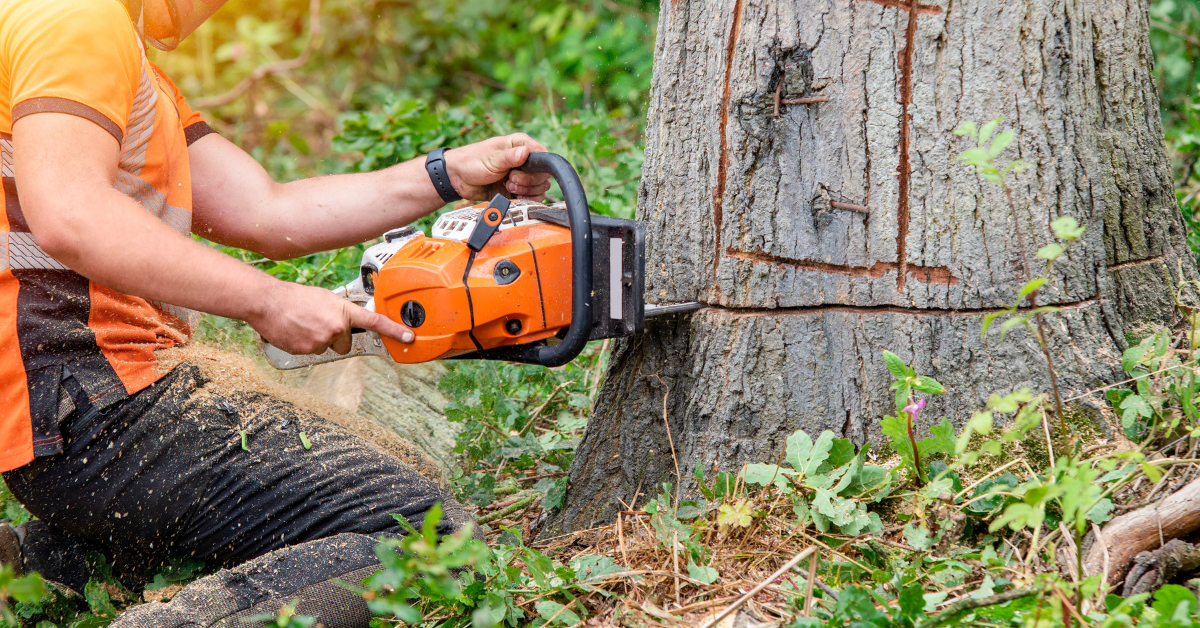
The first place to look when your chainsaw is not cutting properly is the chain itself. Most cutting problems originate from chain issues that can be quickly identified and fixed.
Is the chain dull or worn out?
A dull chain is the most common reason why your chainsaw is not cutting well. Rather than struggling to force your saw through wood, learn to recognize these telltale signs:
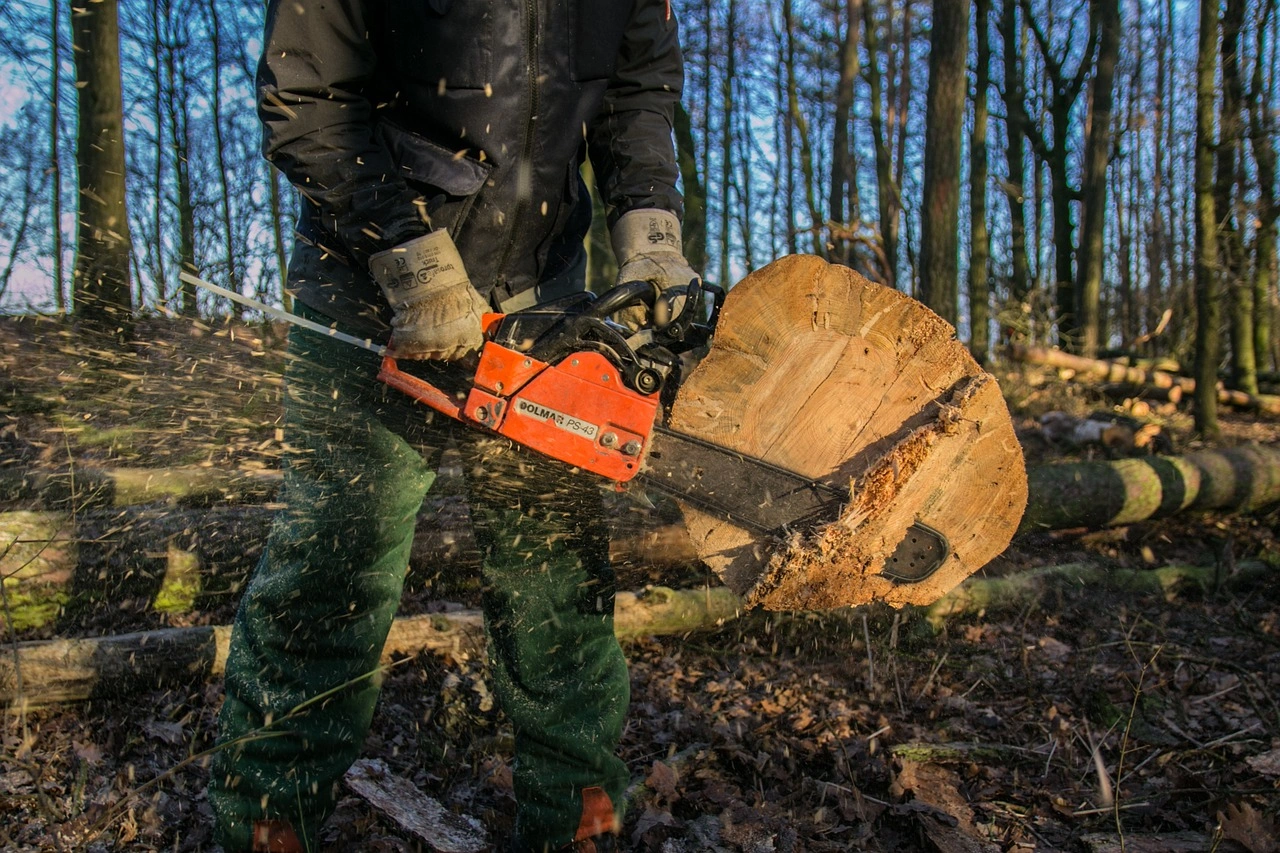
- Fine sawdust instead of coarse chips or strands (a sharp chain produces larger, uniform chips)
- Needing to apply pressure when cutting (a sharp chain should pull itself into the wood)
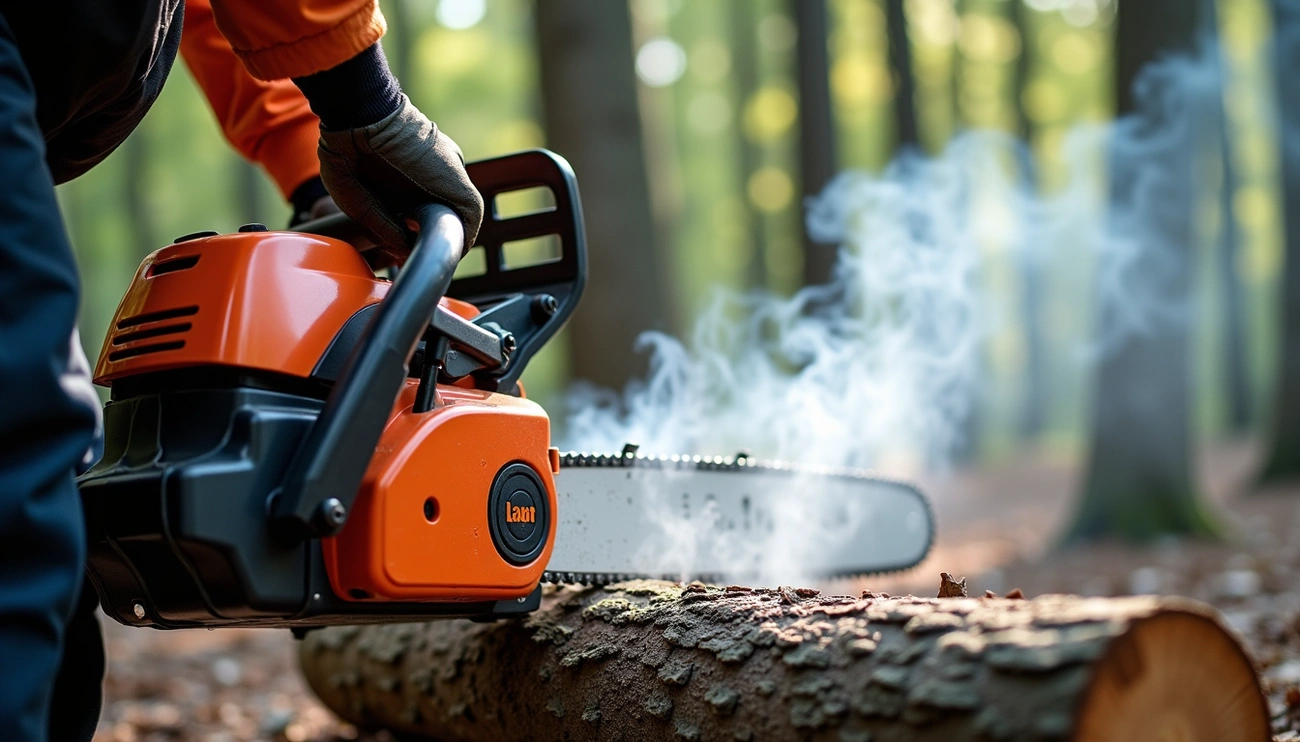
- Smoke despite proper chain lubrication and tension
- Uneven cuts or the saw pulling to one side
- Increased vibration or chattering during operation
Examine the cutting teeth closely. If you notice shiny, reflective edges on the cutters, your chain is dull. Furthermore, check for wear markers on the teeth. Once these markers have been reached, the chain must be replaced to maintain cutting performance and prevent tooth breakage.
Is the chain installed backwards?
Believe it or not, a backwards chain is surprisingly common and prevents cutting entirely. To check if your chain is installed correctly:
Look at the top of the bar while standing behind the saw. The cutting edges should face forward (toward the bar tip). If they face toward the saw body, your chain is backwards. Moreover, when properly installed, the chain will effortlessly cut wood “like butter” once reversed.
Another method is to examine the drive links (small tabs that sit in the bar groove). These should face inward toward the groove and match the sprocket teeth. If they’re facing outward or don’t seat properly, the chain is incorrectly installed.
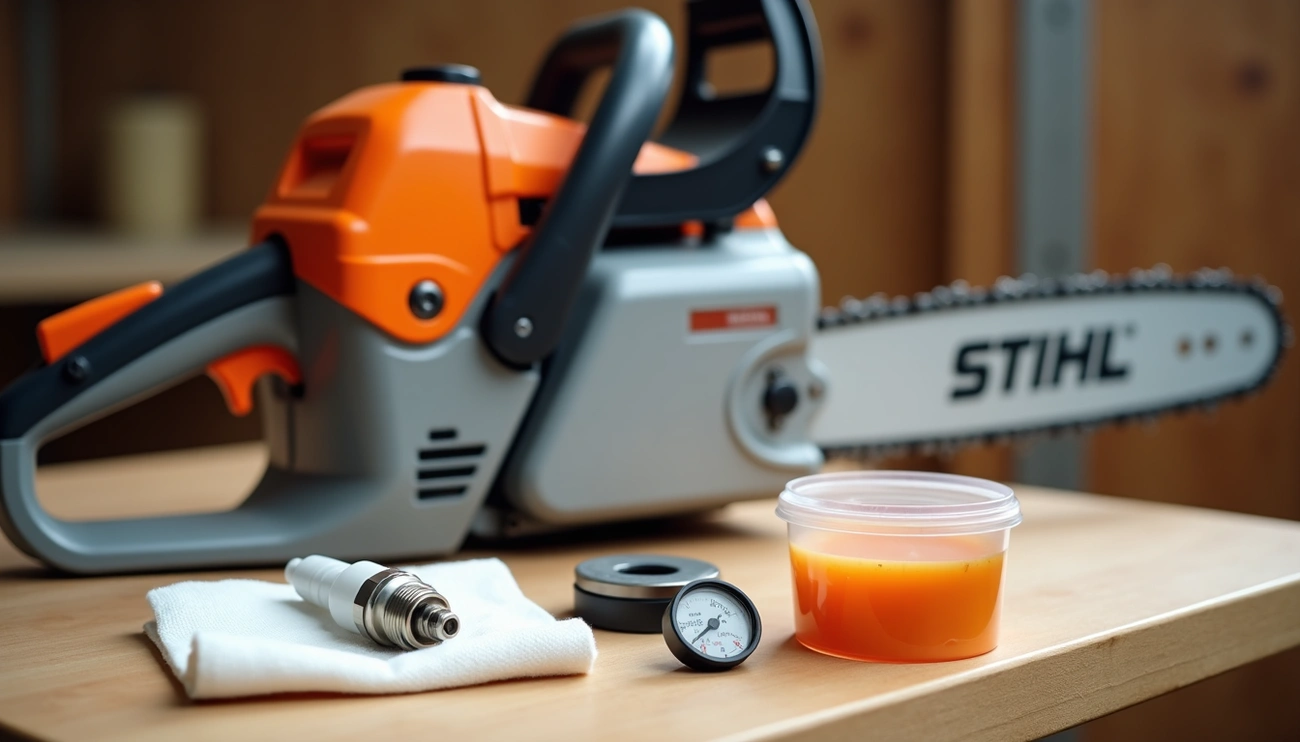
How to sharpen or replace the chain
For optimal performance, sharpen your chain regularly – ideally every time you refill with gas. This approach is easier than waiting until the chain becomes extremely dull. First of all, use the correct round file size for your specific chain, typically filing at a 25-30 degree angle.
Replace your chain completely if:
- Cutting teeth are worn past the wear markers
- Drive links are burred or damaged
- Any teeth or links are broken or bent
- The chain has been sharpened over two-thirds of the cutter tooth length
- There are visible cracks or damage
Proper maintenance ensures your chainsaw cuts efficiently and safely, preventing frustration when you need it most.
Inspect Chain Tension and Bar
After confirming your chain is sharp and properly installed, poor tension or bar issues could still explain why your chainsaw isn’t cutting effectively. Properly set chain tension is crucial for both performance and safety.
How tight should the chain be?
Proper chain tension strikes a balance between too tight and too loose. A correctly tensioned chain should sit snugly along the guide bar with just a little slack. You should be able to pull the chain around the guide bar by hand—it should move smoothly with light resistance.
The definitive test is what professionals call the “snap test”: Pull the chain on the underside of the bar down so one or two drive links come out of the guide bar rails, then release it. A properly tensioned chain will snap back into place immediately. Essentially, the chain should fit closely to the underside of the bar but still move freely when pulled by hand.
Too loose, and your chain increases kickback risk and could fly off during operation. Too tight, and you’ll prevent the chain from turning properly or cause dangerous overheating.
Adjusting the chain tension screw
To properly adjust your chain’s tension:
- First, turn off your chainsaw completely
- Place the saw on a flat, level surface
- Release the chain brake
- Loosen the clutch cover nuts that secure the bar
- Hold the nose of the bar up slightly
- Turn the tension screw clockwise to tighten or counterclockwise to loosen
- Continue adjusting until the chain sits properly against the bar
- Tighten the clutch cover nuts
Remember to check tension regularly—especially with new chains, which have a break-in period requiring more frequent adjustments.
Check for a bent or worn bar
Even with perfect tension, a damaged bar can prevent your chainsaw from cutting properly. The most obvious sign of bar problems is a bent bar. If your chainsaw constantly pulls to one side while cutting, your bar might be bent.
To check for a bent bar, remove it and place it on a flat surface—bends will be easily visible. Additionally, inspect the bar track for damage caused by normal wear and tear. The bar track can become too low or too wide over time, allowing the chain to jump out of the track.
Black burn marks along the bar indicate serious damage from operating without sufficient bar and chain oil. Consequently, this excessive friction damages the bar and prevents proper cutting.
Flip your bar over regularly (every time you clean or replace a chain) to distribute wear evenly on both sides. This simple maintenance step will substantially extend your bar’s life and maintain cutting performance.
Look at the Clutch and Brake System
If chain and bar issues aren’t the culprit, your chainsaw’s clutch and brake system might be preventing proper cutting. These components control how power transfers from the engine to the chain.
Worn clutch pads and their effect
The clutch pads are crucial for transferring power from the motor to the chain. When functioning properly, these pads engage the clutch drum, allowing the chain to rotate. However, as clutch pads wear out, you’ll notice:
- Hesitation or jerky chain movement when you throttle up
- Chain that moves in fits and starts despite the engine running fine
- Rattling or grinding noises from the clutch area
- Burning metal smell during operation
Worn clutch pads create insufficient friction between the shoes and drum, causing the clutch to slip rather than engage fully. This prevents the power transfer needed for effective cutting.
Is the emergency brake engaged?
The chain brake is a vital safety feature that stops chain movement instantly during kickback situations. First, check if your brake is engaged—this is a surprisingly common oversight. When the front handguard is pushed forward, the brake is engaged; when pulled back toward you, it’s disengaged.
Sometimes the brake band or spring-loaded parts get clogged with sawdust, dirt, or hardened grease, causing the brake to remain partially engaged. This creates drag on the chain, limiting its movement or stopping it altogether.
Clutch band dragging issues
Even when officially disengaged, a damaged brake band may still drag against the clutch drum. This commonly happens when:
- Debris gets caught between the brake band and case
- The brake band becomes warped from heat exposure
- The spring loses tension from extended use
Partial engagement causes excessive heat buildup, potentially melting parts of the plastic case or oiler drive gears. Furthermore, a dragging clutch band creates unnecessary friction, preventing your chain from reaching proper cutting speed.
Other Common Mechanical Issues
Several less obvious mechanical issues might explain why your chainsaw isn’t cutting properly after checking chain, bar, and clutch components.
Fuel line or gas tank problems
Fuel delivery issues can significantly impact cutting performance. The rubber fuel lines inside your chainsaw can crack or become brittle over time, especially after periods of inactivity or extreme temperature changes. These damaged lines prevent proper fuel flow, resulting in sputtering or complete power loss during cutting. A telltale sign of fuel line problems is a strong gas smell around your storage area or visible dampness near connections. To check for issues, remove the chainsaw’s cover and visually inspect the lines for cracks, brittleness, or wear. Also verify connections at both the carburetor and fuel tank are secure and dry.
Control cable or start pulley issues
Start system problems can indirectly affect cutting performance by preventing proper engine operation. A jammed pull-rope often indicates underlying issues that impact power delivery to the cutting system. In some cases, excess starter rope can wedge between the rope guide and recoil housing, creating resistance that mimics engine problems.
When to replace the chain bar
Your chainsaw bar needs replacement when it shows visible bending (place it on a flat surface to check) or when the bar track becomes too wide or shallow. Black burn marks along the bar indicate serious friction damage from insufficient lubrication. Regularly flip your bar to distribute wear evenly between both sides.
Conclusion
Chainsaw cutting problems almost always stem from a handful of common issues you can diagnose and fix yourself. After checking your chain for dullness or backward installation, proper tension comes next as a critical factor. Chain bars eventually bend or wear out, therefore requiring regular inspection. Additionally, mechanical components like clutch pads, brake systems, and fuel lines deserve attention when troubleshooting persists.
Most chainsaw cutting problems need just minutes to resolve once you’ve identified the specific cause. Regular maintenance certainly prevents many of these issues before they start. My experience shows that sharpening chains after each tank of fuel and checking tension before every use significantly extends the life of your equipment while ensuring smooth operation.
Remember that safety remains paramount during all chainsaw maintenance. Consequently, always disconnect the spark plug before working on your chain or bar. Your chainsaw will reward proper care with years of reliable cutting performance. Though problems might seem frustrating at first, the solutions typically require minimal time and basic tools. Armed with this knowledge, you can quickly get your chainsaw cutting properly again and return to your outdoor projects without lengthy delays.