Use a chainsaw depth gauge by placing the gauge tool over the chain so the raker protrudes through the slot. File the exposed raker flat with a depth gauge file until level with the tool. Proper depth gauge setting controls bite size, improves cutting efficiency, and reduces kickback risk.
Understanding Chainsaw Depth Gages
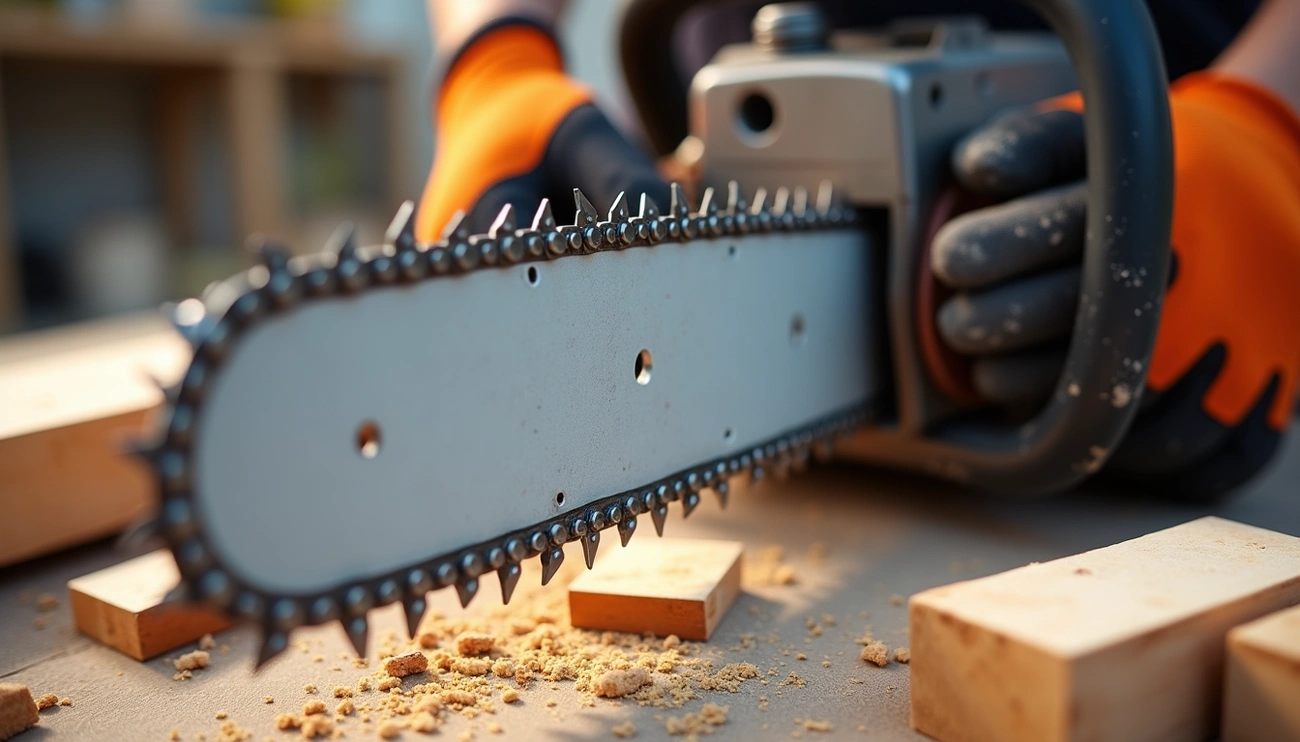
The small metal projections sitting in front of each cutting tooth on your chainsaw chain are crucial components that significantly impact cutting performance. Let’s examine what these are and how they work.
What is a depth gage and what does it do?
Depth gages are the small metal “bumps” positioned in front of each cutting tooth on your chainsaw chain. They serve as critical regulators that limit how deeply each tooth can bite into the wood. Essentially, a depth gage provides a flat surface across the teeth of your chainsaw to establish a guideline for filing them down to the same height. The height difference between the depth gage and the cutting tooth’s tip (depth gage clearance) determines exactly how much wood each tooth will cut – much like how a woodworking plane functions.
How depth gages affect cutting performance
Properly set depth gages are essential for optimal chainsaw performance. When correctly adjusted, they allow the chain to produce chips rather than dust and maintain efficient cutting action. Research shows that cutting forces increase with increasing depth-of-cut, while cutting rates dramatically improve when the depth gage setting is properly adjusted.
Furthermore, if depth gages are too high (too close to the cutting teeth), your chain will barely cut despite having sharp teeth. Conversely, if filed too low, the chain becomes dangerously aggressive, causing increased vibration, possible kickback, and unnecessary stress on your saw. Studies indicate that when depth-of-cut roughly equals the depth gage height, sliding friction between the saw chain and wood increases substantially.
Difference between rakers and depth gages
The terms “rakers” and “depth gages” are often used interchangeably, though technically they refer to the same component. The term “raker” persists because these components not only set cutting depth but also help push wood chips out of the kerf that the previous tooth has severed. While professional literature generally uses “depth gage,” many experienced chainsaw users still prefer the term “raker” when discussing maintenance.
For optimal performance in most applications, the recommended depth gage setting is 0.025 inches (0.65mm) below the cutting teeth. However, this setting may vary depending on your chain type, wood hardness, and cutting conditions.
When and Why to Adjust Depth Gages
Maintaining your chainsaw’s depth gages at regular intervals ensures optimal cutting performance throughout the chain’s life. As your chain wears and gets resharpened, paying attention to these crucial components becomes increasingly important.
How sharpening affects depth gage height
Each time you sharpen your chainsaw, the cutting teeth get progressively shorter. This natural wear process changes the height relationship between the cutter tooth and its depth gage. Consequently, as the top corner of each cutter tooth gets lower with repeated sharpening, your depth gages—if left unmaintained—will effectively become too high. This height imbalance causes the chain to cut thinner and thinner chips with each sharpening, ultimately reaching a point where it won’t cut anything at all despite having sharp teeth.
Signs your depth gage needs adjustment
After checking your freshly sharpened chain, look for these telltale indicators that your depth gages need attention:
- Your chain produces fine sawdust instead of proper wood chips
- The saw requires excessive pressure to cut effectively
- Cutting progress slows dramatically despite having sharp teeth
- You find yourself constantly revving the engine with minimal cutting progress
According to professional recommendations, you should check your depth gages after every third or fourth sharpening. Some experienced users even recommend a quick check after every tank of fuel for professional applications.
Recommended depth settings for pro chains
Most manufacturers recommend a depth gage setting of .025″ for professional saw chains. This measurement represents the ideal height difference between the depth gage and the cutting tooth for most standard applications. Nevertheless, this setting can vary based on specific conditions:
- For softwoods: Some chains allow slightly deeper settings (.030″)
- For hardwoods or frozen wood: Maintain the standard .025″ setting
- For larger saws with longer bars: Some professionals use settings up to 6.5-7.5° (equivalent to slightly deeper than .025″)
Importantly, never file depth gages too low. Excessive depth leads to increased vibration, rougher cuts, shorter chain life, greater operator fatigue, and heightened kickback risk. On professional chains, many models have numbers stamped on each cutter near the depth gage indicating the correct setting.
How to Use a Chainsaw Depth Gage Tool
Properly using a chainsaw depth gage tool requires precision and attention to detail. With the right approach, you’ll maintain optimal cutting performance and extend your chain’s lifespan.
Step-by-step guide to measuring depth
After sharpening your chain 3-4 times, follow these steps to check your depth gages:
- Place the appropriate depth gage tool over the chain with the slot positioned above the depth gage you’re measuring
- Check if the depth gage protrudes above the tool’s surface
- If it sticks up, it requires filing
- Move systematically around the entire chain, checking each depth gage
Using a chainsaw raker gage correctly
For optimal results, position the gage across the sharpened teeth with the slot directly above the depth gage (raker). The gage should sit firmly against the cutting tooth behind it. Select “Soft” for softwoods (conifers) or “Hard” for hardwoods and frozen timber on gages with these markings. Hold the gage steady with one hand while filing with the other.
Filing techniques for even depth
Once the gage is properly positioned, use a flat file (typically an 8″ mill bastard file) to remove metal from the protruding depth gage. File until the gage sits flush with the tool’s surface, taking care not to over-file. Importantly, always maintain the original curved profile of the depth gage – this ensures smooth feeding of the cutters for consistent cutting performance.
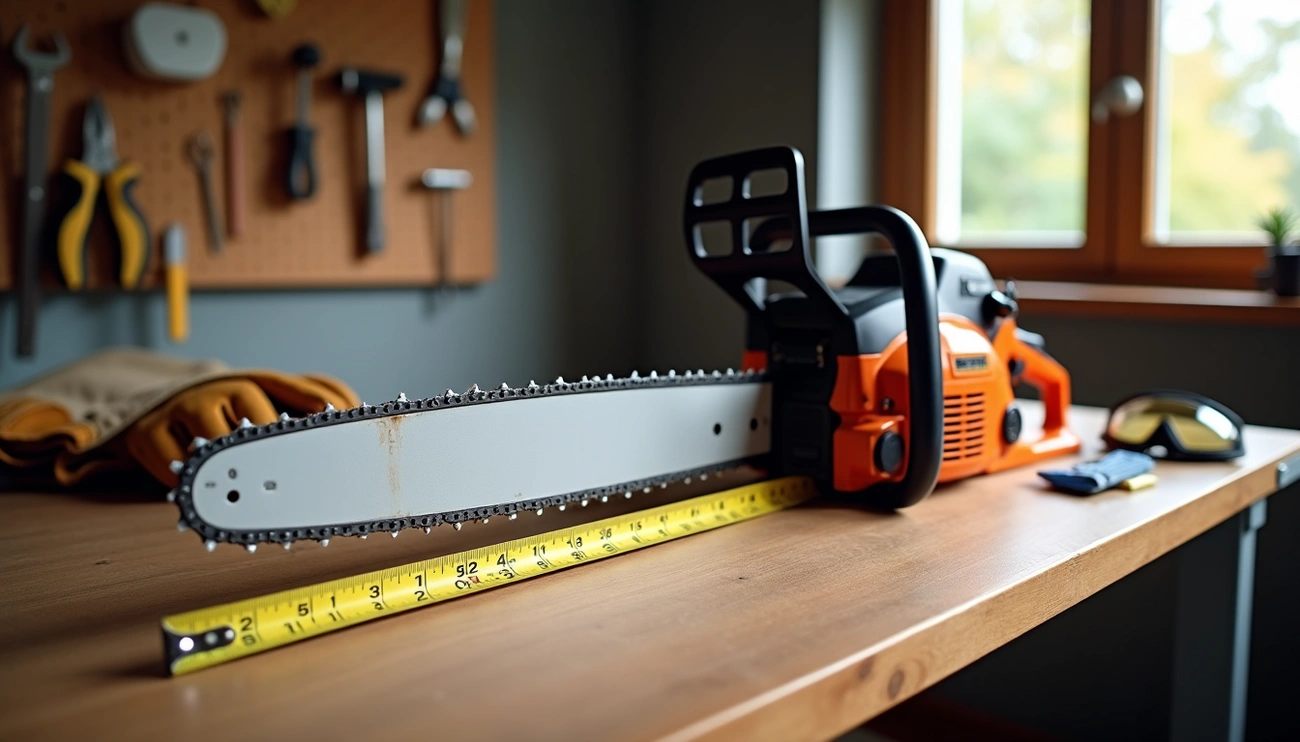
Tools you’ll need for the job
To properly maintain your chainsaw depth gages, you’ll need:
- A depth gage tool appropriate for your chain size (0.025″ is standard for most chains)
- A flat mill bastard file
- File handle (optional but recommended)
- Proper lighting and a secure way to hold your chainsaw
Remember that depth gage tools are considered consumable items and will need replacement periodically as they wear.
Common Mistakes and Safety Tips
Improper depth gage maintenance often leads to dangerous situations that could be easily avoided with correct knowledge and technique. Let me share some critical mistakes to avoid and safety practices to adopt.
Why you shouldn’t eyeball or count file strokes
Many chainsaw users make the mistake of counting file strokes on depth gages or simply eyeballing them. This approach is fundamentally flawed since each file stroke removes varying amounts of material. Initially, this might seem to work, yet over time, this inaccuracy compounds. Ultimately, this results in uneven depth gages without you realizing it. The only reliable method is measuring with a proper depth gage tool.
Dangers of cutting depth gages too low
Filing depth gages too low creates an overly aggressive chain that snatches in cuts and increases kickback risk. Additionally, this causes excessive vibration and unnecessary stress on the saw, potentially leading to costly mechanical damage. Some users mistakenly lower depth gages to compensate for poorly sharpened teeth—this approach fails to improve cutting and primarily makes the chain more dangerous.
How uneven rakers cause crooked cuts
Whenever depth gages are uneven, each cutter takes a different sized bite of wood. This creates rough cuts and noticeable vibration. Indeed, if depth gages are higher on one side than the other, the saw will pull in the direction of the side with lower depth gages. This directional pull makes precise cutting virtually impossible.
Wearing safety gear during maintenance
Even during maintenance tasks, proper PPE remains essential. This includes safety glasses to protect from metal filings, gloves (preferably leather) for secure grip, and close-fitting clothing. Notably, regularly check your protective equipment and replace items immediately if they show signs of damage such as holes or porous areas.
Conclusion
Maintaining proper depth gage settings remains essential for both effective cutting and operator safety. After reading this guide, you should now understand that these small metal projections control how much wood each tooth bites into during operation. Consequently, their correct adjustment directly impacts your chainsaw’s performance, efficiency, and safety.
Remember to check your depth gages after every 3-4 sharpenings, as neglecting them will eventually render even the sharpest chain ineffective. Most professional chains perform best at the standard 0.025″ setting, though specific cutting conditions might require slight adjustments.
Additionally, always use proper measurement tools rather than eyeballing or counting file strokes. This approach ensures consistent, accurate results and prevents the dangerous consequences of uneven or improperly filed depth gages.