Measure chainsaw bar length by checking the stamped marking near the bar’s tail or by measuring from the bar tip to where it enters the saw body. Round this measurement up to the nearest even inch. This rounded number represents the usable cutting length, not the total bar length.
Prepare Your Chainsaw for Safe Measuring
Before attempting to measure your chainsaw bar length, safety must come first. Taking proper precautions ensures accurate measurements while preventing accidents. Let me walk you through the essential steps to prepare your chainsaw safely for measuring.
Disconnect the spark plug wire
Safety begins with disabling your chainsaw completely. I always disconnect the spark plug wire first to eliminate any chance of accidental startup. To do this properly:
- Remove the top cover of your chainsaw to access the spark plug
- Carefully pull off the cap and wire from the spark plug
This simple step prevents the engine from starting unexpectedly during your measuring process. Additionally, disconnecting the spark plug wire is particularly important if you’ll need to handle the chain or remove the bar for a complete measurement.
Place the chainsaw on a flat surface
Once the spark plug wire is disconnected, I place my chainsaw on a level, stable surface. This step is crucial because:
- It maintains secure footing for the chainsaw
- It prevents the chainsaw from tipping over during measuring
- It ensures consistent and accurate measurements
A workbench or table is ideal, though any flat, stable surface will do. Furthermore, ensure the area is well-lit so you can clearly see measurement markings.
Wear protective gloves
Despite powering down your chainsaw, the chain’s cutting teeth remain razor-sharp. Therefore, I always wear appropriate protective gloves when handling any part of the chainsaw.
According to safety guidelines, employers must provide and ensure workers properly use protective equipment including work gloves. Even for personal use, this practice is essential.
Gloves serve multiple purposes during measurement:
- They protect your hands from sharp chain teeth
- They prevent cuts from any rough edges on the guide bar
- They provide better grip while handling oily chainsaw components
Following these preparation steps creates a safe environment for accurate bar length measurement. Now that your chainsaw is properly prepared, you’re ready to proceed with the actual measuring process.
How to Measure Chainsaw Bar Length
Measuring your chainsaw’s bar length correctly is essential when replacing parts or purchasing accessories. Several methods exist for determining this crucial measurement, each serving different purposes.
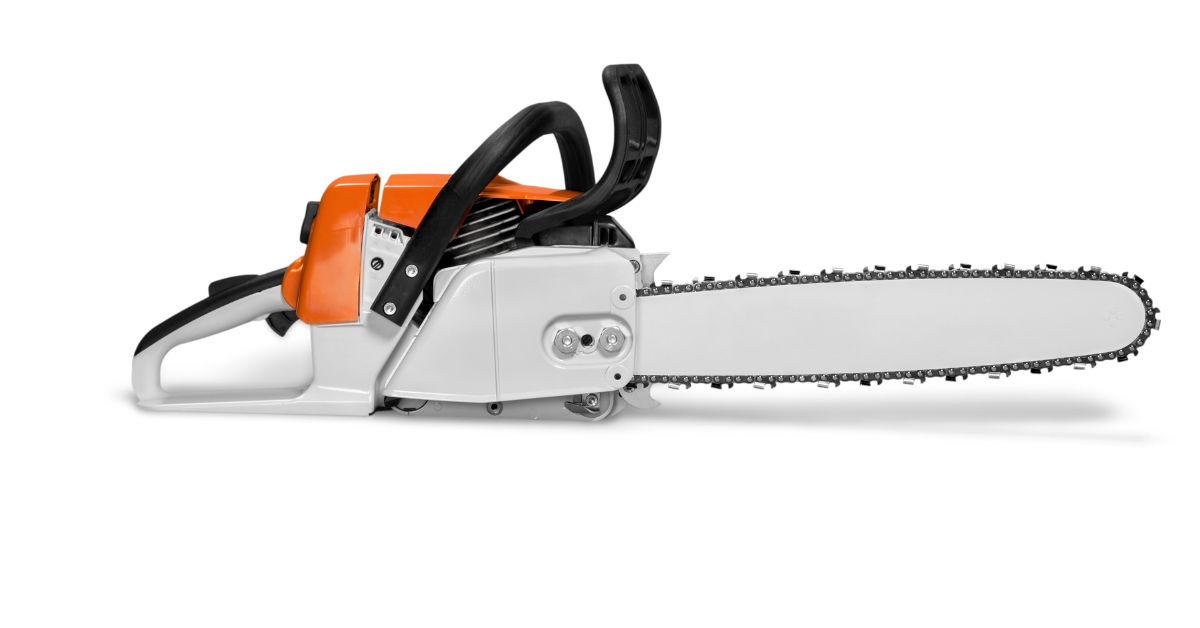
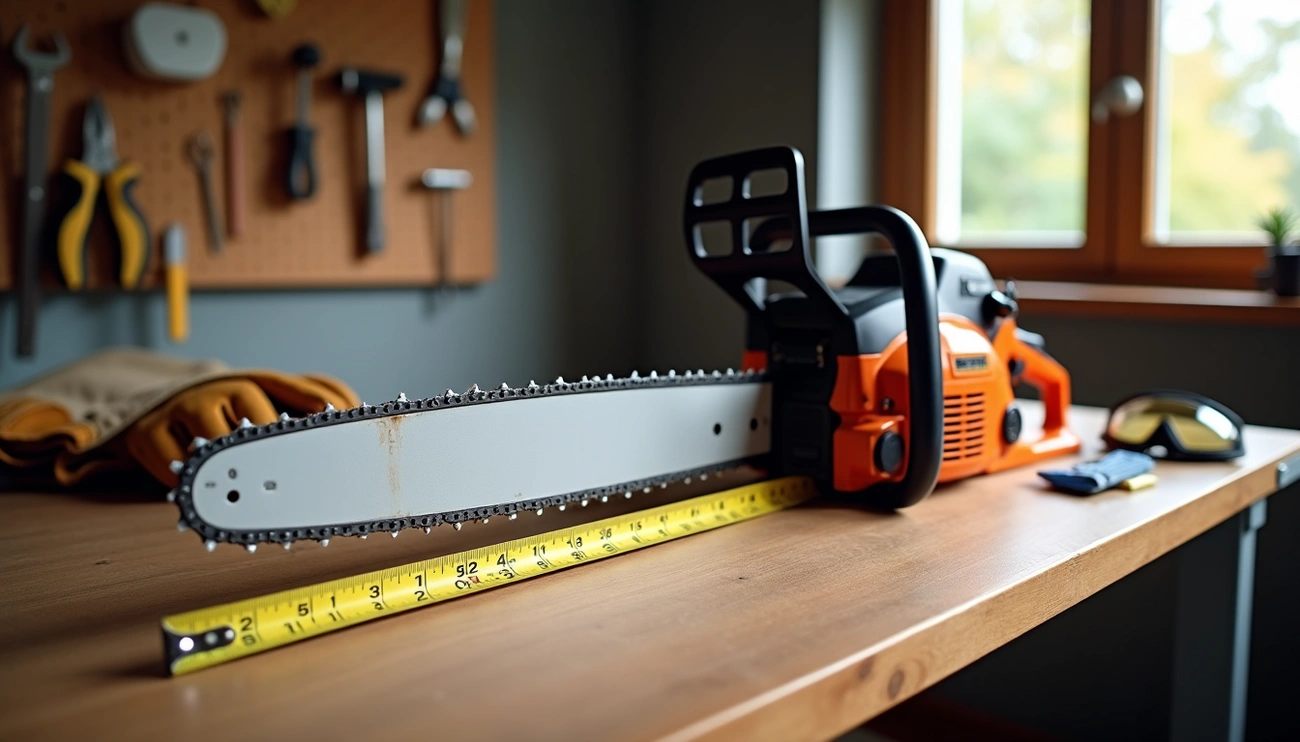
Measure from the tip to the body (cutting length)
The most important measurement is the effective cutting length—what manufacturers typically use when marketing chainsaws. To measure this properly:
- Place your tape measure at the very tip of the bar
- Extend it straight back to where the bar disappears into the chainsaw body
- Record this measurement precisely
This distance represents the usable portion of your chainsaw guide bar. Most chainsaws feature standard cutting lengths of 14, 16, 18, or 20 inches.
Remove the bar to measure true length
Alternatively, you might need the true bar length for precise replacement parts:
“The true bar length is a second, less commonly used measurement,” notes hardware store proprietor Vince Christofora.
To obtain this measurement:
- Loosen the bolts securing the bar to the chainsaw body
- Remove the bar completely and place it on a flat surface
- Measure the entire bar from end to end
Unlike effective cutting length, true bar length is an exact measurement that shouldn’t be rounded up. Essentially, this represents the total length of the bar component.
Round to the nearest even number
Since chainsaws are sold in even-numbered lengths, you must round your effective cutting measurement accordingly:
“Round that measurement up to the nearest even number. Because chainsaws are only sold in even numbers, you’ll need to round up odd numbers and fractions.”
For instance, if you measure 15 inches of effective cutting length, you have a 16-inch chainsaw. Similarly, an 18¾-inch measurement indicates a 20-inch saw.
Check for printed measurements on the bar
Often overlooked yet quite helpful—many manufacturers print the bar length directly on the bar itself:
“The bar length is often printed on the bar’s tail.”
This information saves you time and guarantees accuracy. Subsequently, if you cannot locate this printed data, counting the drive links on your chain provides another verification method.
By understanding these measurement techniques, you’ll ensure perfect compatibility when replacing your chainsaw bar or chain.
How to Measure the Chain for Compatibility
Proper chain compatibility with your chainsaw bar ensures optimal performance and safety. Once you’ve measured your bar correctly, matching it with the right chain is your next critical step.
Remove the chain safely
First, I need to emphasize safety when handling chainsaw chains. Even without power, chains remain dangerously sharp. To remove a chain safely:
- Wear thick safety gloves to protect your hands
- Use a wrench to loosen the guide bar side panel
- Use a screwdriver to release tension on the chain
- Carefully pop the chain off the bar
Laying the chain flat on a stable surface makes the next measurements easier to obtain accurately.
Measure pitch using three rivets
Chain pitch is crucial for compatibility with both your bar and sprocket. To measure pitch:
Position your ruler or caliper to measure the distance between the center points of three consecutive rivets (the small metal pins connecting the links). Then divide that measurement by two.
Common pitch measurements include:
- 1/4″ (smallest)
- 3/8″ (most popular)
- 0.325″
- 0.404″
- 3/4″ (largest, used in harvesters)
The pitch must match on your chain, drive sprocket, and bar nose sprocket for proper functioning.
Determine gage with a caliper or coin
Gage refers to the thickness of the drive links where they fit into the guide bar groove. Using a caliper:
Measure the thickness of a single drive link where it sits in the bar groove. Standard gage measurements are .043″, .050″ (most common), .058″, and .063″ inches.
Alternatively, many chains have gage measurements stamped directly on the drive links—check there first for accurate information.
Count the number of drive links
The final critical measurement is the drive link count. Drive links are the small, triangular extensions on the chain’s underside that guide it through the bar.
To count accurately:
- Lay the chain completely flat
- Mark your starting point with tape
- Count each drive link systematically
This count is vital as it must match your specific bar length. Even bars of the same claimed length can vary by one drive link between different manufacturers. Knowing the exact count prevents issues with tension and operation.
Remember—pitch, gage, and drive link count together determine perfect chain compatibility with your measured bar.
Common Mistakes and Maintenance Tips
Maintaining proper compatibility between chainsaw components is crucial for safe operation. Even experienced users make these common mistakes that can damage equipment and create safety hazards.
Avoid using mismatched bars and chains
Mismatched bars and chains create serious problems. When pitch and gage measurements don’t align, you’ll experience binding, poor cutting performance, or dangerous chain derailment. A chain with incorrect gage will either have excessive play in the groove or bind and cause accelerated wear. Hence, always verify compatibility before purchasing replacement parts.
Clean the bar groove regularly
Sawdust and debris eventually clog the bar groove, blocking crucial lubrication channels. Consequently, I use a groove cleaning tool or small screwdriver to remove buildup from the bar groove after each use. Plus, I ensure the oil holes near the mounting area remain clear to maintain proper lubrication flow.
Lubricate the bar to prevent wear
Proper lubrication prevents heat buildup and reduces friction. Always use dedicated chainsaw bar oil rather than motor oil substitutes. Notably, most modern chainsaws include automatic oilers, yet you must keep the oil reservoir clean and filled.
Replace worn-out bar tips
Watch for these warning signs indicating bar replacement:
- Uneven or badly worn tip
- Loose nose wheel
- Rails with excessive burrs
- Wobbling chain in the groove
Ultimately, flipping the bar occasionally extends its life by wearing both sides evenly.
Conclusion
Properly measuring your chainsaw bar length is undoubtedly a critical skill for any chainsaw owner. Throughout this guide, I’ve walked you through the essential steps from preparation to maintenance. Safety always comes first, which is why disconnecting the spark plug wire and wearing protective gloves are necessary precautions before attempting any measurements.
Remember that the effective cutting length—measured from the tip to where the bar enters the chainsaw body—represents what manufacturers typically advertise. However, the true bar length might be necessary when ordering exact replacement parts. Most importantly, round your measurements to the nearest even number since chainsaws are sold in standard sizes.
Chain compatibility equally matters for optimal performance and safety. The three key measurements—pitch, gage, and drive link count—must match your bar specifications perfectly. Otherwise, you risk dangerous operation and accelerated equipment wear.