Remove a tree stump with a chainsaw by digging 4–6 inches around and below the stump to expose roots and soil. Clean dirt from the cutting area and cut the stump as low as possible, using an old chain to avoid damage. Crosshatch the stump with shallow cuts, then split sections with wedges or an axe. Always keep the chain out of soil to prevent rapid dulling.
Why Use a Chainsaw to Remove a Tree Stump
Chainsaws stand out as powerful allies in the battle against stubborn tree stumps. Unlike other removal methods that might take weeks or months, a chainsaw offers immediate results for many common stump situations.
When chainsaws are effective
A chainsaw becomes your best friend for stump removal in several specific scenarios. First, it’s ideal when you need quick results without waiting for chemicals to break down the wood. Additionally, chainsaws excel when dealing with stumps in locations inaccessible to professional stump grinders.
This approach shines especially after storms when you need to clear your property rapidly. For homeowners in areas prone to weather damage, chainsaws provide a fast way to reclaim your outdoor space. Furthermore, the technique works effectively for:
- Moderately sized stumps (though very large ones present challenges)
- Situations where you already own the necessary equipment
- Areas where soil conditions allow for digging around the stump
- Properties where noise restrictions aren’t an issue
The chainsaw method proves most efficient when tackling thick trunks and woody materials that would otherwise require extensive manual labor.
Pros and cons of using a chainsaw
Advantages: Speed stands as the primary benefit—chainsaws cut through wood quickly and efficiently compared to manual tools or chemical treatments. Moreover, the approach is cost-effective if you already own the equipment, saving the $100-$150 typically charged by professionals for stump removal.
The portability factor cannot be overlooked; chainsaws allow you to work in tight spaces where larger equipment might not fit. Plus, you gain immediate access to the area for new landscaping or construction projects.
Disadvantages: Safety concerns top the list of drawbacks—chainsaws rank as the fifth most dangerous tool available to homeowners. The risk increases with battery-powered models that require less expertise to start.
There’s also potential equipment damage to consider. Accidental contact with soil, rocks, or debris can quickly dull or break your chainsaw chain. In addition, this method may not completely eliminate deep roots, which could potentially regrow.
Finally, the process can be physically demanding and time-consuming, potentially taking up an entire weekend day. For larger stumps or hardwood varieties, the effort required increases substantially.
Safety and Preparation Before You Start
Before tackling any stump with your chainsaw, proper preparation is crucial. Since chainsaws rank as the fifth most dangerous tool available to homeowners, taking appropriate safety measures becomes essential for preventing injuries.
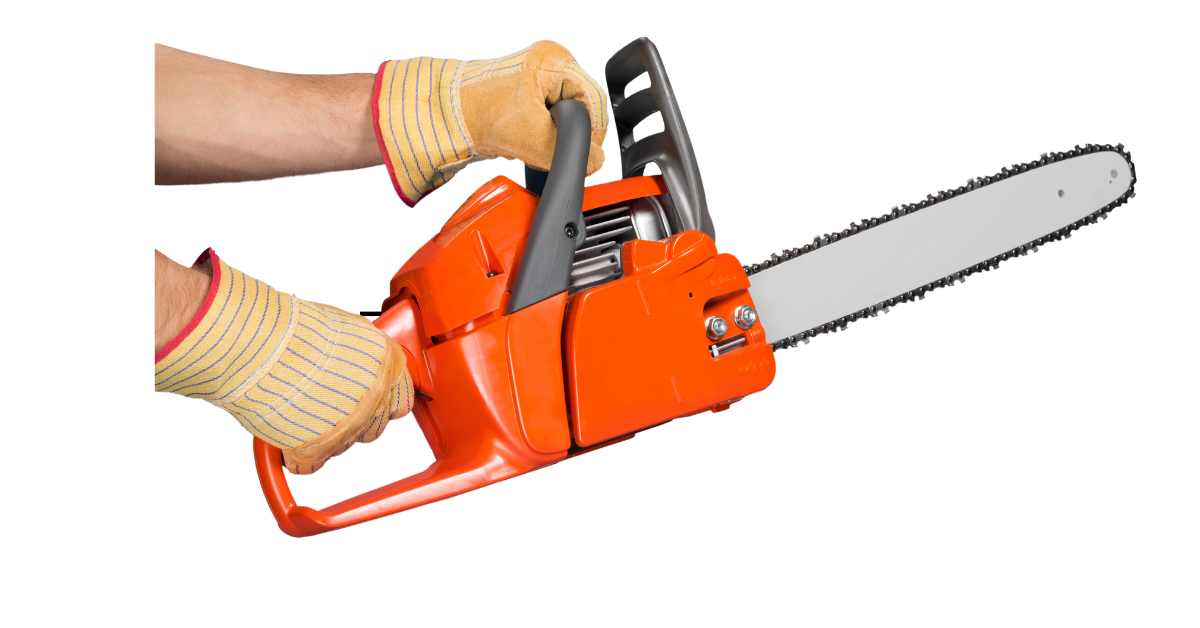
Essential safety gear
Proper protection is non-negotiable when operating a chainsaw. First, ensure you have a quality safety helmet to protect against falling branches and potential kickback. These helmets should be replaced every three to five years as they weaken over time. Your eyes need protection from flying debris, so wear either safety glasses that meet ANSI Z87.1+ standards or a face shield attached to your helmet.
Consequently, hearing protection becomes vital as chainsaws typically run at approximately 109 decibels, well above the recommended exposure limit of 85 decibels. Either earplugs or earmuffs with a good Noise Reduction Rating (NRR) will suffice.
For your body, invest in:
- Cut-resistant gloves for better grip and protection
- Chainsaw chaps that meet ASTM F1897-08 standards to protect your legs
- Steel-toed boots with cut-through resistance
- Close-fitting clothing without dangling accessories
Check for underground utilities
Many utilities lie just inches below ground, making this step absolutely critical. Call 811 before any digging or stump removal project. This service marks underground utility lines including water pipes, gas lines, electrical cables, and irrigation systems.
Besides safety concerns, contacting 811 is actually required by law in many areas. Remember that erosion and root growth can alter the depth of buried lines, so always check before each project.
Clear the area around the stump
Prior to beginning work, thoroughly remove any obstacles surrounding the stump. This includes garden furniture, potted plants, lawn decorations, toys, and loose rocks. For larger stumps (2′ or more in diameter), clear 6-8′ on all sides.
Additionally, check for metal objects or debris embedded in the stump itself that could damage your chainsaw blade. Creating this clean workspace not only protects your equipment but altogether improves safety by preventing trips and falls during the removal process.
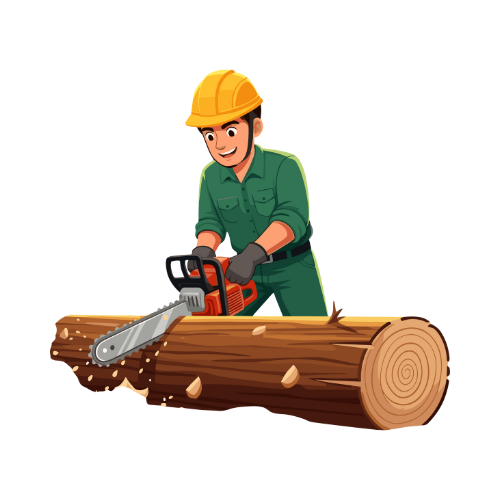
Step-by-Step: How to Remove a Stump with a Chainsaw
Now that you’re properly prepared, let’s dive into the actual stump removal process step-by-step.
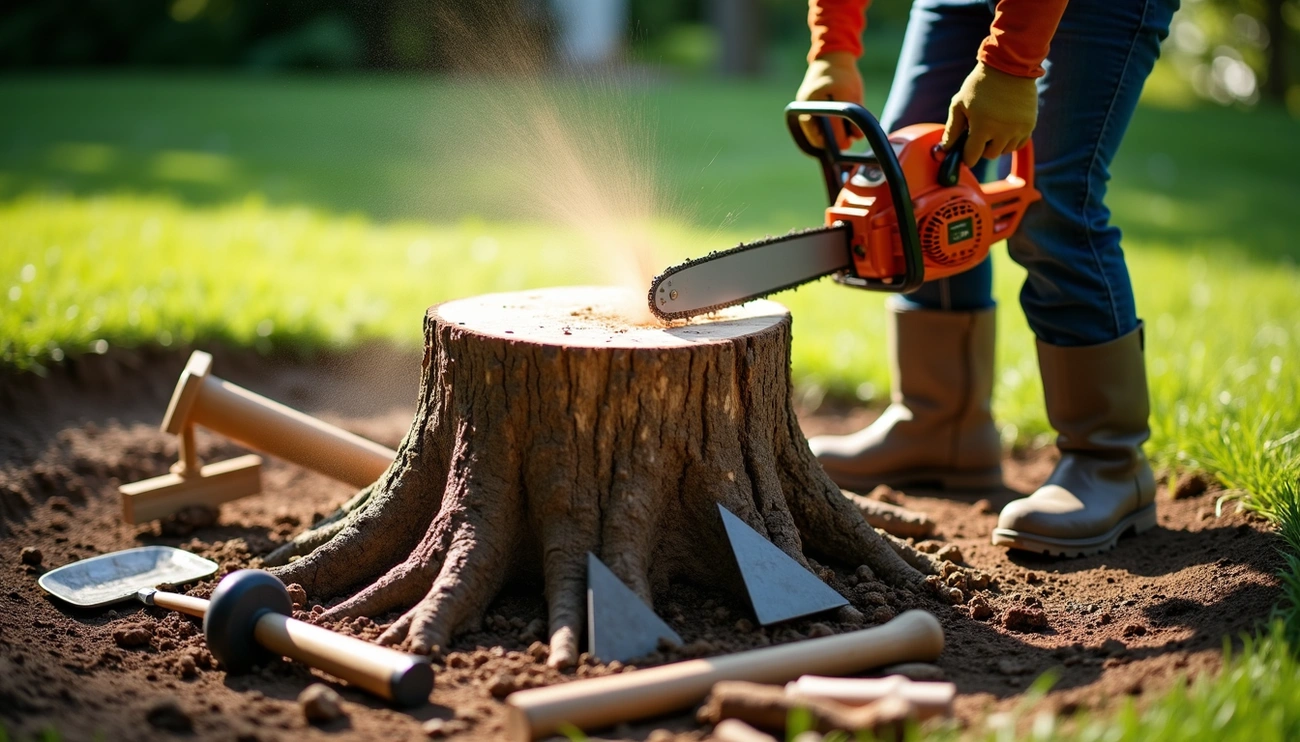
1. Cut the stump as low as possible
Begin by cutting the stump as close to ground level as possible. Be aware that wood near ground level tends to be denser than higher portions of the tree. This initial cut may dull your chain more quickly than expected. Take breaks periodically while working with the nose of the bar rather than fully inserting it to prevent binding.
2. Dig around the stump to expose roots
Use a shovel to clear soil around the stump, removing as much dirt as possible from the top and sides. For better visibility, employ a garden trowel to remove dirt between roots. A pressure washer can be extremely helpful for clearing away excess soil without damaging your equipment later.
3. Cut lateral roots with chainsaw or hand saw
Once roots are exposed, cut through them with your chainsaw. Be extremely cautious – avoid contact with soil as this will quickly dull or break your chain. For roots near soil, consider using a reciprocating saw with pruning blades as an alternative since replacement blades are inexpensive compared to chainsaw chains.
4. Quarter the stump using vertical cuts
Make deep vertical cuts in a criss-cross pattern across the stump’s surface. Work slowly and methodically – rushing may break your chain. These cuts should reach about 5 inches below ground level. The pattern weakens the stump’s structure, making the next steps easier.
5. Use wedges and sledgehammer to split sections
After creating cuts, drive wedges into them using a sledgehammer. This will help split the stump into manageable sections. For stubborn pieces, additional chainsaw cuts might help create better starting points for your wedges.
6. Remove stump pieces and backfill the hole
Extract the loosened stump sections using your shovel as leverage. Place debris in a wheelbarrow for disposal. Once all pieces are removed, fill the hole with soil and level the area. For particularly persistent stumps, you might need to repeat some steps until completely removed.
Post-Removal Tips and Cleanup
After successfully quartering and removing your tree stump, proper cleanup becomes essential. Let’s tackle what to do next.
How to dispose of stump pieces
Stump pieces can be repurposed instead of merely discarded. Consider these options:
- Convert them into mulch for garden beds
- Use larger chunks as firewood if properly dried
- Take them to a local composting center or green landfill
- Rent a yard waste dumpster for multiple stumps or larger projects
Filling and leveling the hole
Once the stump is gone, rake away all woodchips and debris as they can take two to three years to decompose. Next, fill the hole with topsoil slightly above ground level to accommodate natural settling. Pack the soil down firmly to prevent future sinking. Remember that even with proper filling, you might need to add more soil periodically as settling occurs.
Preventing regrowth or pests
Decaying stumps attract termites, carpenter ants, and other wood-boring insects that can eventually spread to nearby structures. To prevent unwanted regrowth, monitor the area for sprouts and apply herbicide containing glyphosate or triclopyr directly to any new shoots. For pest prevention, ensure all wood chips used as mulch are kept away from your home and outdoor wooden structures. Regular inspection of the area will help catch any signs of regrowth or pest activity early.
Conclusion
Removing a tree stump with a chainsaw certainly requires effort and careful planning, but the savings make it worthwhile for many homeowners. Throughout this guide, we’ve walked you through each critical step, from essential safety preparations to final site restoration.
Safety undoubtedly remains the top priority when tackling this project. Proper gear, area preparation, and utility checks protect both you and your equipment during the removal process. Additionally, following our step-by-step approach helps minimize risks while maximizing efficiency.
Most homeowners find this method significantly more cost-effective than hiring professionals. Rather than spending £100-£500 for professional removal, you can accomplish the same task with tools you might already own. Therefore, the chainsaw method offers immediate results without the extended waiting period required for chemical treatments.