Sharpen a chainsaw blade with a file by placing a round file in the cutter notch and holding it at a 30-degree angle. Keep about 20% of the file above the cutter. File from the inside out using 3–10 forward strokes. Maintain a 90-degree angle to the guide bar and lower the rakers with a depth gauge every 2–3 sharpenings.
Get Ready: Tools and Safety First
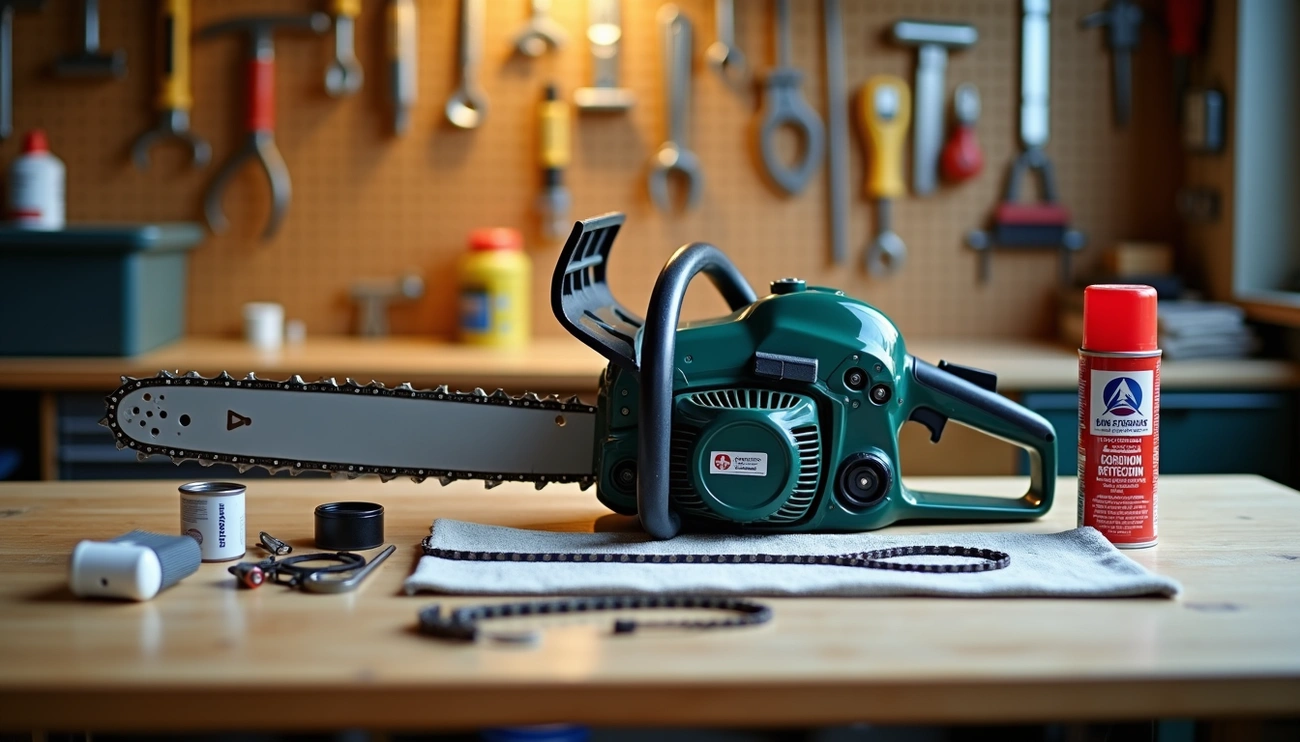
Proper preparation is essential before attempting to sharpen your chainsaw blade with a file. Initially, you’ll need to gather the right tools and take safety precautions to ensure both effective sharpening and personal protection.
Choose the right round file size
The effectiveness of your chainsaw sharpening depends primarily on selecting the correct file diameter for your specific chain. Different chain pitches require different file sizes. For instance, a 1/4″ pitch chain typically needs a 4.0 mm round file, whereas a 3/8″ chain requires a 5.2 mm file. To determine your chain’s pitch, locate the identification number on the depth gage of each cutting tooth or measure the distance between three consecutive rivets and divide by two. If the number is no longer visible, you can calculate it by measuring the distance between rivets in millimeters and multiplying by 0.039 to convert to inches.
Use a depth gage and flat file
Along with a round file, you’ll need a depth gage tool and flat file to maintain proper cutting performance. The depth gage (or raker) determines how deep your chain cuts into wood. A flat file between 1/2″ and 5/8″ works effectively for adjusting rakers. After sharpening the cutting teeth 3-4 times during normal wear, you should check and file the depth gages accordingly. This ensures the chainsaw maintains optimal cutting performance without vibration or chain dulling.
Secure the chainsaw with a vise
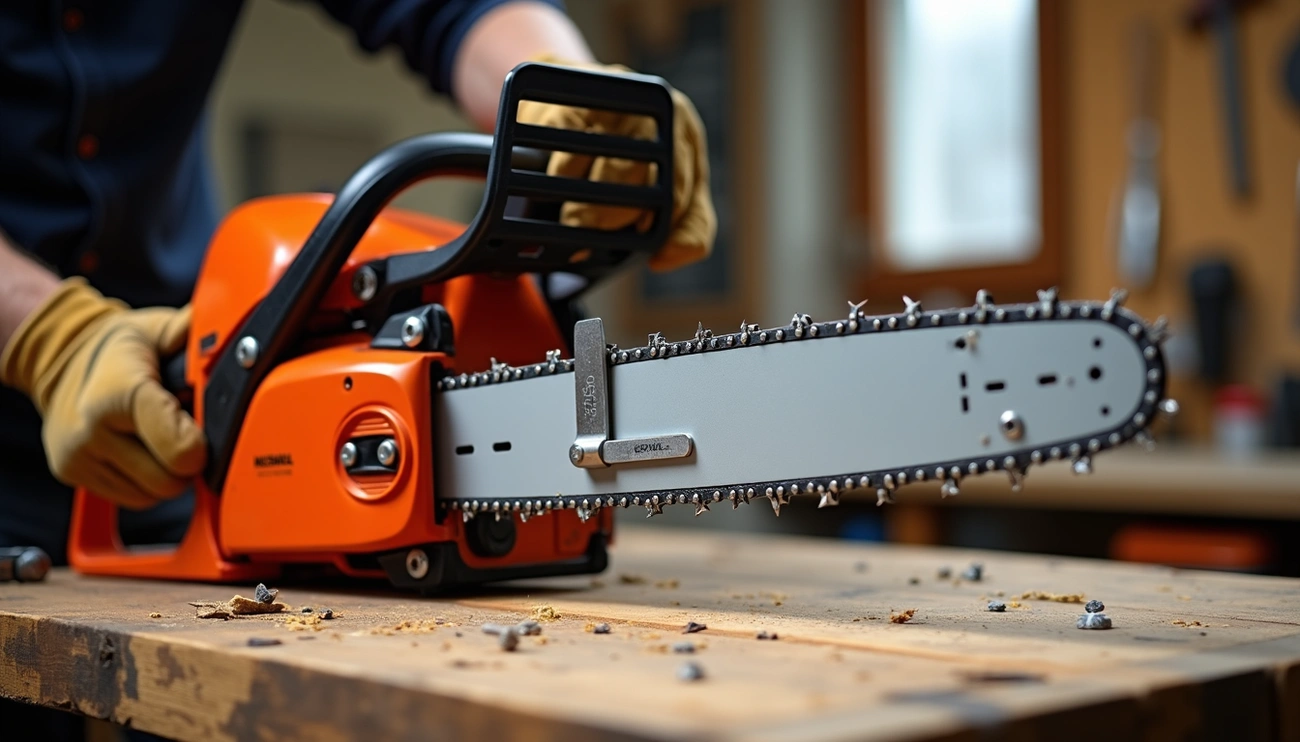
For safety and precision, firmly secure your chainsaw before sharpening. The easiest approach is using a vice on a workbench to hold the guide bar steady. Furthermore, ensure the chain is properly tensioned—slightly tighter than during cutting—so it doesn’t move while filing. For additional stability, activate the chain brake. A properly secured chainsaw allows you to use both hands for filing, significantly improving accuracy and safety.
Wear gloves and eye protection
Safety equipment is non-negotiable for chainsaw maintenance. Always wear protective gloves made from robust material to prevent accidental cuts. Additionally, use proper eye protection that meets safety standards like ANSI Z87.1+ to shield against metal filings. These precautions are especially important since you’ll be working closely with sharp metal edges and producing fine metal particles that could cause serious injury.
Sharpening the Cutters Step-by-Step
Now that you’ve secured your chainsaw and gathered the right tools, the actual sharpening process begins. Following these systematic steps will ensure you achieve consistent, effective results.
Mark your starting tooth
First, examine your chain to find the most damaged tooth, as this will be your reference point. Use a felt-tip pen or permanent marker to clearly mark this tooth. This simple step prevents double-sharpening or missing teeth, particularly important since chainsaw teeth alternate in direction.
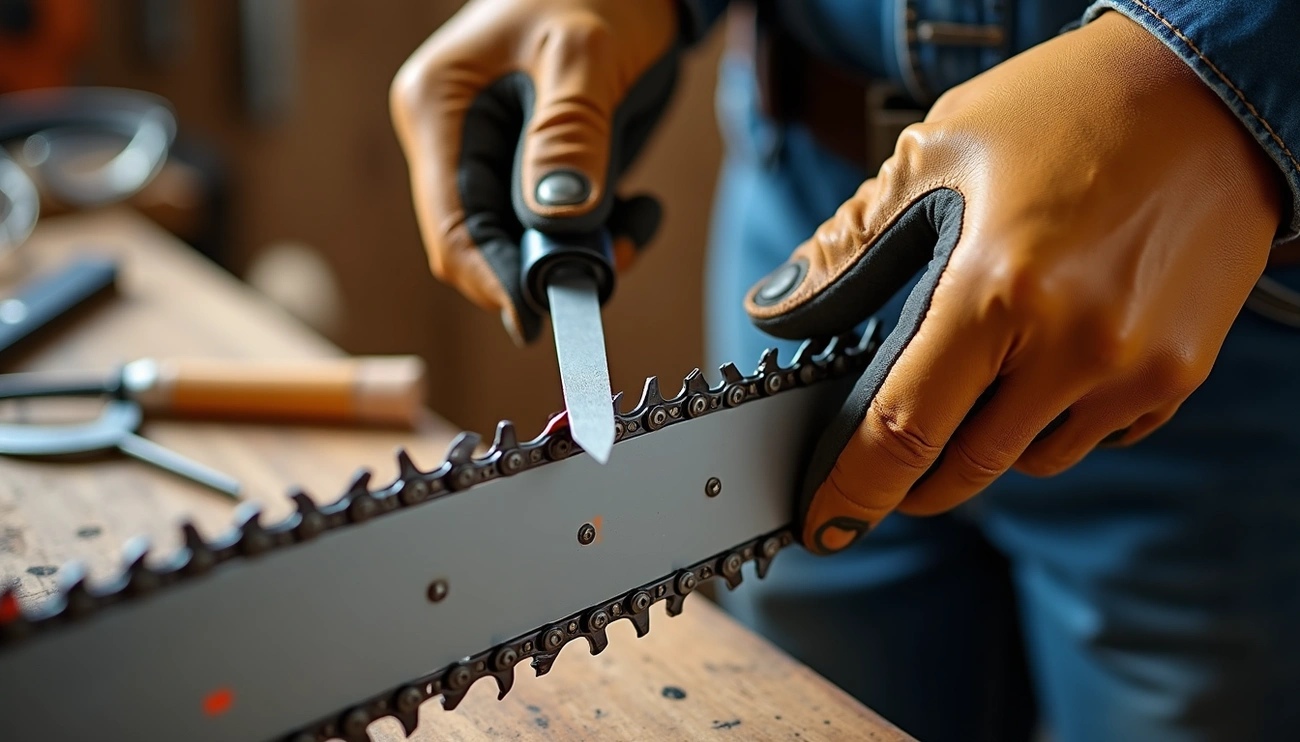
Set the file in the cutter notch
Position your round file in the gullet between the cutter and the depth gage. The file should sit properly in the cutter with approximately 20% (or 1/5″) of the file’s diameter positioned above the cutter’s top plate. This precise placement ensures the correct cutting angle is maintained throughout the process.
Align the file at the correct angle
Most standard chainsaw chains require a top plate sharpening angle of 25-35 degrees. Check your manufacturer’s recommendations for your specific chain. Hold the file perpendicular to the guide bar while maintaining this angle. For consistency, consider using a file guide with arrows pointing in the chain’s direction of rotation.
File each cutter 3–10 times
Apply steady, even pressure as you push the file away from you with smooth strokes. Never pull the file backward across the tooth. Depending on damage level, each cutter typically requires between 3-10 strokes. Count the number of strokes used on the first tooth and apply the same count to all remaining teeth.
Sharpen every second tooth first
Due to the alternating tooth pattern, start by sharpening all cutters facing one direction. Move the chain forward after each tooth, skipping every other one as you progress around the chain.
Rotate saw and sharpen remaining teeth
Once you’ve completed all teeth facing one direction, rotate the chainsaw (or change your position) to access the opposite-facing cutters. Apply identical technique and the same number of strokes to maintain balance and ensure straight cutting.
Adjusting the Rakers for Smooth Cutting
After properly filing the cutting teeth, raker maintenance becomes essential for a smooth-cutting chain. Rakers (also called depth gages or restrictors) control how deeply each tooth cuts into the wood.
Place depth gage over the chain
The depth gage tool ensures rakers are set to the correct height—typically 0.025″ below the cutting teeth for most professional chains. Simply place the gage across the sharpened teeth with the raker in the designated slot. This tool prevents uneven cutting that causes vibration and crooked cuts.
Identify rakers that are too high
Look at each raker through the depth gage. If it protrudes above the tool’s surface, it requires filing. Remember that as you repeatedly sharpen your chain, the cutting teeth become shorter, necessitating raker adjustment. Without proper maintenance, even sharp chains will eventually stop cutting effectively.
File rakers down with a flat file
Once identified, use a flat file (typically 1/2″ to 5/8″ wide) to carefully file down protruding rakers. Make just a couple of strokes until the raker becomes flush with the top of the gage. Avoid removing excessive material—more is definitely not better in this case.
Smooth the tops of filed rakers
Always file rakers to their original rounded or ramped shape. This crucial step ensures the cutters feed smoothly into the wood. Never leave rakers with sharp edges, as this affects cutting performance. Moreover, maintaining consistent raker height across the entire chain prevents vibration and ensures straight cuts.
Setting rakers too low increases kickback risk, requires more power, shortens chain life, and creates rough cuts. Conversely, rakers set too high cause the chain to dull quickly as cutters slide over wood without grabbing properly.
Final Touches and Maintenance Tips
Upon completing the sharpening process, these final maintenance steps ensure your chainsaw performs at its best.
Loosen chain to proper tension
The correct tension is critical after sharpening. A properly tensioned chain should be snug against the bar but still movable by hand. You should be able to pull it about 1/4″ away from the bar with your fingers. Prior to storage, slightly loosen the chain as it stretches when heated during operation. Remember that an overly tight chain damages the bar and sprocket, yet a loose chain creates safety hazards.
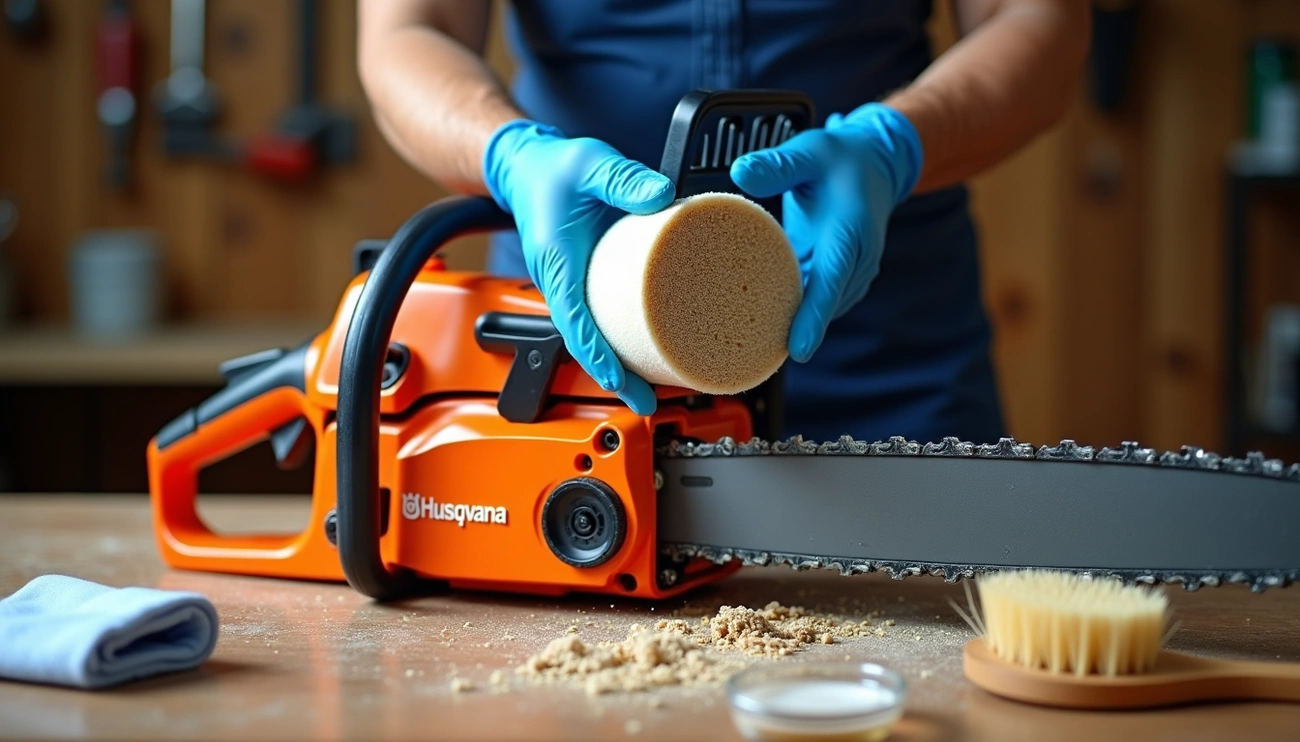
Clean the saw and refill bar oil
After filing, remove all metal chips using a brush or compressed air. Throughout the cleaning process, inspect the oil ports and chain groove to ensure oil flows freely. Quality bar and chain oil is essential—never use bargain brands. Notably, proper lubrication prevents overheating, reduces friction, and extends the life of your chain and bar.
Check for even cutter height
Consistent cutter height—called “jointing”—prevents vibration at high chain speeds. Uneven cutters cause the chain to cut roughly and vibrate excessively. In fact, if cutters are higher on one side than the other, your saw will pull to one direction when cutting. Even cutter height ensures smooth operation and straight cuts.
Sharpen regularly for best results
As a rule of thumb, sharpen your chain every time you refill with gas and oil. With regular maintenance, you’ll only need minimal filing to maintain optimal performance. Ultimately, it’s easier to keep a nearly sharp chain sharp than to restore a very dull one. A well-maintained chain cuts more efficiently, requires less effort, and minimizes operator fatigue.
Conclusion
Maintaining your chainsaw blade sharpness ultimately saves time, money, and frustration. Throughout this guide, we’ve covered everything needed to transform a dull, inefficient chainsaw into a powerful cutting machine once again. Undoubtedly, the process might seem intimidating at first, but after your first successful sharpening, you’ll wonder why you ever hesitated.
Remember, consistent maintenance prevents major problems down the road. A properly sharpened chain cuts faster, reduces strain on the engine, and minimizes kickback risks. Additionally, your work becomes safer and more efficient when your chainsaw performs at its peak.
The key steps we’ve outlined—selecting the right file size, securing your saw, maintaining proper angles, and adjusting those crucial rakers—work together to restore optimal cutting performance. Most importantly, this maintenance routine extends the life of both your chain and guide bar while reducing your replacement costs.