Shorten a chainsaw chain without a chain tool by grinding the rivet head off a tie strap, then driving the rivet pin out with a hammer and punch. Remove the excess links, reconnect the chain, and ensure proper fit for the bar length.
When and Why to Shorten a Chainsaw Chain
Chainsaw chains don’t actually stretch in the traditional sense. Instead, what’s commonly called “chain stretch” is technically chain elongation, where wear at the pivot points creates a longer overall chain length. Understanding this phenomenon is crucial for proper chainsaw maintenance.
Signs of a stretched chainsaw chain
You’ll know your chainsaw chain needs shortening if you notice several telltale signs. First, the chain will sag noticeably below the guide bar. Another clear indicator is when you’ve maxed out the tensioner adjustment but still have significant chain slack. Additionally, a stretched chain often causes excessive rattling, grinding, or unusual noises during operation.
If you can easily pull the chain and its drive links completely disengage from the guide bar, that’s a definite sign your chain needs attention. Furthermore, if you find yourself repeatedly tightening the chain every few minutes of operation, chain elongation is likely the culprit.
Common causes of chain slack
Several factors contribute to chain elongation. Primarily, poor lubrication accelerates wear at pivot points. When chains receive inadequate oil, they can “stretch” remarkably quickly. Dirt accumulation between chain parts creates an abrasive paste with lubricants, causing rapid material loss from pins, rollers, and bushings.
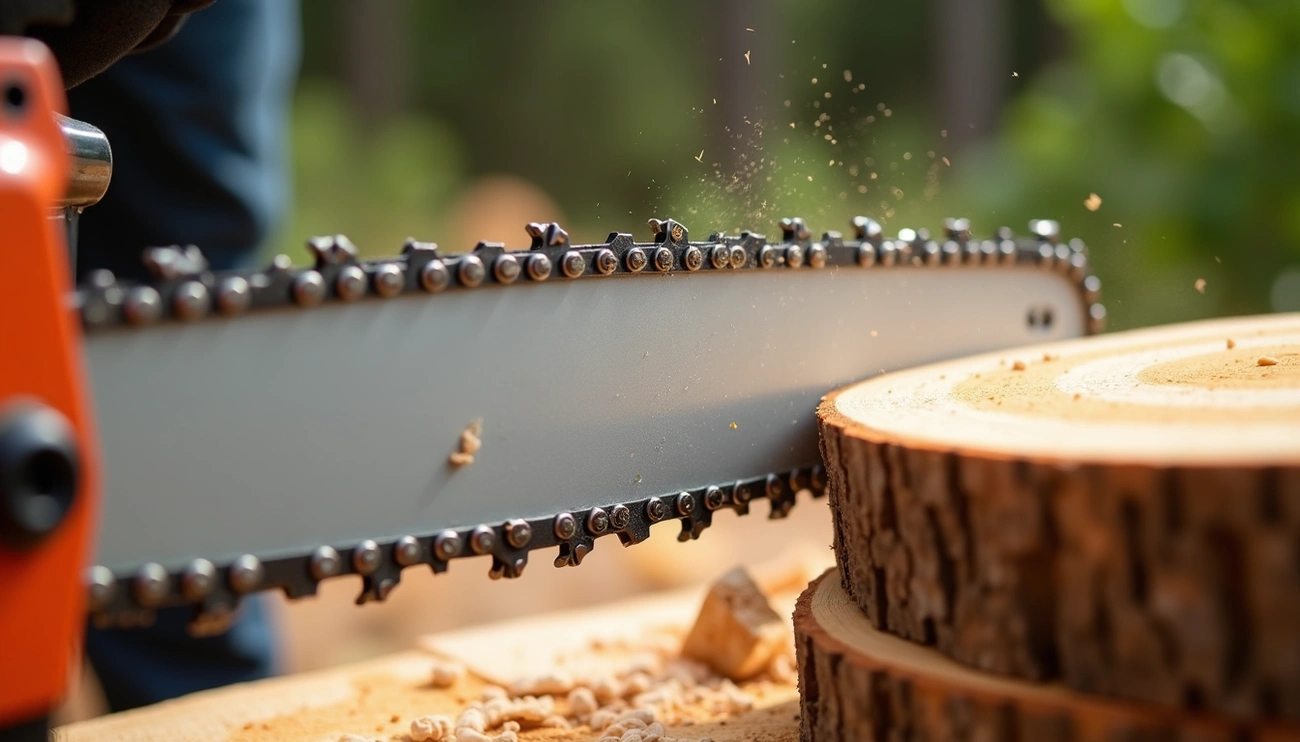
Normal wear from regular use also contributes to elongation. Chainsaw chains endure harsh conditions—cutting through wood while being exposed to dirt and debris. Over time, these factors cause the chain to wear and effectively lengthen.
Sometimes, the issue isn’t the chain itself but clogged oil ports on the blade that prevent proper lubrication. This lack of lubrication accelerates wear at pivot points, creating what we perceive as a stretched chain.
Can you shorten a chainsaw chain without tools?
Yes, you can shorten a chainsaw chain without specialized tools, although it requires careful work. While professional chainsaw shops use specific chain breakers, you can accomplish this task with common workshop items. The process involves removing one or more links from the chain to restore proper tension.
Some chainsaw manuals indicate that up to three links can be removed before affecting the sprocket performance. Nevertheless, the task requires precision—removing too many links will make the chain unusable, while improper reconnection could create a dangerous situation.
In the upcoming sections, we’ll explore a step-by-step method for shortening your chainsaw chain using readily available items instead of specialized chainsaw tools.
Preparing for a Tool-Free Chain Adjustment
Before tackling any chainsaw maintenance task, proper preparation is essential for both safety and success. Especially when shortening a chainsaw chain without specialized tools, your setup becomes even more important.
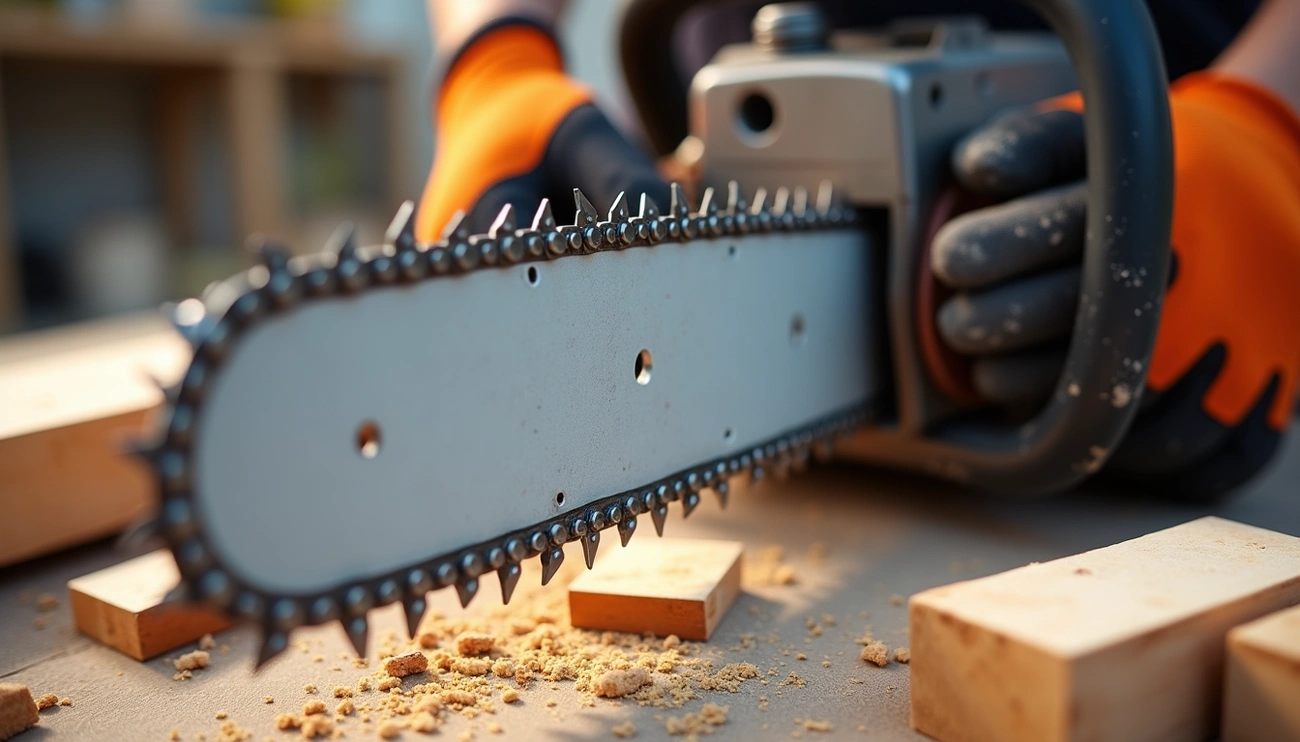
Safety gear you must wear
Safety should always come first when working with chainsaw components. Even when the chainsaw isn’t running, the chain’s sharp edges pose significant risks. At minimum, you’ll need:
- Heavy-duty work gloves or chainsaw safety gloves to protect your hands from cuts and scrapes
- Safety goggles to shield your eyes from potential metal fragments
- Hearing protection (though less crucial when the saw isn’t running)
- Sturdy boots for foot protection
Remember that proper chainsaw protective gear should meet specific safety standards for your region. In the United States, organizations like ANSI and ASTM set these standards. Moreover, never attempt to check or adjust a chainsaw chain while the engine is running.
Choosing a stable workspace
For this delicate operation, your work environment matters considerably. Look for a space that is:
First, clean and well-lit so you can clearly see what you’re doing. Second, ensure it’s spacious enough to move around comfortably. Third, keep it free from clutter to prevent accidents.
A sturdy table or workbench makes an excellent foundation for your work. This stability helps keep your chainsaw components steady throughout the process, making the entire procedure both easier and safer.
What to use instead of a chainsaw chain breaker
Since we’re working without a specialized chain breaker, you’ll need to improvise with common tools:
A pair of sturdy pliers serves as your primary tool for manipulating chain links. Additionally, you might need a small hammer for applying controlled force. Some DIYers have successfully used a bench vice to hold the chain securely during the breaking process.
Other helpful items include a punch or solid nail to drive out pins and possibly an angle grinder for more stubborn links. A socket that matches the size of the link body can provide support when pushing out pins.
Despite the tool-free approach, prioritize precision over force. Rushing or applying excessive pressure may damage the chain permanently, rendering it unusable regardless of length.
How to Shorten Chainsaw Chain Without Tool
Removing links from a stretched chainsaw chain requires patience and careful technique, yet remains possible without specialized tools. With common workshop items, you can extend your chain’s life significantly.
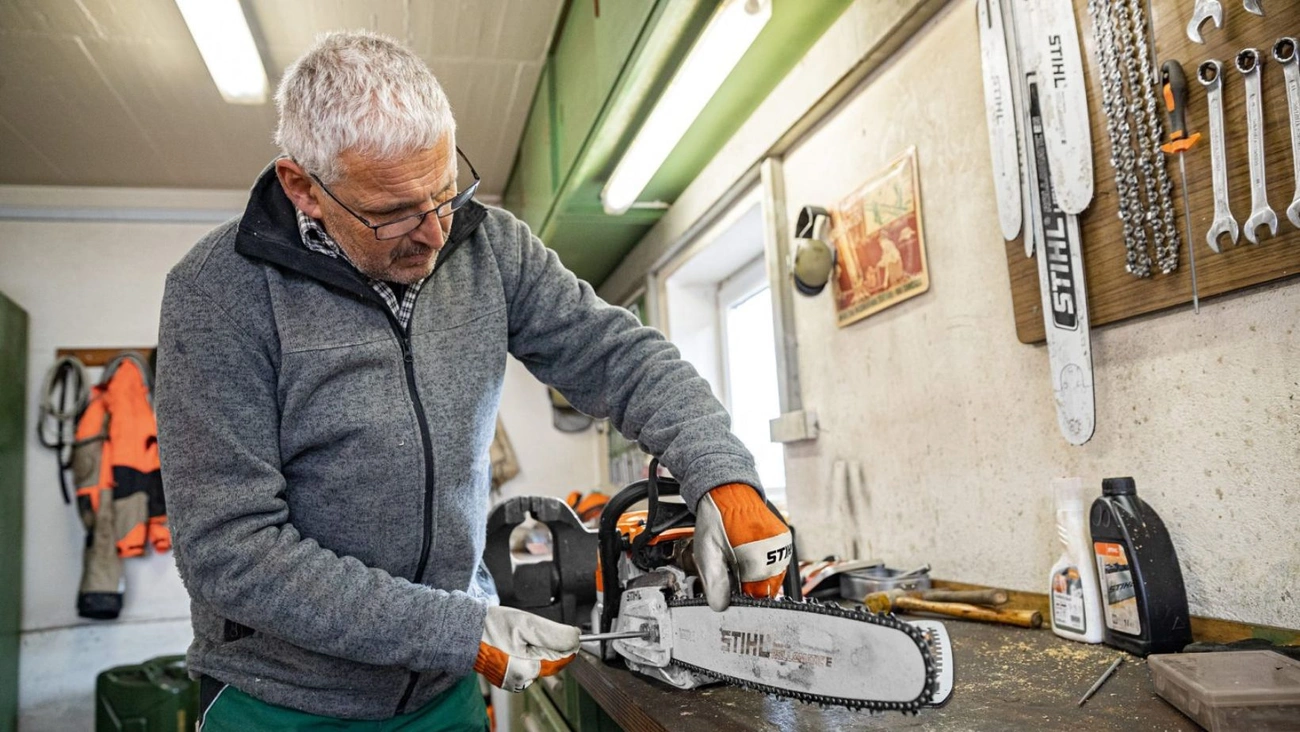
Step 1: Remove the chain from the bar
First, ensure the chainsaw is turned off and unplugged or the battery removed for electric models. Loosen the bolts holding the bar cover and turn the tensioning screw to release chain pressure. Slide the bar off carefully and remove the chain from the sprocket. Place the chain on a flat surface, noting its original direction for reinstallation.
Step 2: Identify the link to remove
Examine the chain to determine how many links need removal. Typically, removing 1-3 links is sufficient for proper tensioning. Count the exact number of drive links and mark the rivet of the first link you plan to remove using chalk or a marker. Double-check your measurements before proceeding.
Step 3: Break the chain manually using pliers and hammer
Secure the chain in a vise or with pliers. Without a chain breaker tool, you can grind down the rivet head first using an angle grinder or file. Subsequently, use a punch (or solid nail) and hammer to carefully drive out the rivet. Work slowly to avoid damaging adjacent links.
Step 4: Reconnect the chain using a rivet or wire
Align the chain ends, ensuring proper drive link orientation. Interestingly, you can reuse the old rivet you punched out to rejoin the chain. Insert it into the aligned holes and secure by flattening with a ball-peen hammer. Alternatively, use a suitable replacement rivet.
Step 5: Reinstall and test the chain
Reinstall the shortened chain onto the bar, fitting it around the drive sprocket. Reattach the bar, adjust tension until snug (but still movable), then secure bolts. Test by hand-spinning the chain – it should move freely without binding. Perform a test cut on wood to verify proper cutting performance after making adjustments.
Mistakes to Avoid and Final Checks
Successful chain shortening requires attention to detail in the final stages. After removing links, these critical checks ensure your chainsaw operates safely and effectively.
Not measuring the chain length correctly
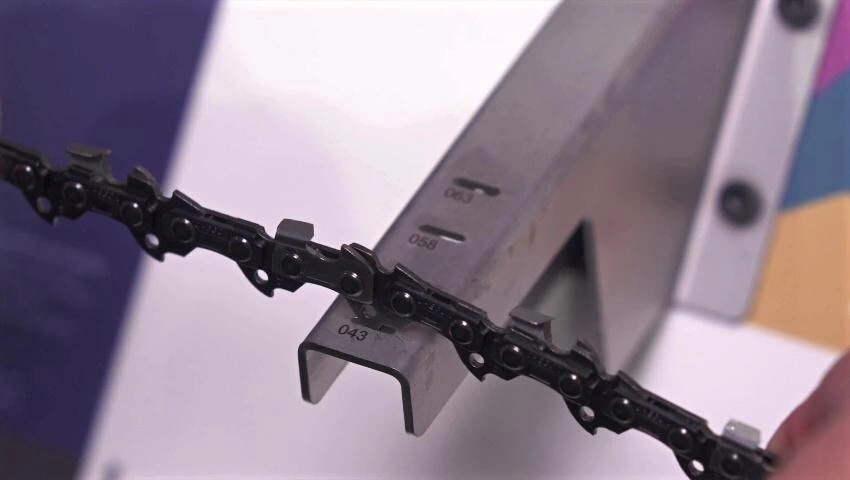
Using a measuring tape is vital when shortening chains. Don’t estimate length—measure twice for accuracy. Removing too many links makes the chain unusable, essentially rendering your repair efforts pointless. Chain sizes vary by manufacturer, accordingly knowing your specific chain’s pitch, gage, and drive link count is essential.
Forgetting to check chain orientation
Chains have a specific direction they must be installed. If mounted backward, the chain won’t cut properly. Always verify orientation before reattaching—the teeth should face forward toward the cutting direction. This common oversight dramatically affects cutting performance, potentially creating dangerous operating conditions.
Skipping chain tension adjustment
Following shortening, checking tension becomes absolutely essential. A chain that’s too tight strains the chainsaw components, whereas one that’s too loose may slip or jump off. Proper tension means the chain fits snugly against the bar but can still be moved by hand when the brake is released. Remember that chains heat up during operation, consequently expanding—you might need to readjust tension after initial use.
Overlooking lubrication after shortening
Chain lubrication prevents overheating plus ensures friction-free movement around the bar. Check your oil levels prior to operation, thereafter start the saw (with chain brake off) and test lubrication by revving the engine near a tree trunk—oil marks confirm the system works. Proper lubrication extends the lifespan of both chain and bar, making this final check non-negotiable.
Conclusion
Shortening a chainsaw chain without specialized tools certainly takes patience and precision. Throughout this guide, we’ve seen how chain “stretching” actually results from wear at pivot points rather than traditional stretching. This wear happens primarily due to inadequate lubrication, dirt accumulation, and normal use over time.
Most importantly, you now understand that specialized tools aren’t always necessary for this task. With basic items like pliers, a hammer, and a punch, you can effectively remove links and restore proper tension to your chain. Furthermore, you’ve learned to recognize when your chain needs shortening through signs like excessive sagging, maxed-out tensioners, and repeated loosening during operation.
Safety remains paramount during this process. Therefore, always wear appropriate protective gear and work in a clean, well-lit environment. Additionally, measure carefully before removing links – this simple step prevents the frustration of removing too many links and rendering your chain unusable.