A chainsaw chain goes forward on the top of the bar, with the sharp cutting edges facing toward the bar tip. On the bottom of the bar, the teeth face back toward the engine. This orientation allows the chain to cut safely and effectively as it rotates.
Understanding the Parts of a Chainsaw Chain
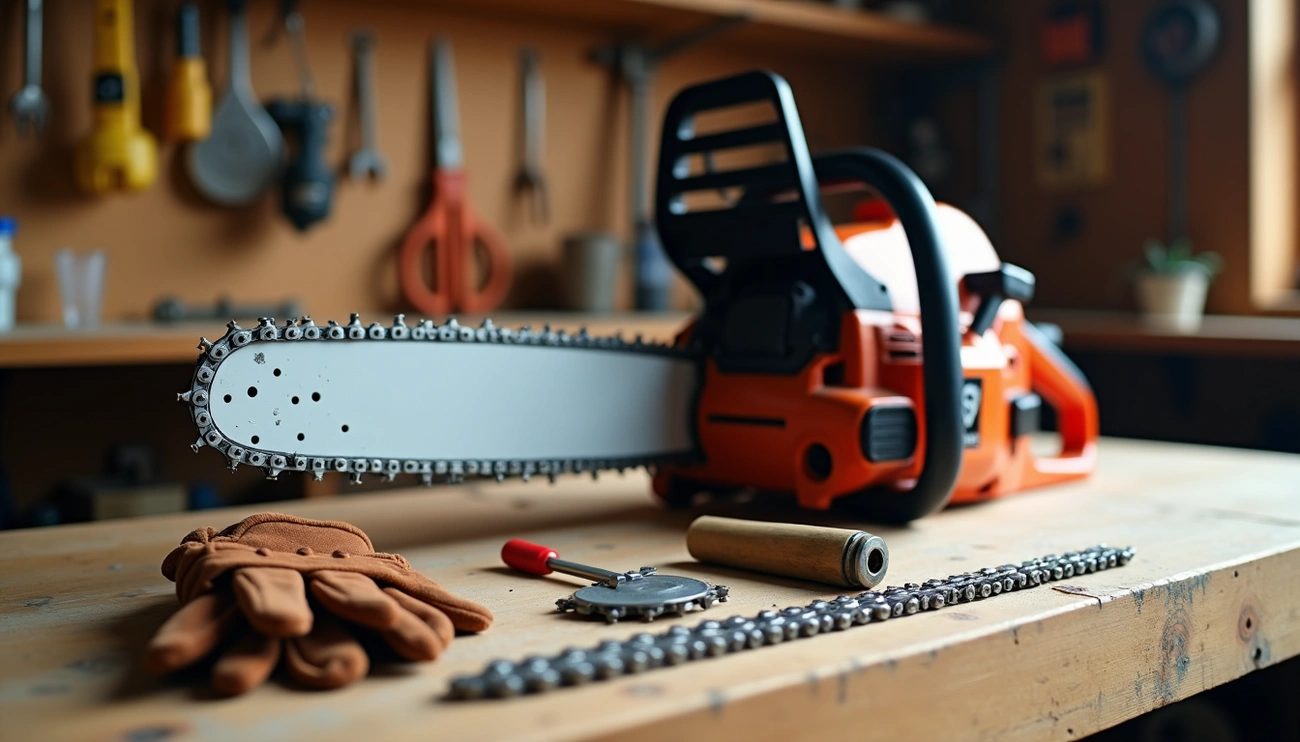
A chainsaw chain consists of several interconnected components that work together to cut wood efficiently when installed in the correct direction. Understanding these parts helps you identify proper chainsaw chain orientation.
Drive links and their role in movement
The drive links are fundamental components that connect the chain to the guide bar and transmit power from the chainsaw to the chain. These tooth-like projections on the underside of the chain fit into the guide bar groove, allowing the bar to guide the chain during operation. Additionally, drive links engage with the sprocket to propel the chain around the guide bar with precision. The thickness of these drive links, known as the “gage,” must match the groove width on the bar for proper functionality.
Cutting teeth and how they slice wood
Cutting teeth are the parts that actually cut through wood. These teeth work according to the chipper tooth principle by planing off wood strands. During cutting, the top-plate cutting edge planes the strand while the side-plate cutting edge splits it sideways. Notably, chainsaw chains feature both left-hand and right-hand cutters to ensure even cutting through wood. Different tooth designs exist—chipper, chisel, and semi-chisel—each with unique cutting characteristics and maintenance requirements.
Depth gages and cutting control
Depth gages (sometimes called “rakers”) control the amount of material removed during each cutting pass. Essentially, they determine how deep the cutting teeth enter the wood, functioning much like a plane. The height difference between the depth gage and the tip of the tooth (depth gage clearance) is critical—if set too low, the chain becomes more aggressive but increases vibration and kickback risk. For optimal cutting, most professional chains have a recommended setting of 0.025″.
Rivets, tie straps, and chain flexibility
Tie straps hold the parts of the saw chain together, connecting drive links with cutting teeth. Furthermore, these components help maintain optimal spacing between drive links, enhancing stability and prolonging chain life. Rivets are small metal pieces that secure the cutter to the drive link, ensuring seamless transmission of cutting force. Together, these elements create a flexible yet strong chain that can rotate smoothly around the guide bar when installed in the proper direction.
Why Chainsaw Chain Direction Matters
The orientation of your chainsaw chain isn’t merely a technical detail—it’s a fundamental aspect that impacts both performance and safety. Installing a chain in the proper direction ensures optimal functionality, whereas a backwards installation can lead to serious consequences.
How correct direction improves cutting
Properly oriented chainsaw chains create smooth, efficient cuts through wood. When installed correctly, the cutting teeth bite into the wood, effectively pulling out wood chips rather than simply scraping the surface. This results in quicker, cleaner cuts that require less effort and strain. A correctly installed chain allows for better control and precision when guiding the saw through wood. You’ll notice the difference immediately—proper chains produce wood chips during cutting, whereas incorrectly installed chains generate fine dust instead. Moreover, a chain moving in its designed direction enables the depth gages to properly control each cutter’s bite size on the wood.
Safety risks of incorrect chain direction
The dangers of incorrect chain direction cannot be overstated. A backwards chain significantly increases kickback risk—the sudden, violent backward motion of the saw toward the operator that can cause severe injuries. Since the chain doesn’t sit correctly in the bar when installed improperly, it may derail or jump off the bar while cutting—creating an extremely hazardous situation. Additionally, improper chain direction reduces control over the saw, making accidents more likely as you struggle to manage a tool that isn’t functioning as designed.
Increased wear and damage from wrong installation
Putting excessive strain on your chainsaw through incorrect chain installation leads to premature wear and tear. The engine must work harder when the chain moves improperly, potentially causing:
- Accelerated wear on both the chain and guide bar
- Increased stress on the chainsaw’s motor and internal components
- Costly repairs from major parts failing under stress
The chain itself wears out much faster when running backwards, requiring more frequent replacements. Consequently, what seems like a minor installation error can ultimately result in significant damage to your valuable tool.
How to Identify the Correct Chainsaw Chain Direction
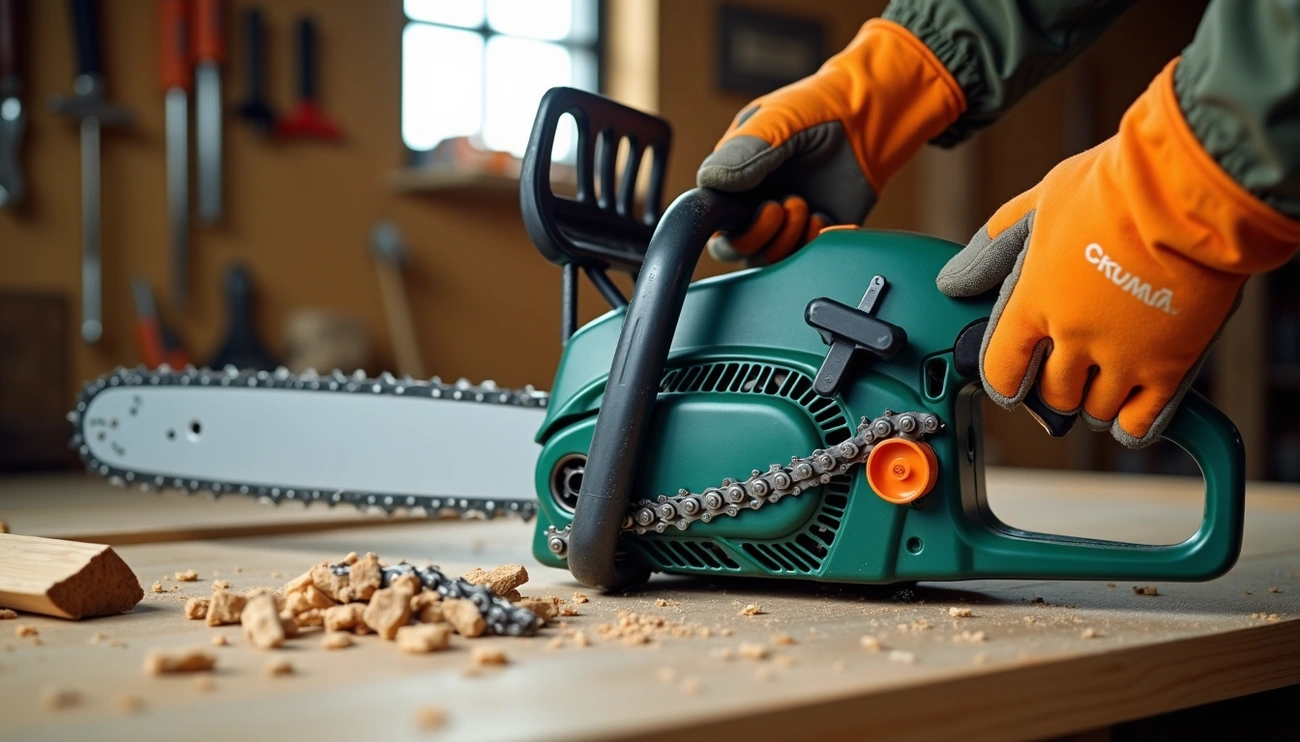
Identifying the correct chainsaw chain direction doesn’t require special tools—just careful observation. Let me walk you through several foolproof methods to ensure your chain is installed properly.
Look for arrows or manufacturer markings
The simplest approach is checking for built-in indicators. Many chainsaw chains feature small directional arrows or markings on the side plates of cutting teeth, clearly showing the correct travel direction. These manufacturer-provided guides eliminate guesswork. Additionally, always consult your chainsaw’s user manual for model-specific instructions about chain installation. The guide bar itself might display directional arrows pointing toward the nose wheel—a clear indication of proper chain movement.
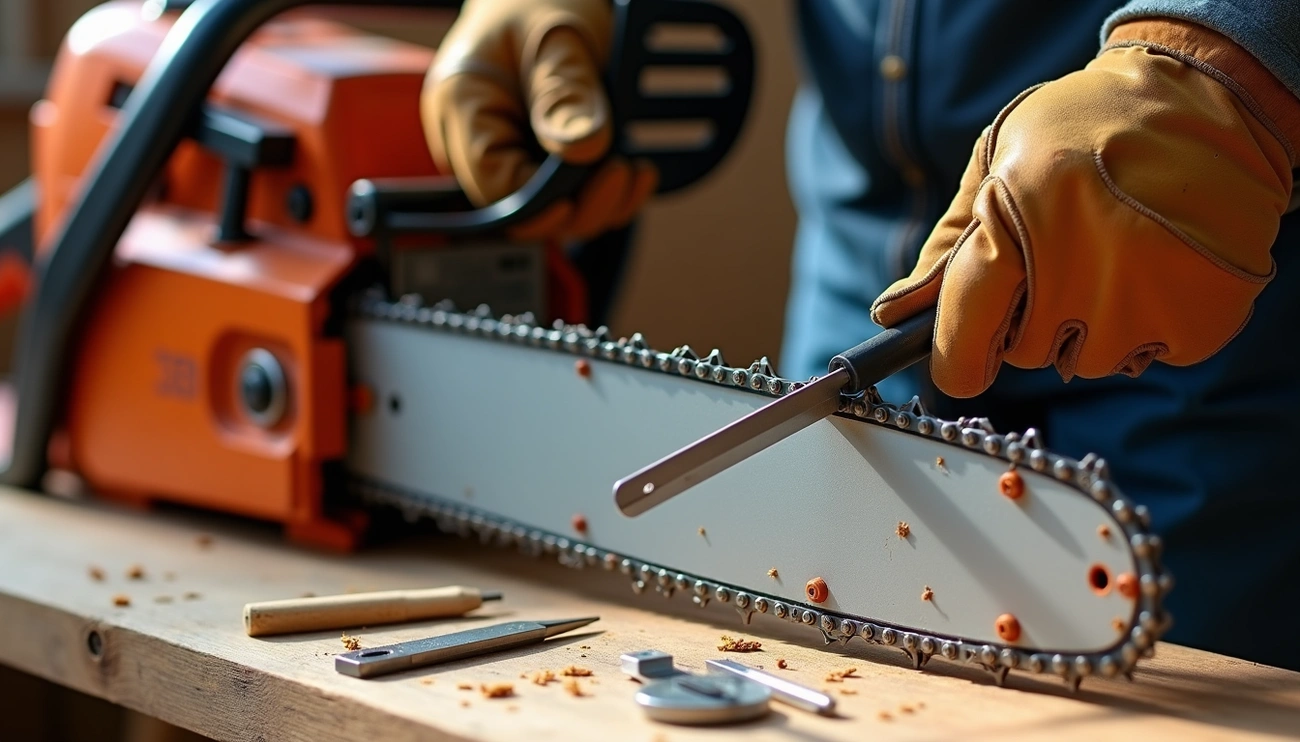
Check the angle and position of cutting teeth
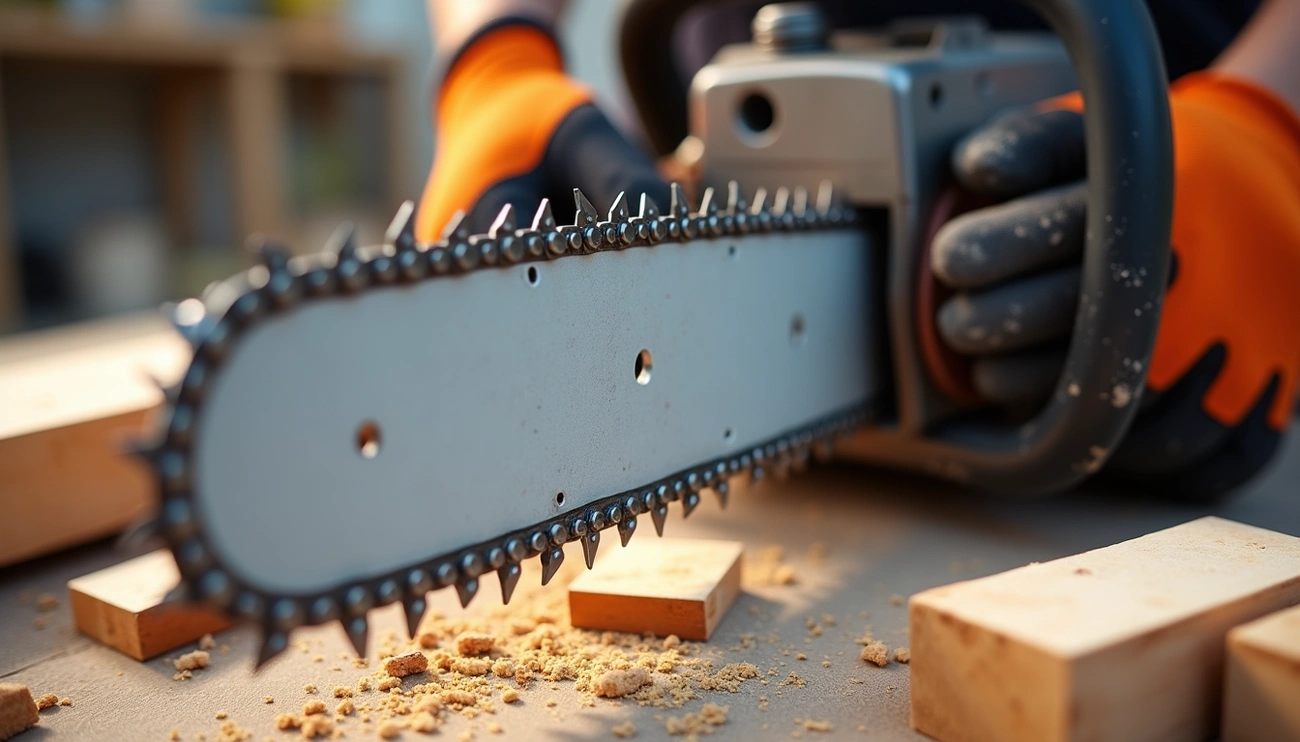
The cutting teeth provide the most reliable indication of proper direction. Each tooth has a sharp cutting edge that must point in the direction the chain should spin. On the bar’s top side, cutters should face forward—toward the bar’s tip—away from the chainsaw body. Notice how each tooth’s top plate angles upward from rear to front. This orientation allows the teeth to dig into wood effectively as the chain moves forward. The alternating left-hand and right-hand cutters should all follow this same forward-facing pattern.
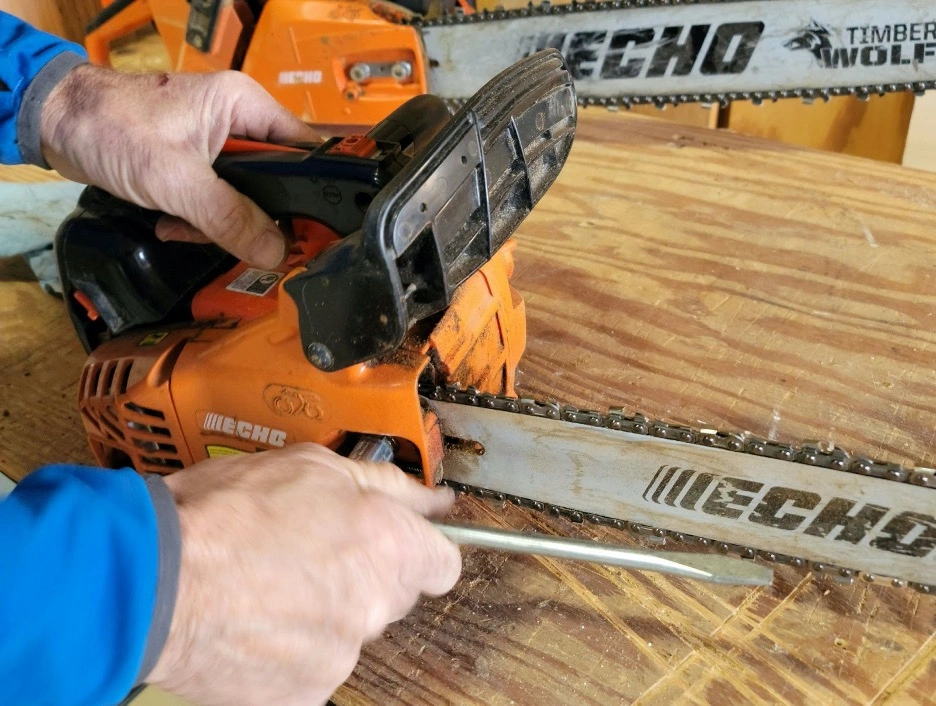
Observe how the chain fits the guide bar
When properly installed, the drive links fit perfectly into the bar’s groove with the bottom edge of cutting teeth sitting flat against the bar. If the chain feels unnaturally stiff or the drive links don’t seat properly, it’s likely backward. Examine the chain’s natural curve—it’s designed to bend smoothly in one direction around the guide bar. Incorrect installation creates resistance you can feel.
Understand the chain’s rotation path
Properly oriented chains rotate away from the chainsaw body on the top side of the bar and toward the body on the bottom side. The cutting action happens primarily along the bar’s bottom edge where the chain travels toward the saw. Looking at depth gages (resembling shark fins) helps too—their curved sides should face forward with tips pointing back toward you.
Different Chainsaw Chain Types and Their Orientation
Chainsaw chains come in various specialized designs, each with unique tooth configurations to match specific cutting needs—yet all must follow proper directional orientation principles.
Standard chains and their direction
Standard chains feature a consistent pattern of alternating left-hand cutters, tie straps, and right-hand cutters throughout the length. Despite design variations, the directional rule remains consistent—cutting teeth must always point toward the tip of the guide bar. The sharp edge of each tooth should point in the direction of rotation, specifically toward the nose of the bar. For optimal cutting performance, standard chains maintain this orientation regardless of their cutter style.
Skip tooth chains and cutting alignment
Skip tooth chains (also called skip chains) feature fewer teeth that are more widely spaced apart. These chains excel at clearing large timber with bars longer than 24 inches. Unlike standard configurations, skip chains have a sequence where cutters are separated by two tie straps. Although the tooth arrangement differs, the directional principle remains identical—cutters must point toward the bar tip, away from the chainsaw body.
Ripping chains for milling wood
Ripping chains are designed specifically for cutting along wood grain when milling lumber. These specialized chains have cutting teeth ground at different angles (typically 10°) than standard chains to produce smoother lengthwise cuts. Despite this modified grind, proper orientation remains crucial—the cutting edge must still point toward the guide bar tip.
Low-profile and semi-chisel chains
Low-profile chains incorporate safety elements around teeth to prevent kickbacks, making them ideal for beginners. Semi-chisel chains feature rounded corner teeth that remain sharper longer in dirty conditions. For both types, the directional requirement stays consistent—cutting teeth must face forward, toward the bar’s tip.
Conclusion
Understanding the correct chainsaw chain direction remains absolutely essential for anyone who uses this powerful tool. After all, proper installation not only ensures efficient cutting but also protects you from dangerous kickbacks that could lead to serious injuries. Throughout this guide, we’ve seen how cutting teeth must point toward the bar tip, away from the chainsaw body when installed correctly.
Most importantly, always check for manufacturer markings or arrows before installation. Alternatively, examine the cutting teeth orientation—they should face forward on the top side of the bar with their sharp edges pointing in the direction of rotation. The chain should also fit smoothly into the guide bar groove without any unnatural resistance.
Remember that a backwards chain produces fine dust instead of wood chips, strains your engine, and significantly increases kickback risk. Therefore, taking just a few moments to verify proper orientation can save you from costly repairs and dangerous accidents.